Disappearing Paper: A Simple Science Lesson
Do you want to foster critical thinking skills in your young learners? Then try out this simple dissolvable paper science lesson. This activity walks your students through the steps of the scientific method, while introducing them to the importance of materials science; understanding how the components of a substance can change the physical properties of a material!
As we collectively work towards combating the climate crisis, we must reconsider and adapt the design and function of everyday materials in an effort to reduce our negative impact on the planet. This simple science lesson allows students to observe the similarities and differences between two pieces of paper based on their physical and chemical properties. As if that wasn’t enough, this lesson can be done in the comfort of your kitchen with minimal prep or clean-up!
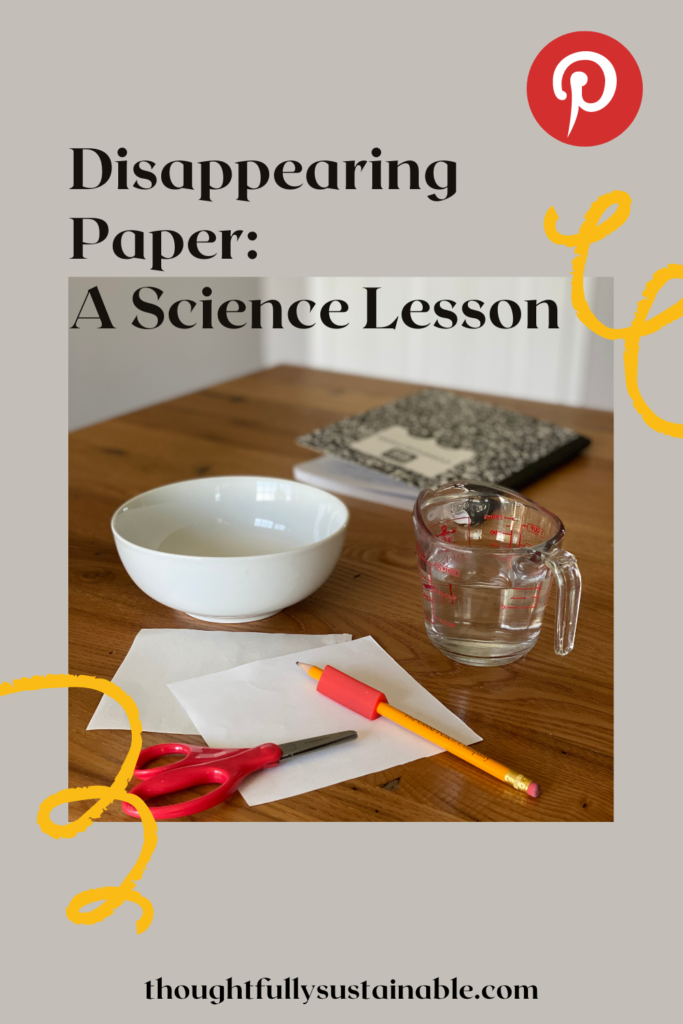
Supplies needed for the disappearing paper experiment
Here is a list of supplies you’ll need to do this simple disappearing paper science experiment. As I am obviously a huge advocate for sustainability, I recommend you do the following:
- Shop your stash of supplies to see what you already have
- Ask a neighbor/family member/friend if you can borrow something you may need
- Utilize online community sharing groups like Facebook Marketplace, a Buy Nothing Group or Next Door to obtain new-to-you materials
- Still can’t find what you need? Support a local business by purchasing what you need from them.
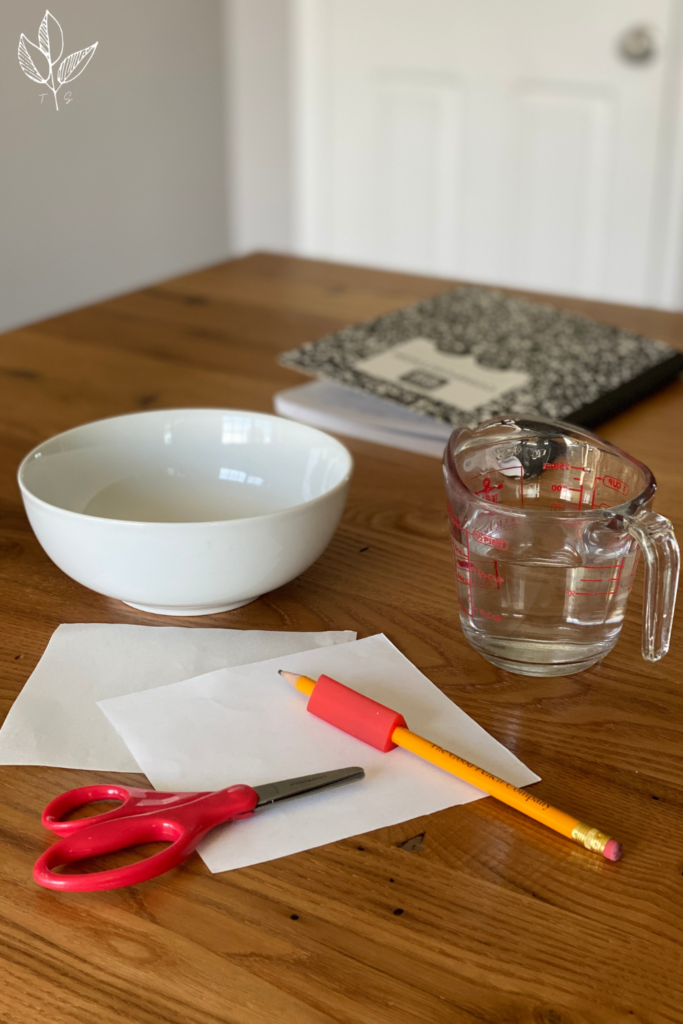
Materials List:
- Sheet of traditional white printer paper
- Sheet of water soluble/dissolving paper*
- Pencil
- Scissors
- Shallow bowl
- Water
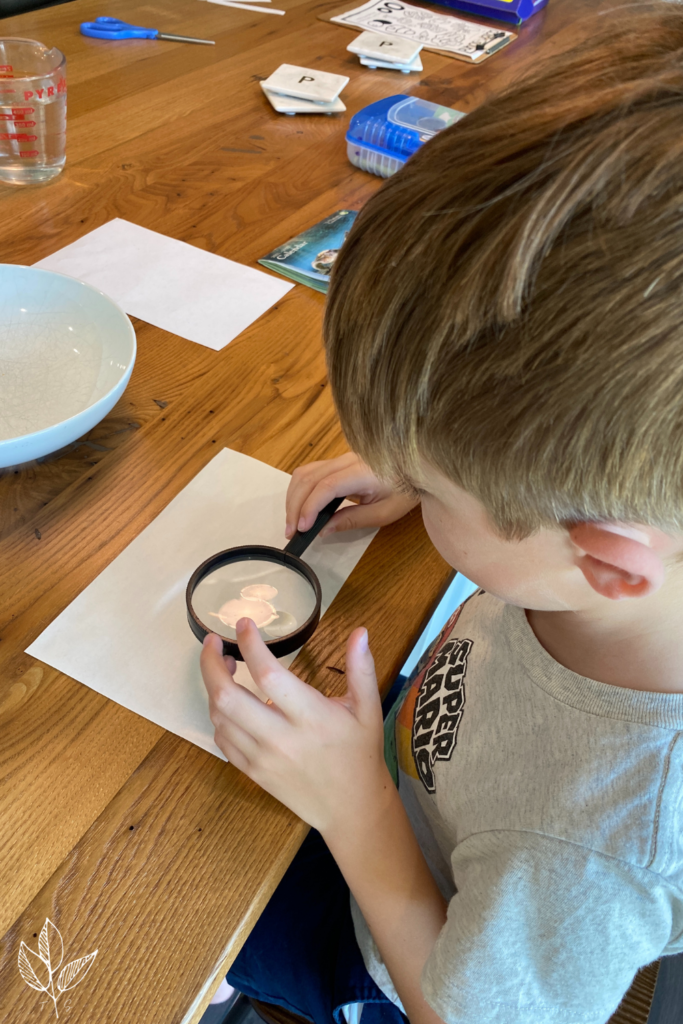
- Magnifying glass (optional) – this just adds to the “investigative” feel for my kids!
*I got my water soluble paper within the STEM Swag Box I ordered from Just Temple, however you can easily purchase the paper from a craft store, as it’s typically used for the applique of designs onto fabric!
instructions for the disappearing paper experiment
Here are the step-by-step instructions for you to successfully make paper disappear!
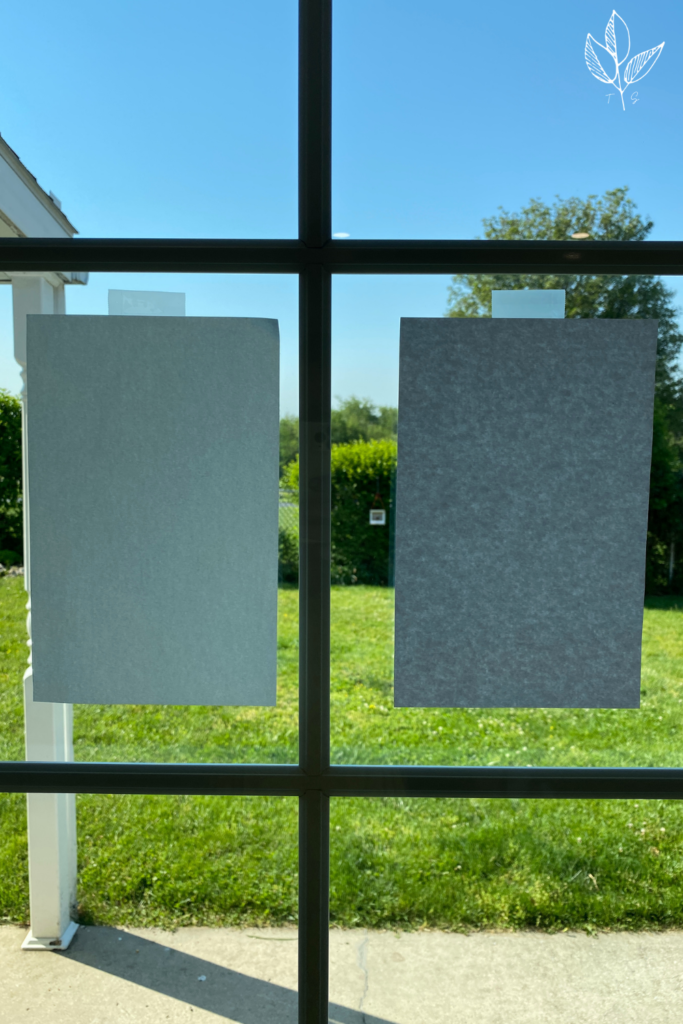
- Prior to starting, label a sheet of dissolving paper with an “A” and a sheet of traditional paper with a “B”.
- Have your students make initial observations about each piece of paper by answering the following questions, “How are they alike?” “How are they different?”
- Once they’ve verbalized or written down their initial observations, have them make a prediction based on the following question, “What will happen to each piece of paper when covered in water?”
- Example predictions might be, “Paper A will float and Paper B will sink when covered in water.” or “Paper A will break apart and Paper B will stay together when covered in water.”
- Next, have your students cut approximately a 1 inch (2.5 cm) wide strip of paper from Sheet A and Sheet B.
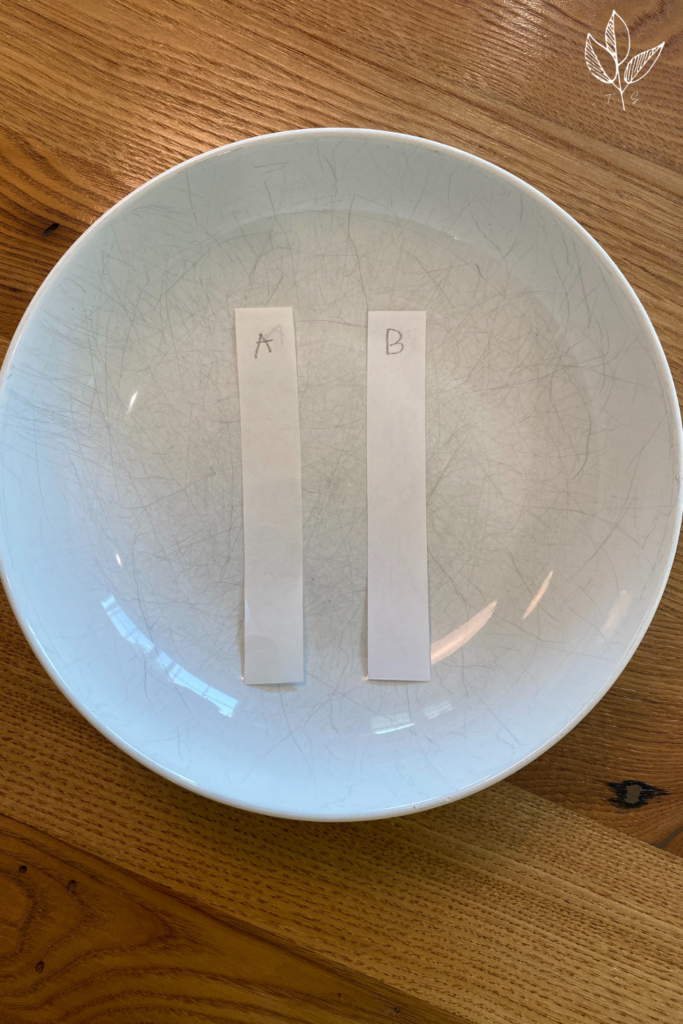
- Have them label the strip from Sheet A with an “A” and label the strip from Sheet B with a “B”, written in pencil.
- Place each strip of paper in a shallow bowl.
- Pour enough water into the bowl to cover both strips of paper.
- Observe what happens.
Have your students describe, verbally or in writing, what happened when they added the water to the shallow bowl. They should observe that Paper A dissolves quickly in water, while Paper B stays intact.
Follow up by asking them why they think this happened. This should lead into a basic discussion about materials in the paper, in which they can make connections to their initial observations prior to carrying out the experiment.
how does the disappearing paper actually work?
Traditional white printer paper is made from short cellulose fibers mixed with chalk, water, starch and dyes. The difference in water soluble paper lies in the type of cellulose used. Dissolving paper is made from sodium carboxymethyl cellulose – basically a cellulose molecule with some additional groups attached to it! These additions dramatically change the polarity of the paper – causing it to dissolve in water!
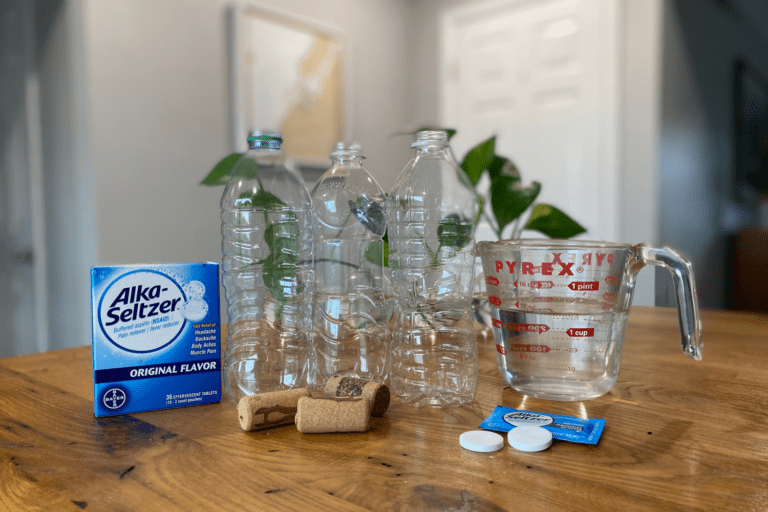
Do you remember any other experiments that dealt with polarity and physical properties? That’s right – the compostable packing peanuts experiment!
Learning about the differences between traditional and dissolvable paper is a great way to foster curiosity and a love of science in your students, as well as strengthen their critical thinking skills. And with little prep or mess to clean up, it’s a perfect way to engage your children’s minds at home or in the classroom!
If you’ve found this post helpful, feel free to share it with your friends, or Pin it to your favorite Pinterest board!
Want simple science experiments like this delivered directly to your inbox? Please subscribe to my free newsletter. No spam, just science. I promise.