
Easy Ghost in the Glass Bottle Halloween Science Experiment
Are you in need of a spooktacular science experiment for Halloween? Suitable for any age, this simple ghost in a glass bottle “trick” is perfect for classroom learning or holiday parties. Read on to learn the steps behind this simple science activity.
The Legend of The Ghost in the Glass Bottle
“Legend says that a ghost resides in this glass bottle. In order to coax her to leave the bottle, she requires 2 things: a penny and a few drops of water. Do you think we can make her come out of the bottle? Watch and see!”
This may not be the spookiest ghost story you’ve ever heard, but it’s a great way to entertain your learners with science and teach them some of the basic principles of gases!
How to Use The Ghost in the Bottle Science Experiment
This science activity can be used as a full-fledged science experiment in a classroom or homeschool program, or it can be used as demonstration to engage students in the basic Gas Laws. Additionally, it makes for a fantastic science “trick” for a Halloween party. You can’t have Halloween treats without at least one trick, am I right?
I made up a simple story to capture my students’ attention, but please feel free to embellish upon my narrative! Turn this activity into a cross-curricular lesson by having your learners write a fictional story to introduce the experiment either before or after experimenting!
If you have older students, this would be a fantastic opportunity for them to learn the science behind the experiment and then present it in front of younger students, capturing their attention by creating a simple “legend” about the ghost in the bottle and then conducting the demonstration. Schools that I have worked with in the past were always looking for volunteer opportunities to engage older students with younger students.
Here’s a quick video I made on Instagram to demonstrate the simple setup for the experiment.
Materials Needed for The Ghost in the Bottle Experiment
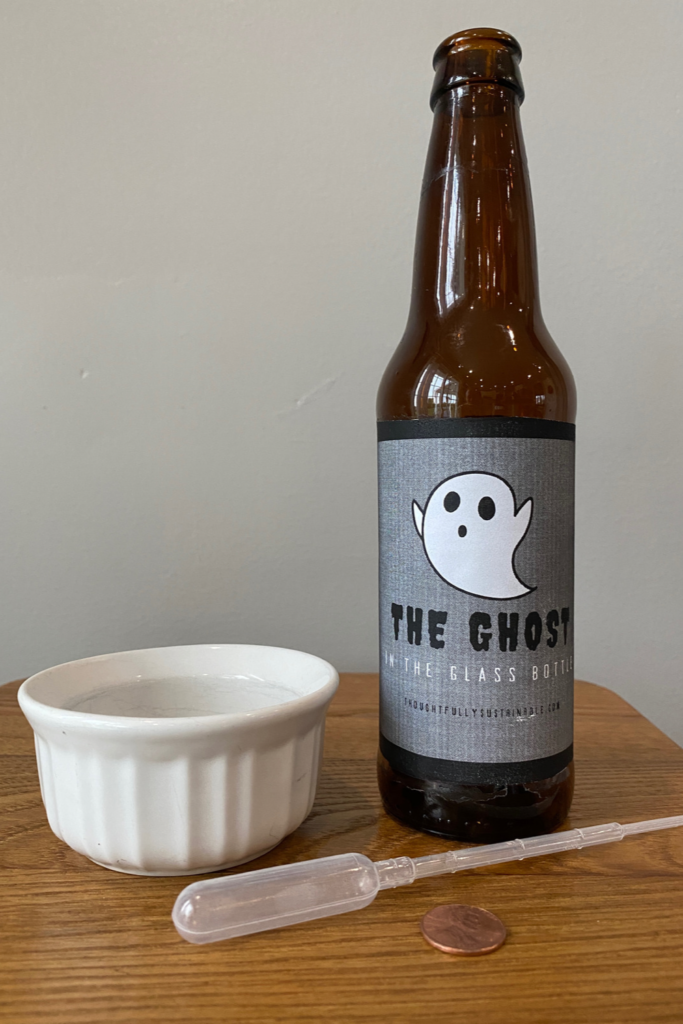
The beauty of this science experiment is that you probably already have everything you need to perform this scientific trick. To conduct this experiment, you will need the following supplies:
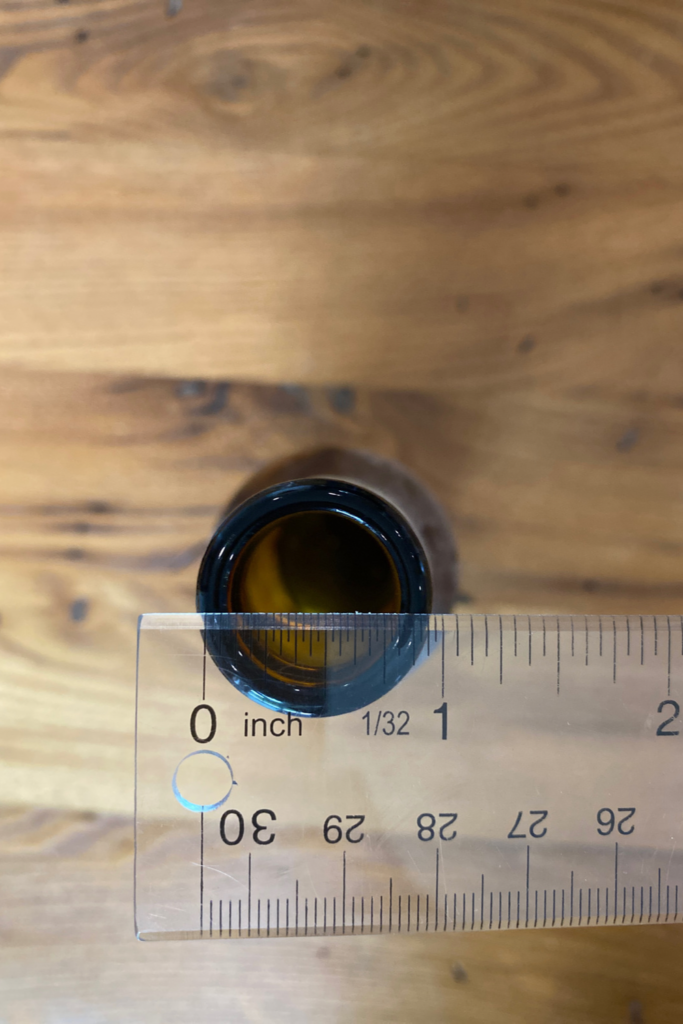
- 1 12 fl oz (354 mL) soda or beer bottle with an opening of approximately ¾ inch (1.9 cm) diameter*
- Penny minted anytime between 1983 to present
- Water dropper or pipette
- Water
- Access to a freezer or ice bath
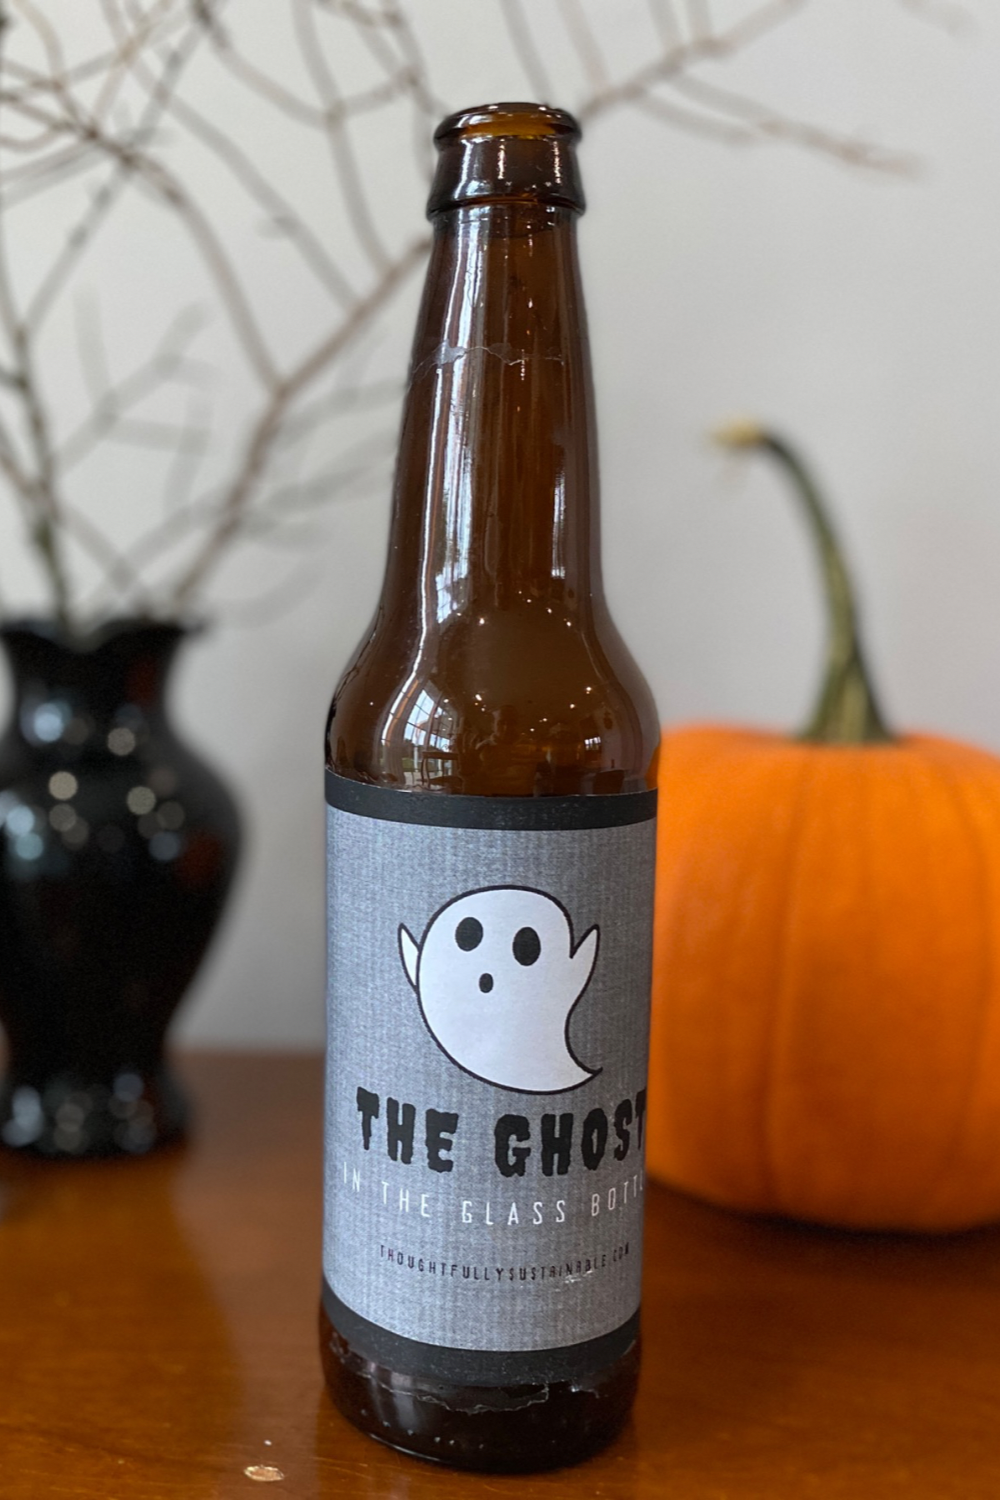
- “The Ghost in the Bottle” free bottle label (optional)
- Tape (optional)
*The diameter of the bottle opening needs to be approximately the same diameter as the penny to allow the coin to sit within the opening without falling into the bottle.
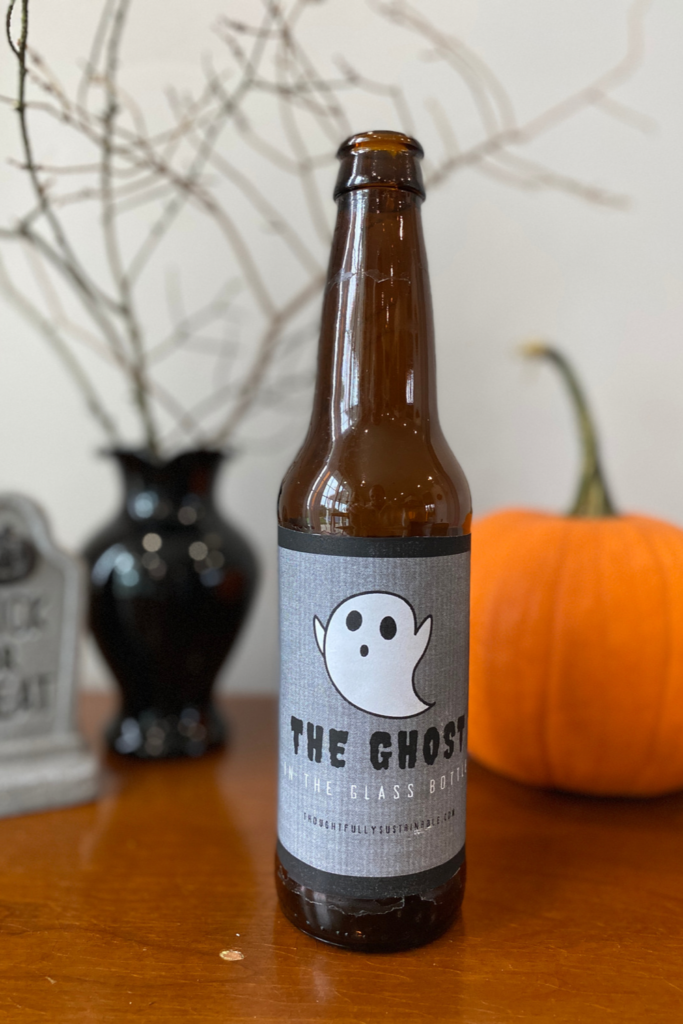
To make this science activity even more spooktacular, I’ve created a free, printable bottle label for you! Simply click the button below, input your email address, and the label will be delivered directly to your inbox.
If you are using an alcohol beverage bottle, it is advisable to either cover or remove the label before using it in a classroom setting. Remember, I was a public high school teacher for many years. The last thing you want is to be seen with alcoholic beverage bottles on campus! Many labels come off in water, while others may need to be soaked in a 50:50 vinegar solution, and then scrubbed off with a bit of baking soda. You can simply cover the original bottle label with my free, printable label as well.
Why is the Minted Date of the Penny Important for this Experiment?
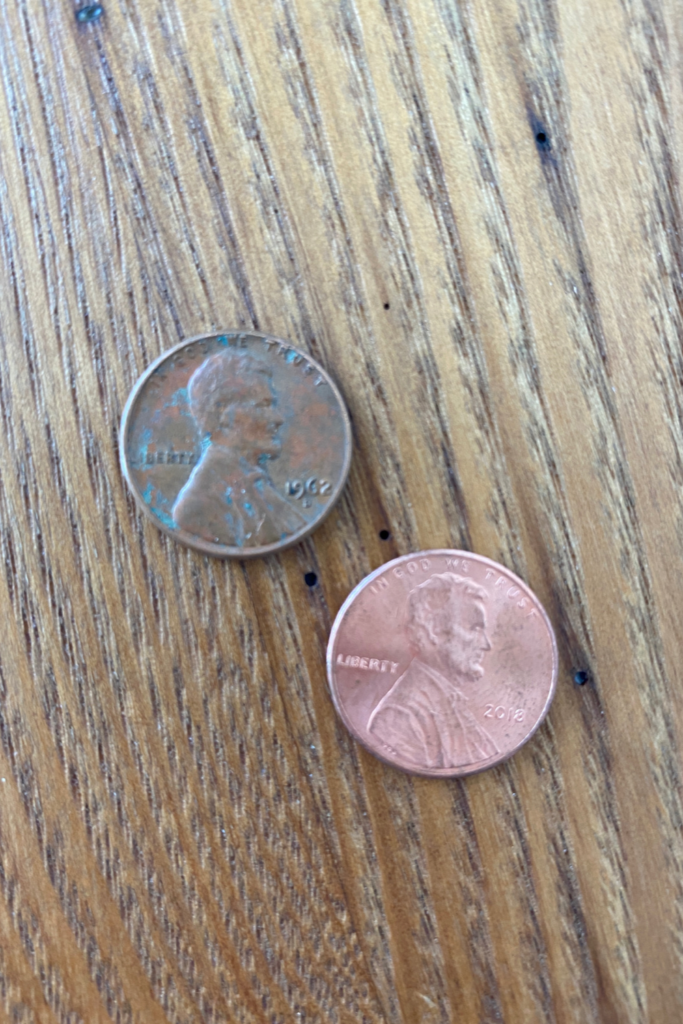
The penny has gone through substantial material changes since it was first introduced as an American coin. Pennies that were made prior to 1983 are 95% copper and 5% zinc. However, with the rise of the cost of copper, the percentages of each metal used to make the coin were dramatically altered in 1983. Pennies minted in 1983 or later are 97.5% zinc and 2.5% copper.
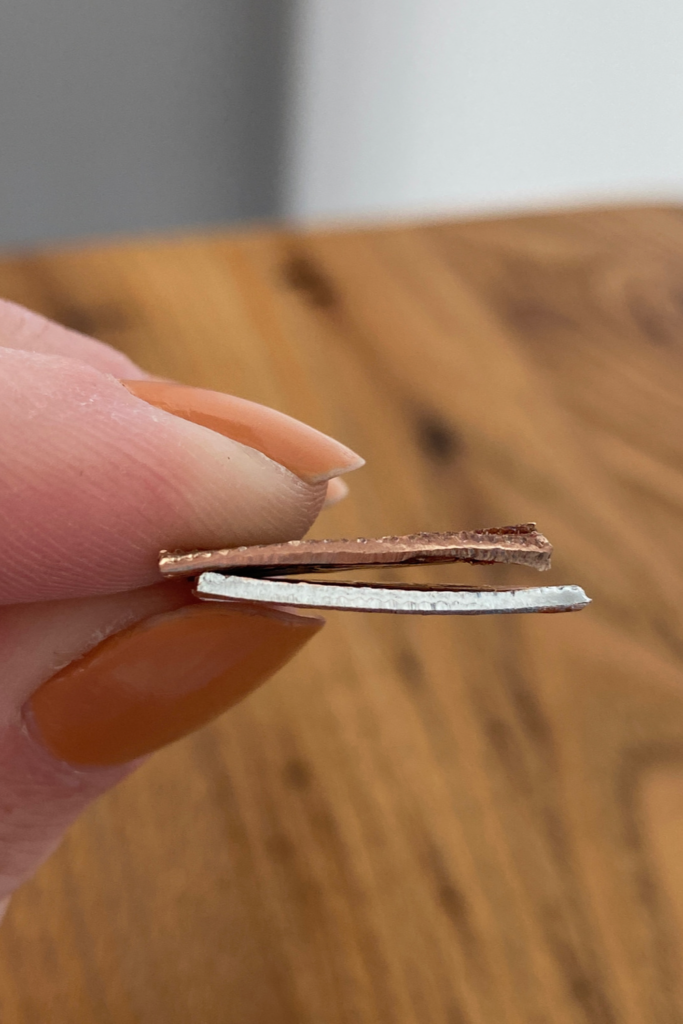
You can physically see the difference between the two types of pennies if you cut them in half. (Yes, this is technically defacing money – but since it’s for the advancement of science education, I’m okay with it.) The penny from pre-1983 is brown throughout, while the penny from 1983 or later has a silver-colored center (that’s the zinc) and a copper plating.
This change in metal composition also alters the weight of each coin, making the older, pre-1983 penny heavier than the newer, 1983 to present penny. It is the weight that matters for this science experiment. The older pennies have a weight of 3.11 grams, while the newer pennies have a weight of 2.5 grams. The difference of 0.6 grams influences the outcome of the “ghost” popping out of the bottle.
Instructions for The Ghost in the Bottle Experiment
Follow these simple steps to conduct “The Ghost in the Bottle” science experiment.
- Chill the glass bottle in a freezer or ice bath for approximately 30 minutes prior to conducting the experiment.
- Place the chilled glass bottle on a flat surface.
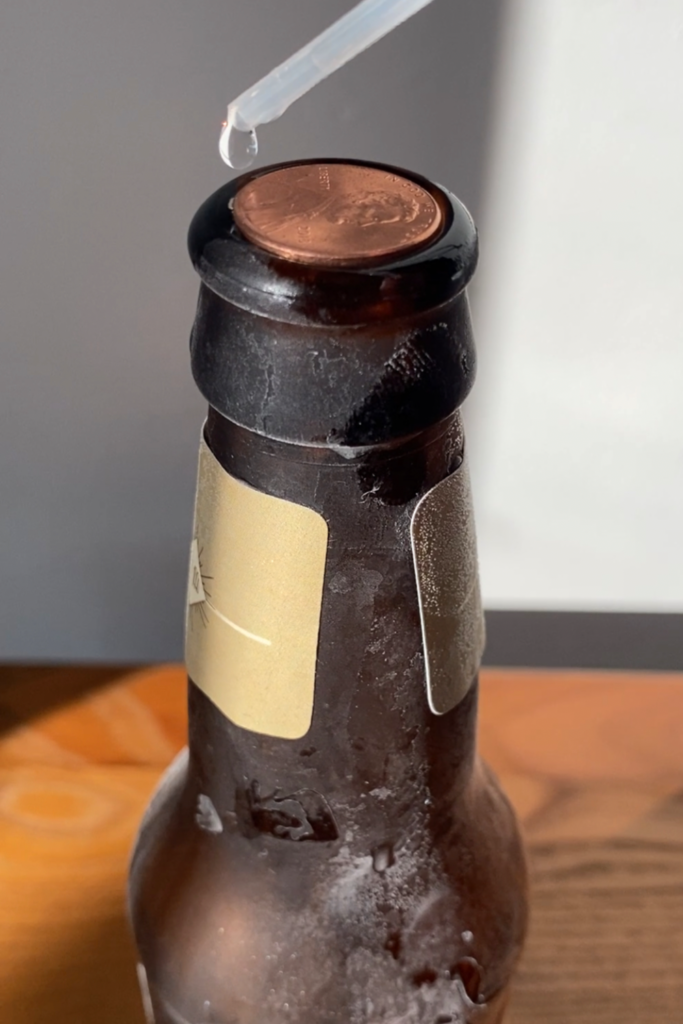
- Place the penny on top of the bottle opening, making sure it lies flat and does not tip into the bottle.
- Using a dropper or pipette, squeeze 3-4 drops of water around the rim of the bottle.
- Place your hands around the base of the glass bottle.
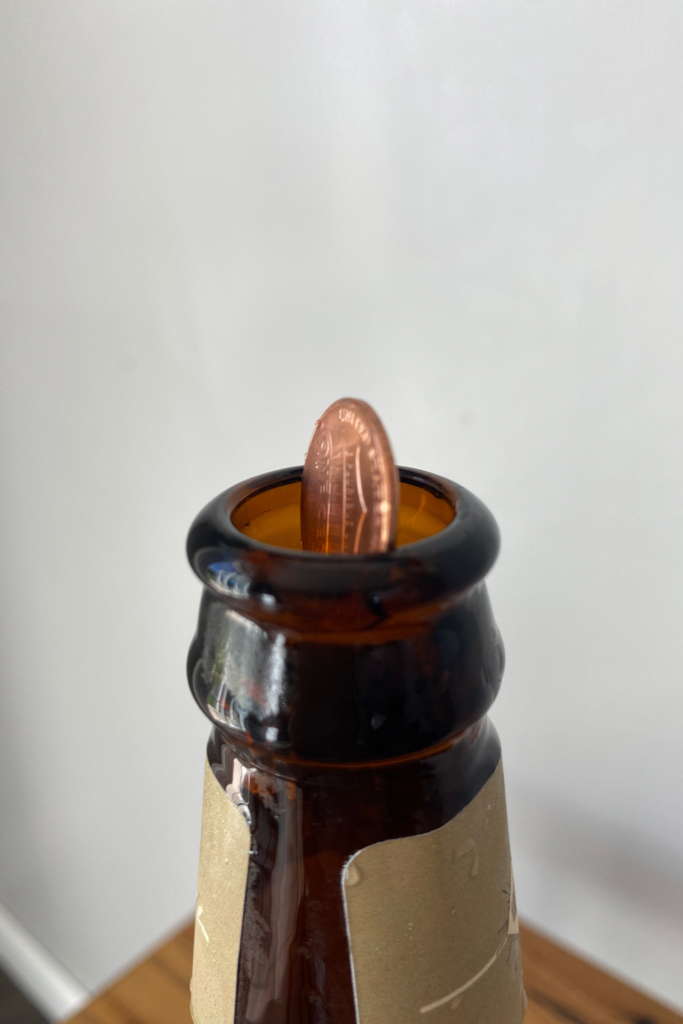
- Watch closely as the “ghost” moves the penny and “pops” out of the bottle.
If you are conducting this as a demonstration, ask for a student volunteer to hold the base of the bottle after the water drops have been added to the bottle’s rim. The movement of the penny may be quick, so you may want to have multiple chilled glass bottles on hand to repeat the experiment in the event your learners miss the movement of the penny.

Explaining the Science Behind the Experiment
This experiment relies on the scientific principles of gases. When the glass bottle is taken from the freezer or ice bath and placed in a room, the air inside quickly begins to warm. The gas molecules in the air begin to move faster in a warmer environment and start to expand. Placing a penny on top of the bottle traps some of this quickly expanding air.
When water is dropped onto the rim of the chilled glass bottle, along with the warmth from student hands wrapped around the base of the bottle create enough of a temperature difference to cause the air trapped inside to quickly expand. This expansion of air is what learners’ see as “the ghost” escaping the bottle. We know this is due to the increase in pressure that is formed inside the bottle from air that has rapidly risen in temperature.
To summarize, here are the basic scientific principles demonstrated by The Ghost in the Glass Bottle science experiment:
- As gases increase in temperature, they expand.
- The expansion of gases inside the bottle increases the pressure inside the bottle.
- Gases move from high to low pressure, so when the gases find a way to escape the higher pressure environment inside the bottle through the small space between the penny and the bottle rim, they do, causing the penny to wobble.
I created a short video on Instagram to demonstrate the science behind this experiment that may help visualize some of these concepts.

Extending the Learning for the Spooky Science Experiment
Once your students have tested out this science experiment, have them discuss what happened. Then, ask them to modify the experiment and try it again. Here are some modification suggestions you can propose to your learners:
- What would happen if we used a penny minted prior to 1983? Would the experiment still work?
- Is it necessary to add water drops to the rim of the bottle to make the “ghost” appear?
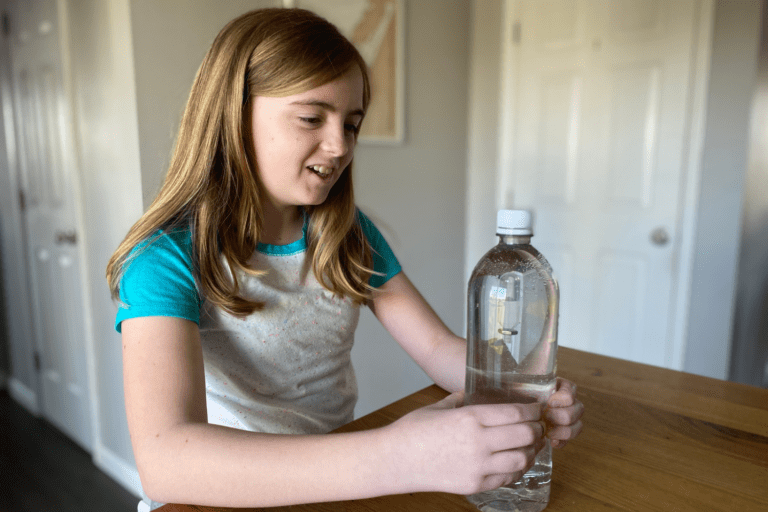
- Will the experiment work if we used a bottle chilled in the refrigerator instead of a bottle from a freezer or ice bath?
- Would this experiment work the same way with a plastic bottle?
Depending on the age and ability level of your learners, you can either choose to investigate one of these learning extensions together as a class, or allow them to forge ahead on their own and design an experiment to answer any one of these questions, or a question of their own creation.
I’d Be Delighted to Hear Your Feedback
If you find this resource to be useful in your home, classroom or wherever your learning environment is, please let me know by emailing me or leaving me a comment on Instagram, TikTok, or Pinterest!
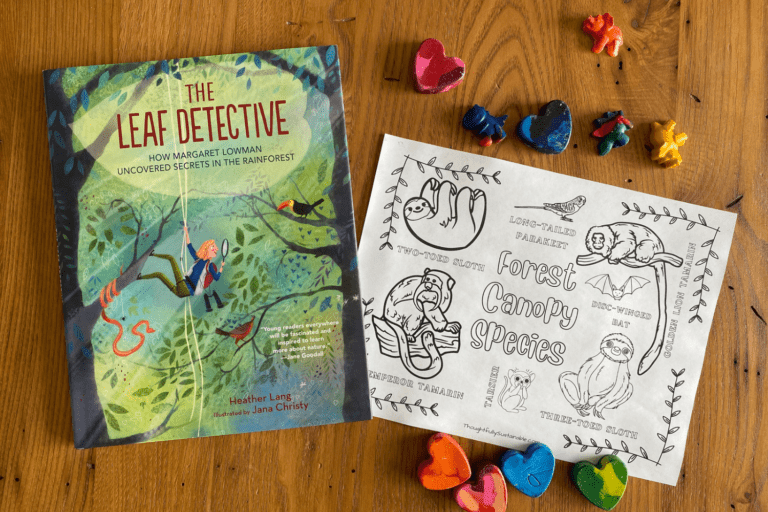
If you’re in search of more Halloween-themed activities for kids, try making paper mâché pumpkins from trash or create a lunar phase calendar out of cardboard.
Additionally, if you know of someone who may be interested in this free science resource, please forward them a link to my blog. Your support is greatly appreciated!
Easy Ghost in the Glass Bottle Science Experiment
Are you in need of a spooktacular science experiment for Halloween? Suitable for any age, this ghost in a glass bottle “trick” is perfect for classroom learning or holiday parties. Read on to learn the steps behind this simple science activity.
Materials
- 1 12 fl oz (354 mL) soda or beer bottle with an opening of approximately ¾ inch (1.9 cm) diameter*
- A penny minted anytime between 1983 to present
- Water dropper or pipette
- Water
- Access to a freezer or ice bath
- “The Ghost in the Bottle” free bottle label (optional)
- Tape (optional)
Instructions
- Chill the glass bottle in a freezer or ice bath for approximately 30 minutes prior to conducting the experiment.
- Place the chilled glass bottle on a flat surface.
- Place the penny on top of the bottle opening, making sure it lies flat and does not tip into the bottle.
- Using a dropper or pipette, squeeze 3-4 drops of water around the rim of the bottle.
- Place your hands around the base of the glass bottle.
- Watch closely as the “ghost” moves the penny and “pops” out of the bottle.
Follow these simple steps to conduct “The Ghost in the Bottle” science experiment.
Notes
The diameter of the bottle opening needs to be approximately the same diameter as the penny to allow the coin to sit within the opening without falling into the bottle.
To make this science activity even more spooktacular, I’ve created a free, printable bottle label for you! Simply click the button below, input your email address, and the label will be delivered directly to your inbox.
Download the FREE Ghost in the Bottle Printable Label
If you are using an alcohol beverage bottle, it is advisable to either cover or remove the label before using it in a classroom setting. Remember, I was a public high school teacher for many years. The last thing you want is to be seen with alcoholic beverage bottles on campus! Many labels come off in water, while others may need to be soaked in a 50:50 vinegar solution, and then scrubbed off with a bit of baking soda. You can simply cover the original bottle label with my free, printable label as well.


One Comment
Comments are closed.