Discovering Density with Kids by Making Lava Lamps and Cleaning Up Oil Spills
First, introduce your younger learners to the concepts of density and chemical reactions in this simple lava lamp science experiment that can be done from the comfort of your kitchen!. Engage their minds in the scientific method by having them make predictions, follow instructions and record observations to discover the science behind density and a simple chemical reaction. Then, apply that knowledge to investigate the best method to clean up an oil spill!
You read that right, 2 science experiments for kids in one post! Read on to learn more.
How to make a lava lamp
Making lava lamps is one of my kids’ favorite science activities, as they require very little set up and are fascinating to watch! Little do they know that they’re also learning about the science concepts of density, chemical reactions and the scientific method.
Want to give it a try? Here’s what you’ll need.
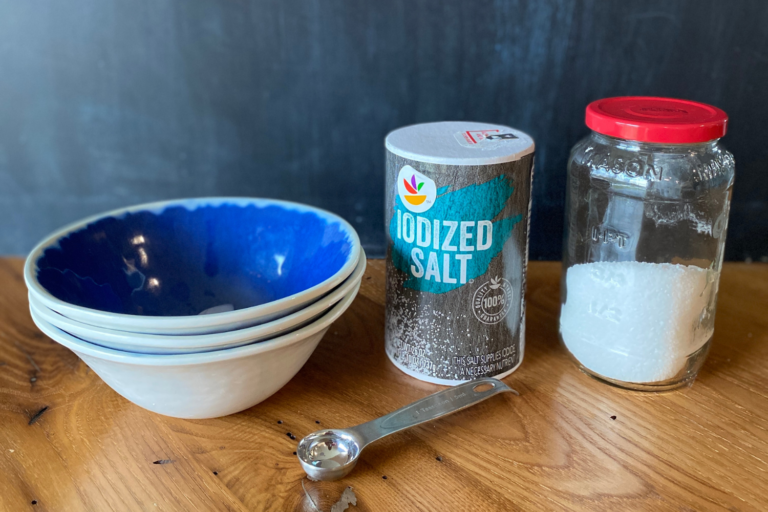
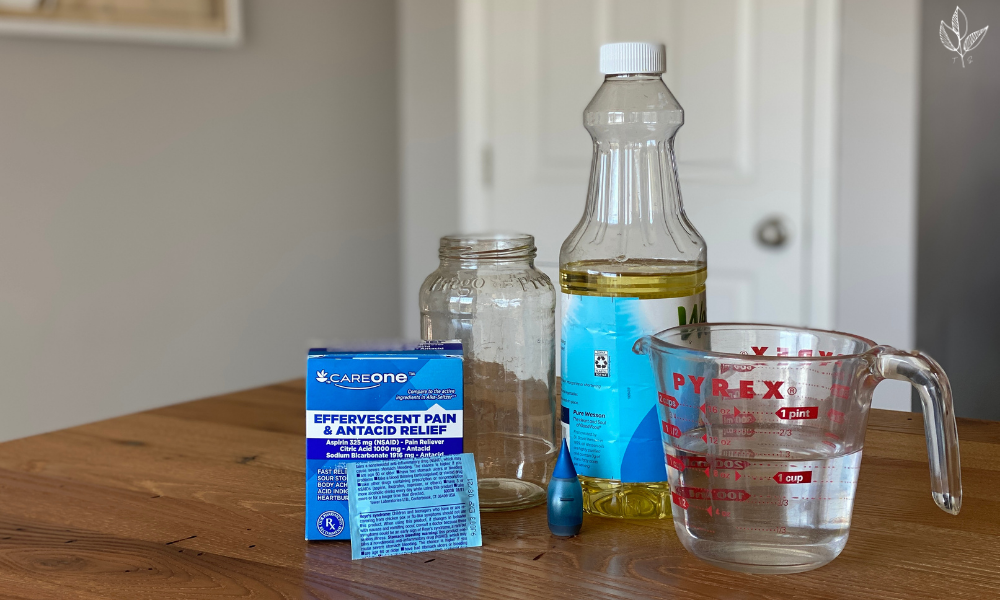
materials for making a lava lamp:
- clear, tall drinking glass or jar. You’ll notice I used a repurposed pasta sauce jar – no need to purchase any fancy science equipment!
- water
- cooking oil. I chose to use vegetable oil because I had it on hand, but any other cooking oil would work.
- food coloring
- 2 effervescent tablets. Alka-Seltzer or any other brand will do.
- spoon
I created a free student-friendly printable to guide you and your learners step by step through this experiment. Simply enter your email address below to access the document!
Once you’ve collected the supplies you’ll need to transform a simple glass jar into a lava lamp, follow these instructions. Also included in the instructions are prompts that you can use to engage your learners’ critical thinking skills.
Instructions for making a lava lamp:
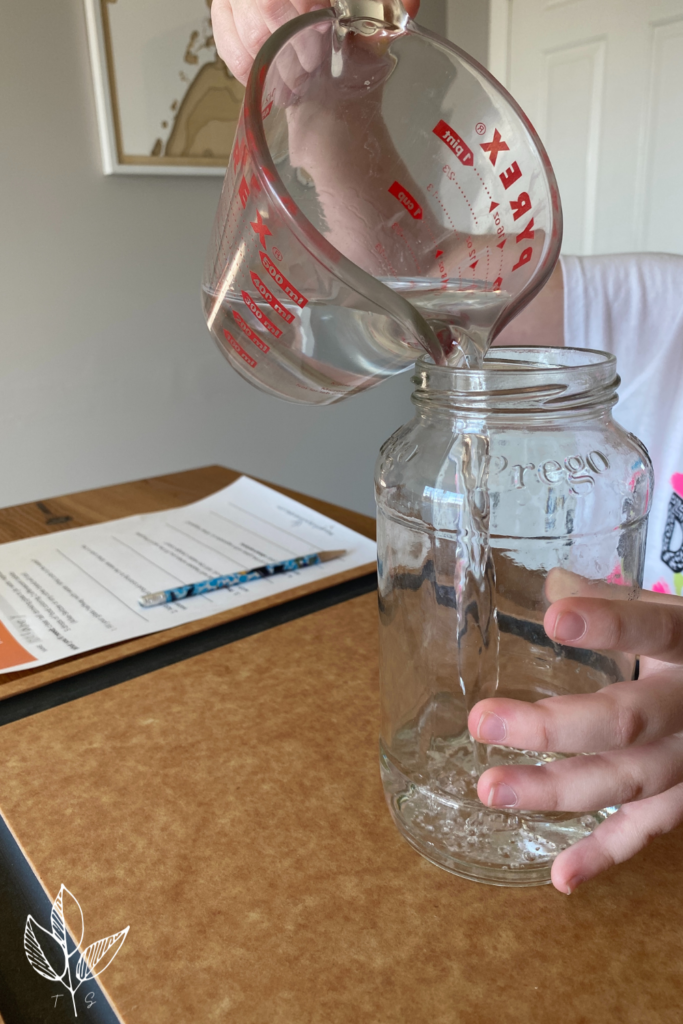
- Fill the glass halfway with water. Prompt: “What color is the water?”
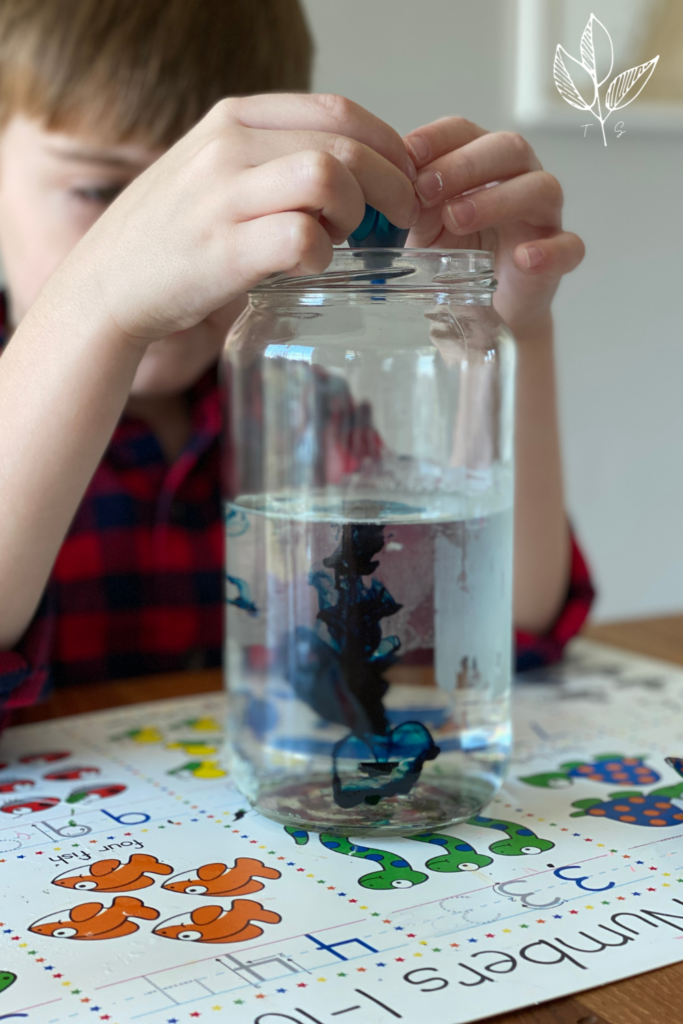
- Add 4-5 drops of food coloring to the water. Prompt: ” What color is the water now?”
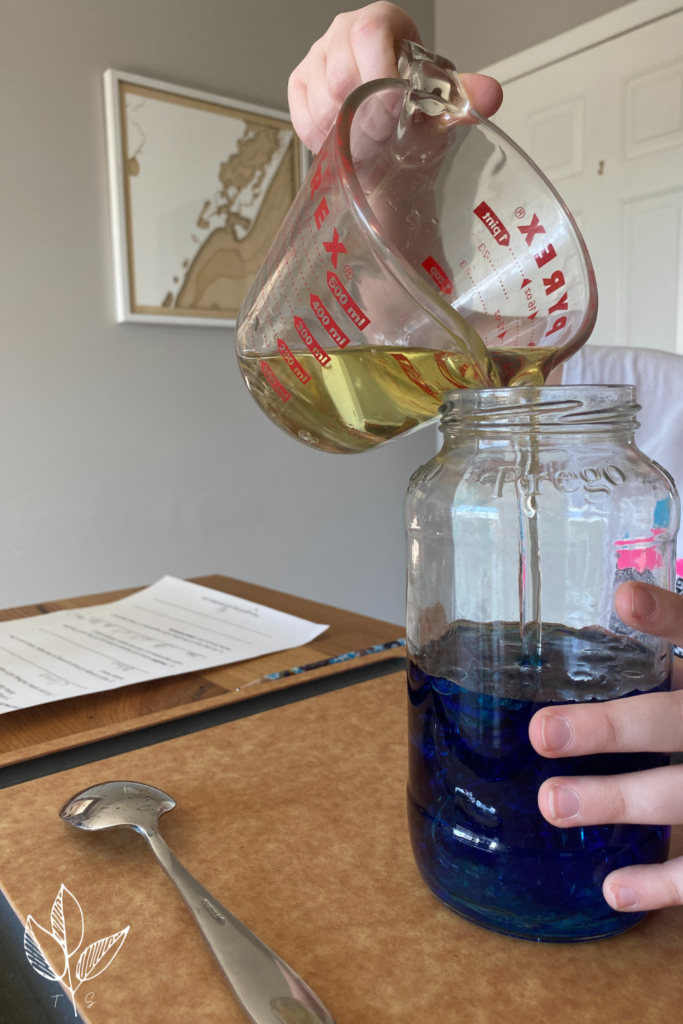
- Prompt: “Predict what will happen when you fill the rest of the glass with cooking oil. Will the water change color? Will the oil sink or float?”
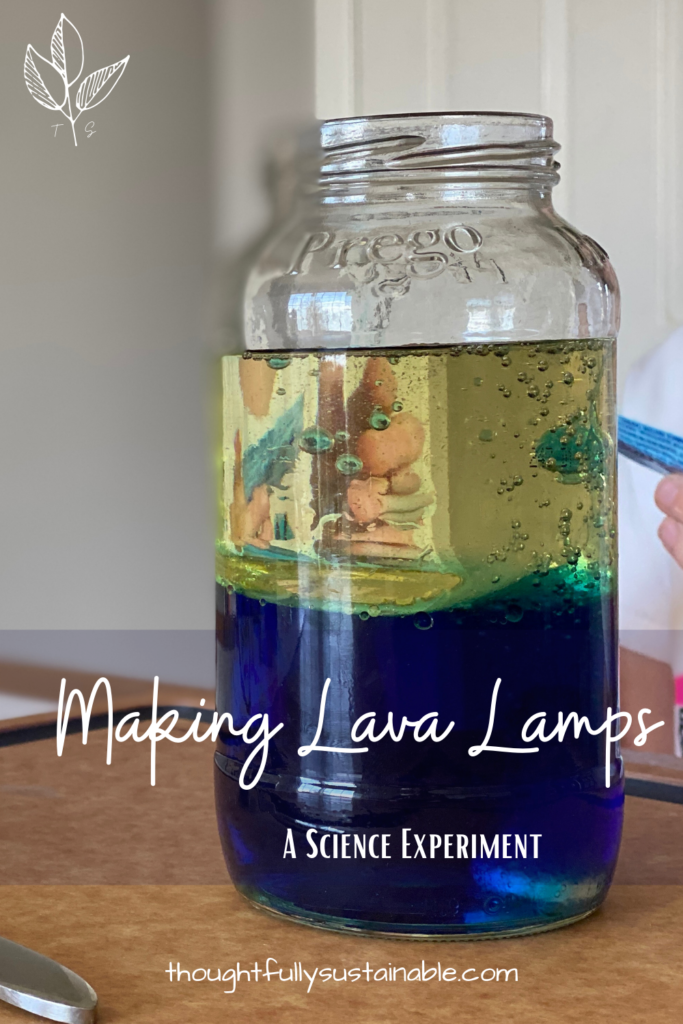
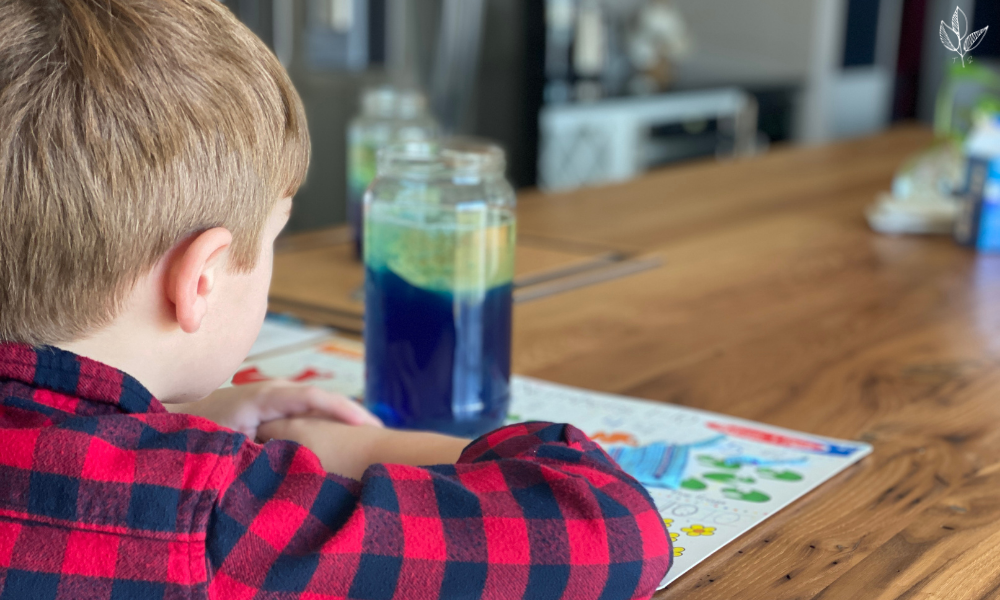
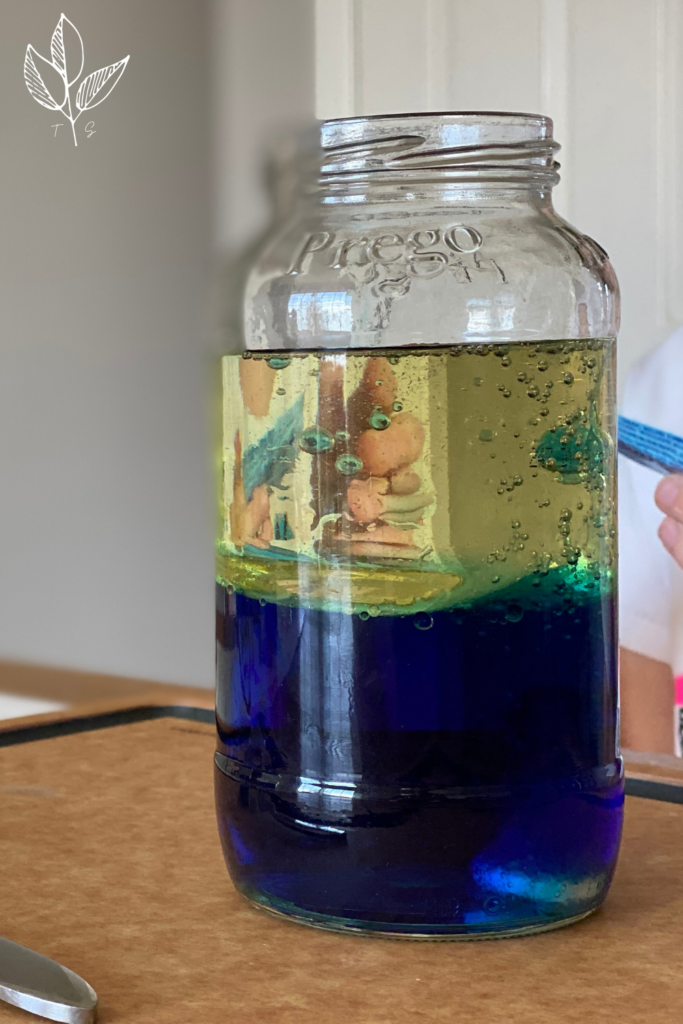
- Fill the rest of the glass with cooking oil. Prompt: “What happened? Describe your observations.”
- Explain: “You have just observed density in action! Density is the amount of mass in a given volume. The denser liquid is at the bottom of the glass, and the less dense liquid floats on top! We observed that water is MORE dense than oil.”
- Stir up the oil and water with the spoon. Get your learners to attempt to make the oil sink. Prompt: “What happens after you stir the water and oil?”
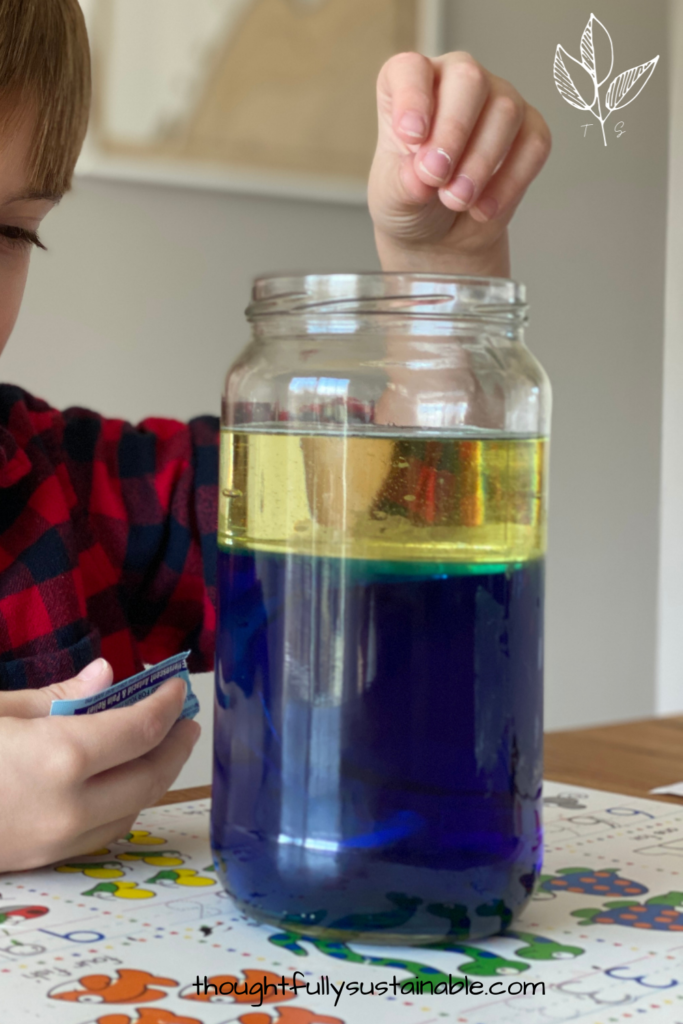
- Once the oil and water have separated, engage your learners with the following. Prompt: “Predict what will happen when you add the effervescent tablets to your glass. Will they sink? Will they dissolve? Will they float? Will they react?”
- Add the 2 tablets to the glass. Prompt: “What happened?” Ask your learners to draw their observations.
- When the effervescent tablets were added to the glass, they reacted with the water and created a gas, carbon dioxide. Prompt: “How were you able to see the gas?” They should respond by saying that they saw bubbles formed.
- Make connections: “The gas bubbles that you see are carbon dioxide, the same gas that you breathe out, as well as the same gas that you hear “fizz” when you open a can of soda/pop. Gas is less dense than both liquids (water and oil) which is why the bubbles rise to the oil layer of the jar. The bubbles then fall back down because water molecules are trapped in the bubbles, and we know what water is more dense than oil.”
Once you’ve completed the experiment, you don’t have to throw out the oil and water. You can use it over and over again with new effervescent tablets to continue to create lava lamps! I seal our glass jar with a lid and store it on a kitchen shelf to reuse any time we need a little extra science activity.
Note: parent supervision and/or assistance is always advised with all experiments and activities.
Making connections to lava lamps and sustainability science
So, how do making lava lamps apply to sustainability science?
Great question! Understanding the physical and chemical properties of oil and water can help us determine how best to clean up an oil spill, for example.
Allow me to explain.
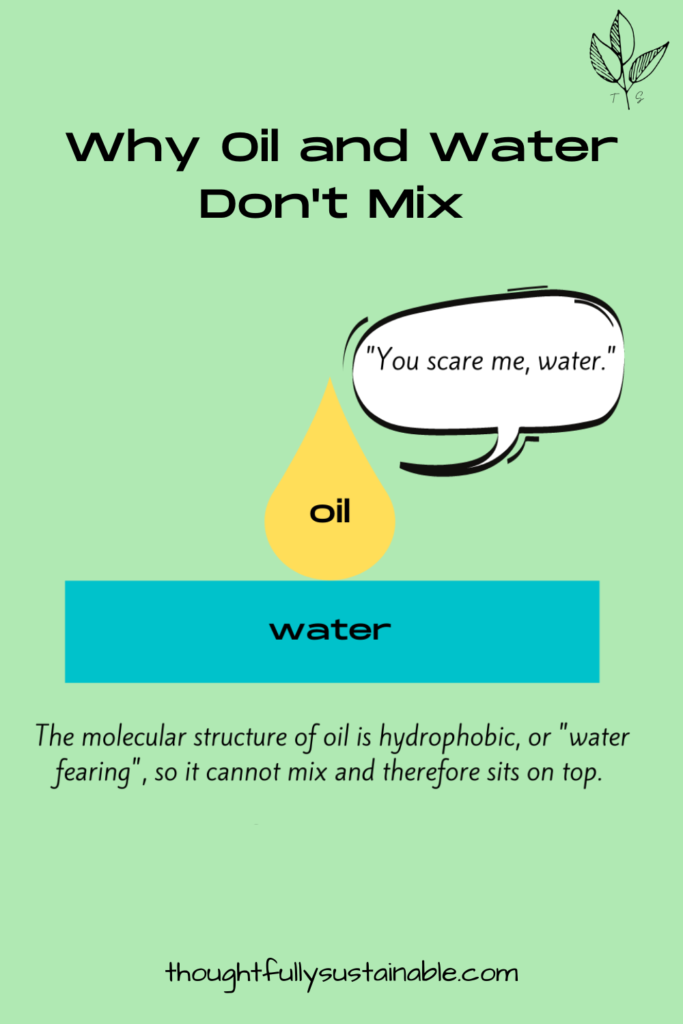
Water and oil do not mix, not only because they have differing densities, but also because their molecular structure is different. Water molecules are polar, which means that they have distinct areas that are oppositely charged. Molecules of oil are nonpolar, as they do not have distinctly different areas of unlike charge. Due to this difference in structure, oil is considered hydrophobic, or “water fearing”.
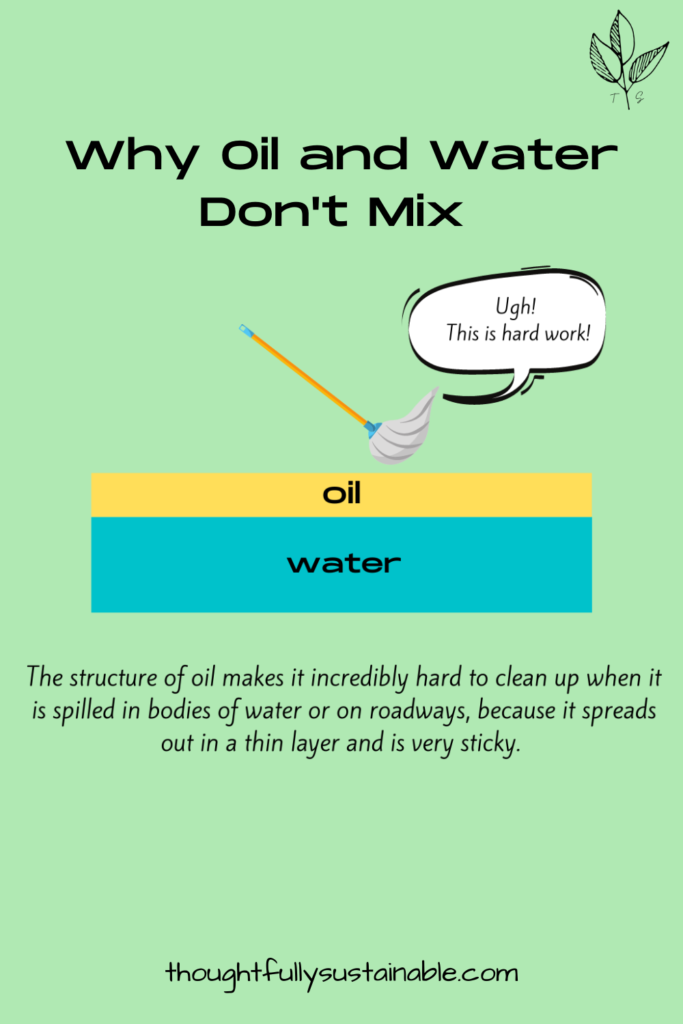
When oil is spilled in a body of water, such as when an oil tanker leaks during transport across the ocean, the structure of this carbon-dense product makes it incredibly hard to clean up. Not only does it spread out in a thin layer on top of the body of water, but it is also sticky, adhering to plant and animal life that comes into contact with it.
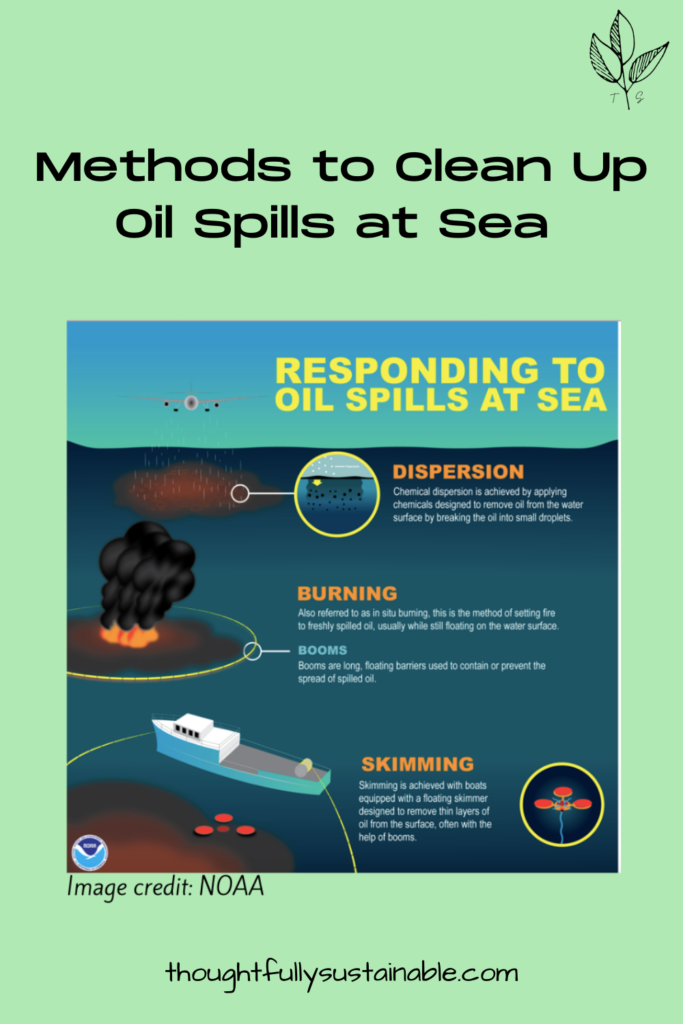
There are a variety of methods used to clean up oil spills that occur in water. None of them are perfect solutions on their own. Often they are used in conjunction with one another. The most common methods are:
- Dispersion – adding chemicals to the oil to break the larger molecules up into smaller molecules. This is essentially what you are doing when you add dish detergent to an oily pan in an effort to clean it. The smaller molecules remain in the water, which may still cause stress on the animal and plant life that reside there.
- Burning – a perimeter of floating barriers known as booms are set up around the fresh spilled oil in an effort to contain it in a specified area. Then the oil is set on fire to break it down.
- Skimming – using tools that are attached to boats to skim the surface of the water in an effort to collect the floating oil. Usually booms are utilized in this method as well, in an effort to contain the spill.
- Absorption – used more in freshwater or land spills, this is when mats made of absorbent materials are placed over top of the oil to help to remove it from the surface.
FREE Oil Spill Science Experiment
Want to allow your learners to investigate the “best” method to clean up an oil spill? Minus the burning one, of course.
Written for primary grades, this simple inquiry based activity can be used in conjunction with the lava lamp experiment. You read that right – two experiments in one! Click below to download your free copy of Let’s Investigate: What’s the Best Method to Clean up an Oil Spill?
More recently, scientists have discovered that there are over half a dozen different marine bacteria that eat oil.
Yes, you read that correctly. There are naturally occurring microbes in the sea that actually dine on petroleum products. These bacteria can be found in different oceans of the world, and so are most effective at breaking down oil that is found in their native environments. For example, an Arctic Ocean microbe won’t be effective in warmer Indian Ocean waters.
The process of using bacteria to break down oil is called biodegradation. Does this mean that dispersing large concentrations of bacteria over an oil spill would reverse all of the environmental consequences of the disaster? Probably not. However, when used in conjunction with other methods, it could create a viable solution.

If this post was helpful, please pin it!
If you’ve learned something from this post, please share it with a friend, or on your social media platform of choice!
Want to save the lava lamp experiment to try at a later date? Be sure to Pin it to your favorite Pinterest board!