How to Explain the Chemistry Behind Bath Bombs + Free Recipe
Interested in learning the science behind your favorite spa-day treat? I’ll explain the chemistry that’s responsible for making bath bombs that transform your tub into a tranquil spa!
This post contains affiliate links.
My daughter loves having “spa days” – where we soak our feet in a warm bathtub of water and then take turns painting each other’s nails. She’s in elementary school, so I never know what kind of wild manicure or pedicure my spa treatment will include! I’ve been wanting to add to our spa day ritual by making bath bombs, and it dawned on me that you might be interested in learning the science behind how these work!
Or maybe I’m just secretly hoping you’re interested in how these work, and that you’ll allow me to geek out over bath bomb chemistry. Either way – here’s the science.
The Chemistry Behind Bath Bombs
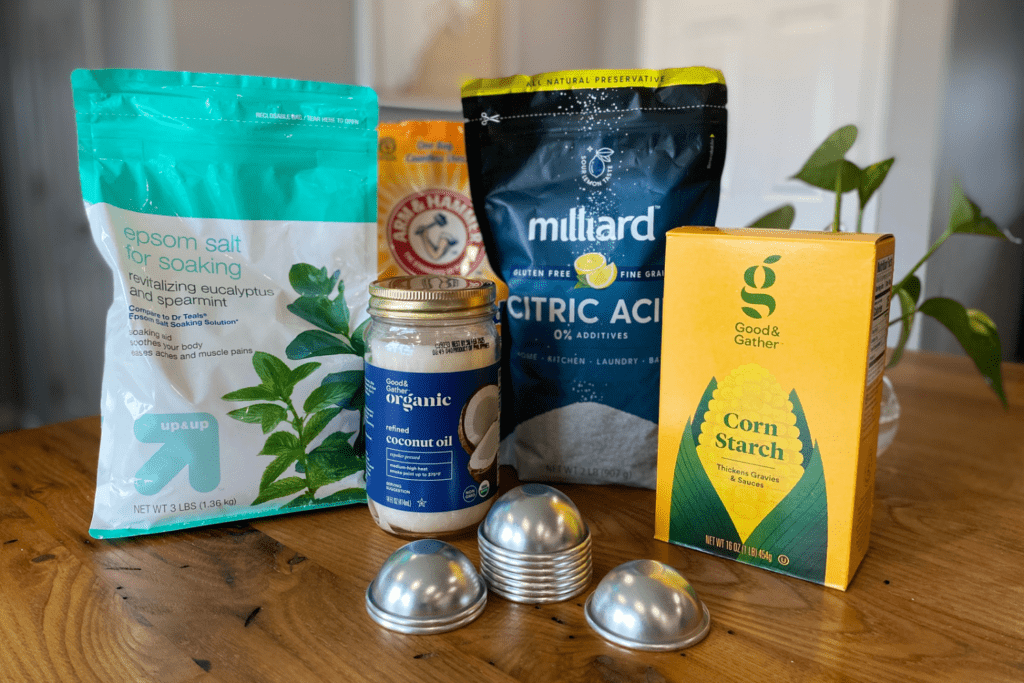
Traditional bath bombs are made up of a few simple ingredients that, when submerged in water, make a fantastic chemical reaction! Here is a list of the essential ingredients used in making most bath bombs:
- Sodium bicarbonate (also known as baking soda or bicarb)
- Citric acid
- Magnesium sulfate (commonly known as Epsom salts or bath salts)
- Cornstarch or Arrowroot Powder
- Coconut Oil
- Various Essential oils (optional)
The Purpose of Baking Soda and Citric Acid in Bath Bombs
Baking soda, also known by its chemical name, sodium bicarbonate (NaHCO3) or bicarb for short, is classified as a base. Citric acid (C6H8O7) is classified as an acid. In their dry, powder forms, these two substances do not react. However, put the two in water and POW – a neutralization reaction occurs!
When the baking soda reacts with the citric acid in water, three products are formed: sodium citrate (Na3C6H5O7) which is classified as a salt, carbon dioxide gas (CO2) which is responsible for the famous bath bomb “fizzing”, and water.
Here’s what the chemical reaction looks like:
NaHCO3 + C6H8O7 + H2O→ Na3C6H5O7 + H2O + CO2
Baking soda + citric acid + water → sodium citrate + water + carbon dioxide
Watch this video to see the chemical reaction happen. Be sure to listen for the fizzing!
The Purpose of Epsom Salts, Cornstarch, and Oil in Bath Bombs
I’ve explained the scientific purpose of baking soda and citric acid in bath bombs. But what is the purpose of epsom salt, cornstarch, and oil?
Magnesium sulfate (MgSO4), better known as Epsom salts or bath salts, is commonly used to soothe sore muscles. When put in water, the salts dissolve, allowing the magnesium and sulfate ions to separate from one another and be absorbed through the skin.
The reason for using cornstarch or arrowroot powder is to act as a stabilizer for the bath bomb. The presence of this ingredient helps to slow down the rate at which the bath bomb dissolves, causing the “fizz” rate (or the reaction between the baking soda and citric acid) to decelerate. The greater the amount of cornstarch, the slower the bath bomb will dissolve and react.
Coconut oil is often used in bath bomb recipes for several reasons:
- Moisturizing: Coconut oil is an excellent moisturizer that helps to hydrate and nourish the skin. When used in bath bombs, it can help to prevent dryness and leave the skin feeling soft and smooth.
- Binding Agent: Coconut oil also acts as a binding agent that helps to hold the other ingredients together in the bath bomb mixture. This is because it is solid at room temperature and melts when heated, allowing it to create a solid structure when it cools.
- Easy to find: Coconut oil is widely available in stores and is relatively inexpensive, making it a popular choice for DIY bath bomb makers.
- Shelf Life: Coconut oil has a long shelf life, which means that bath bombs made with it can last longer than those made with other oils that can spoil more quickly.
Overall, coconut oil is a versatile and beneficial ingredient in bath bomb recipes that can help to enhance the overall experience of using a bath bomb.
Essential oils are added to bath bomb recipes for a variety of reasons, from adding a pleasant smell to the bath to aiding in moisture retention of the skin.
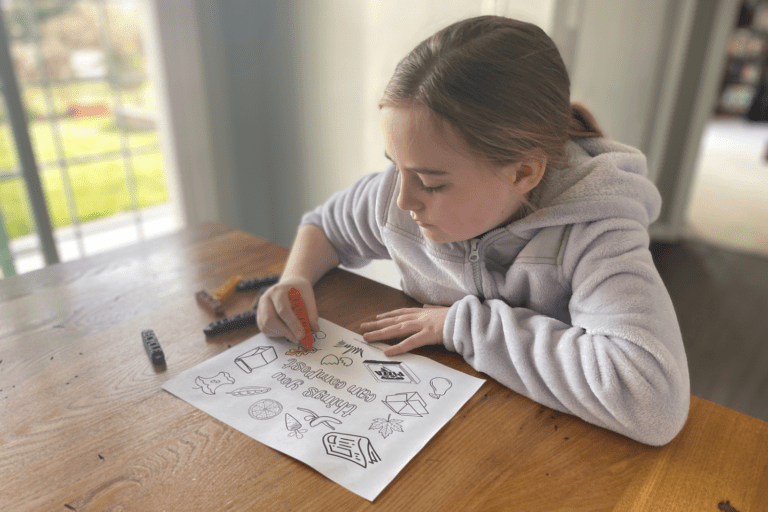
Understanding the chemistry behind how bath bombs work is a practical application of science and a fantastic way to engage your learners in STEM.
Reasons to Make Homemade Bath Bombs with Kids
Making bath bombs with kids is a fun and pleasant-smelling science activity. There are several reasons why you may choose to create DIY bath bombs:
- Customizable: Homemade bath bombs can be customized to suit individual preferences by using specific scents, colors, and ingredients. This means that you can create bath bombs that are tailored to your needs and preferences, such as using essential oils that you find soothing or using ingredients that are known to help with specific skin conditions.
- Cost-effective: Making bath bombs at home can be more cost-effective than buying them from a store, especially if you plan to make them in large quantities. Additionally, making them at home can save you money on shipping fees and packaging costs.
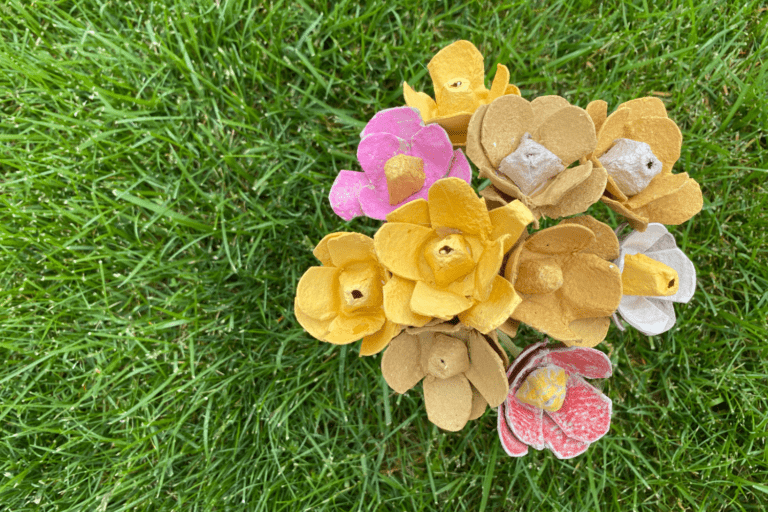
- Creative outlet: Making bath bombs can be a fun and creative hobby that allows you to experiment with different colors, scents, and textures. Who doesn’t like a hands-on chemistry activity that smells lovely?
- Science is cool: Yep – that alone is a reason to make homemade bath bombs.
Simple, DIY Vegan Bath Bomb Recipe for Kids
Here’s a simple recipe to make homemade, vegan bath bombs with kids. Be sure to check your kitchen and pantry shelves to see which ingredients you have on hand before purchasing new materials.
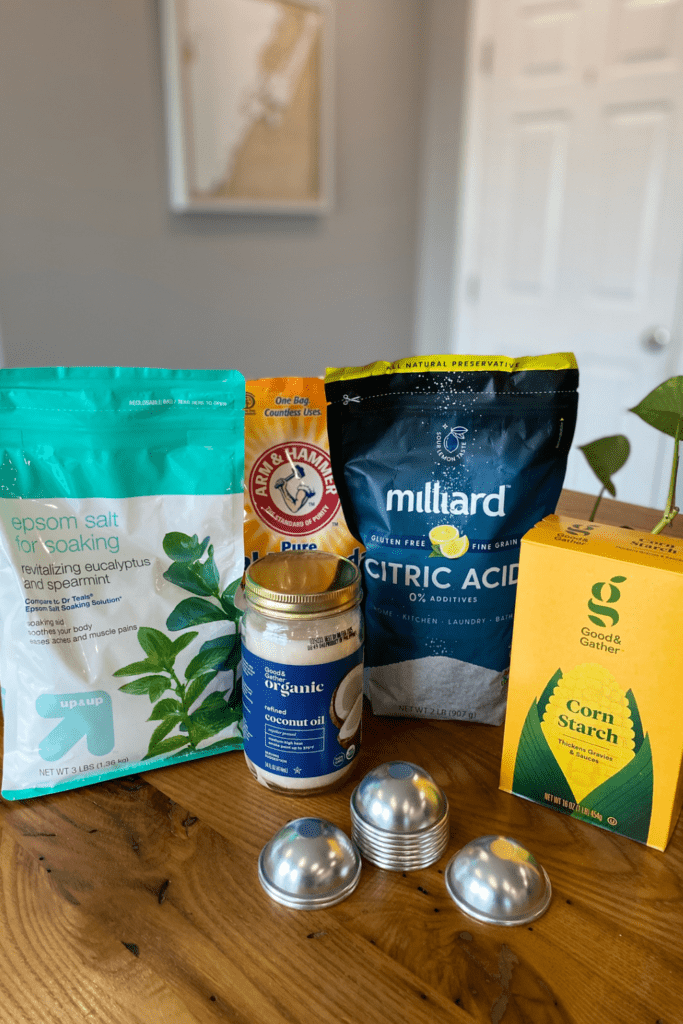
Ingredients to Make Simple Vegan Bath Bombs
- 1 cup baking soda
- 1/2 cup citric acid
- 1/2 cup Epsom salts
- 1/2 cup cornstarch
- 2 tbsp. coconut oil (melted)
- 2-3 drops essential oil of your choice
- Food coloring (optional)
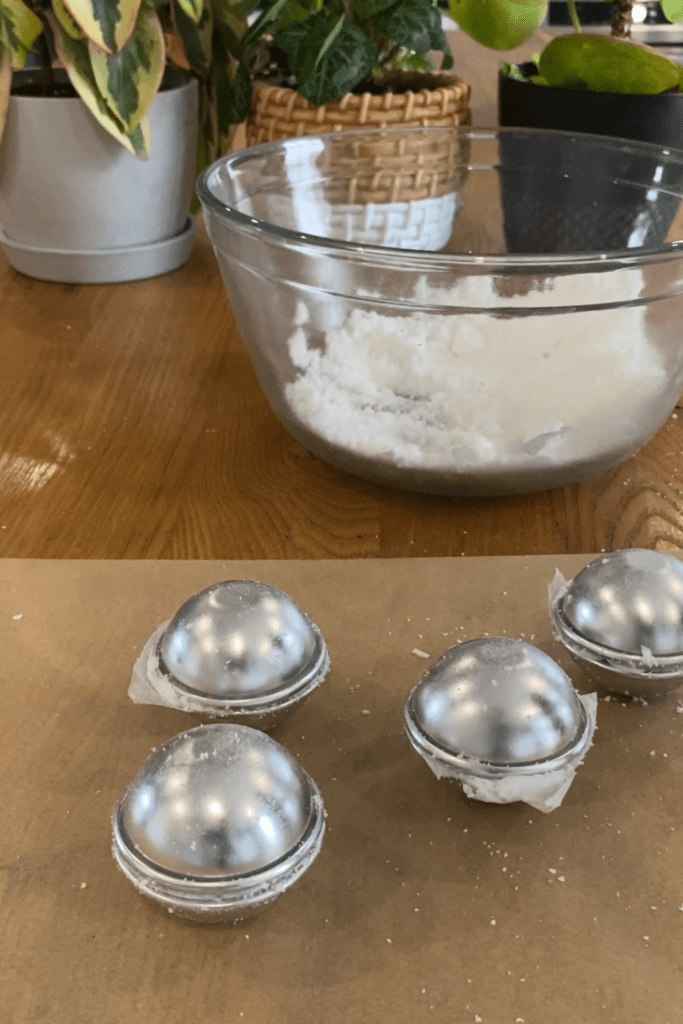
- Metal bath bomb molds (you can also use silicone muffin cups or small plastic containers)
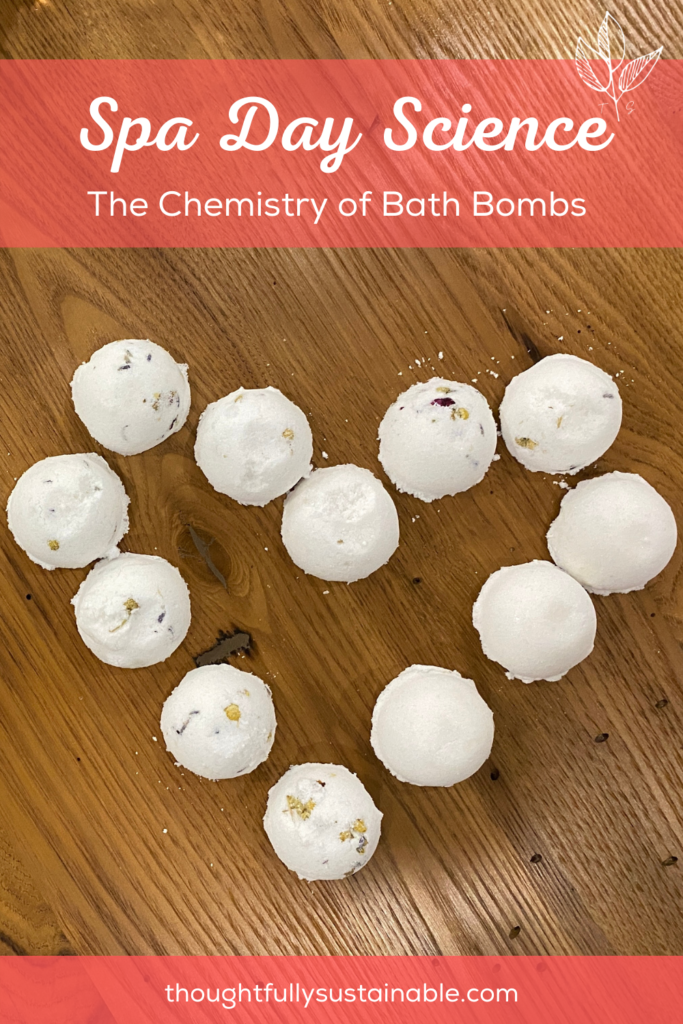
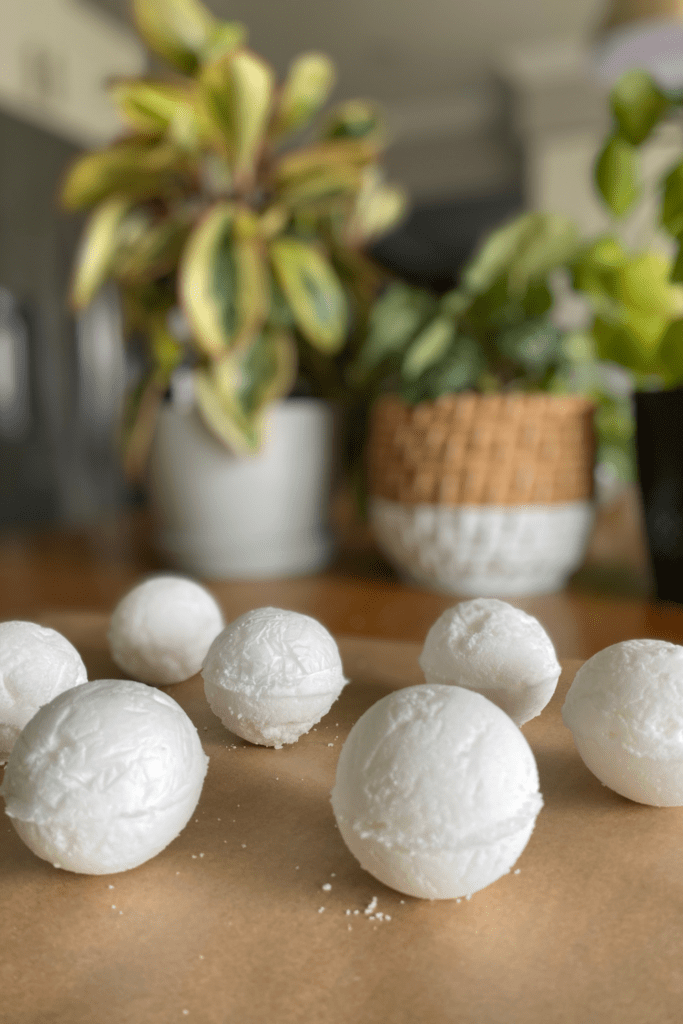
Bath bomb molds come in multiple sizes. They are measured by their diameter. I chose to use 2.2 inch metal bath bomb molds, which are similar in size to a clementine. You can also purchase Epsom salts scented with essential oils, which can allow you to skip the addition of 2-3 drops of additional oil.
Instructions for Simple DIY Vegan Bath Bombs
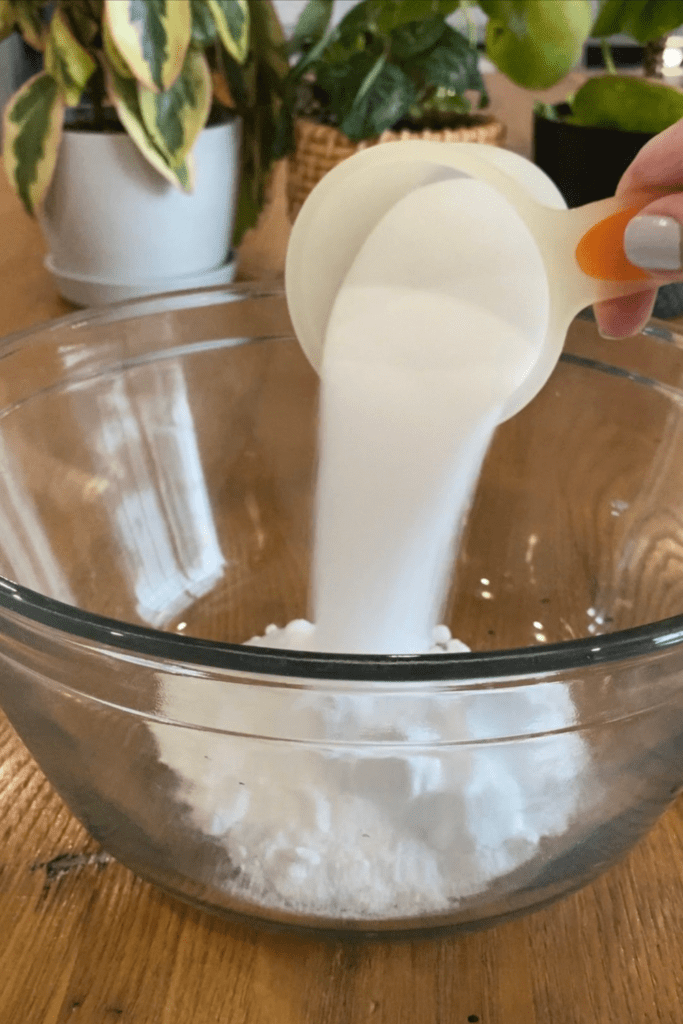
- In a large mixing bowl, combine baking soda, citric acid, Epsom salt, and cornstarch. Mix well.
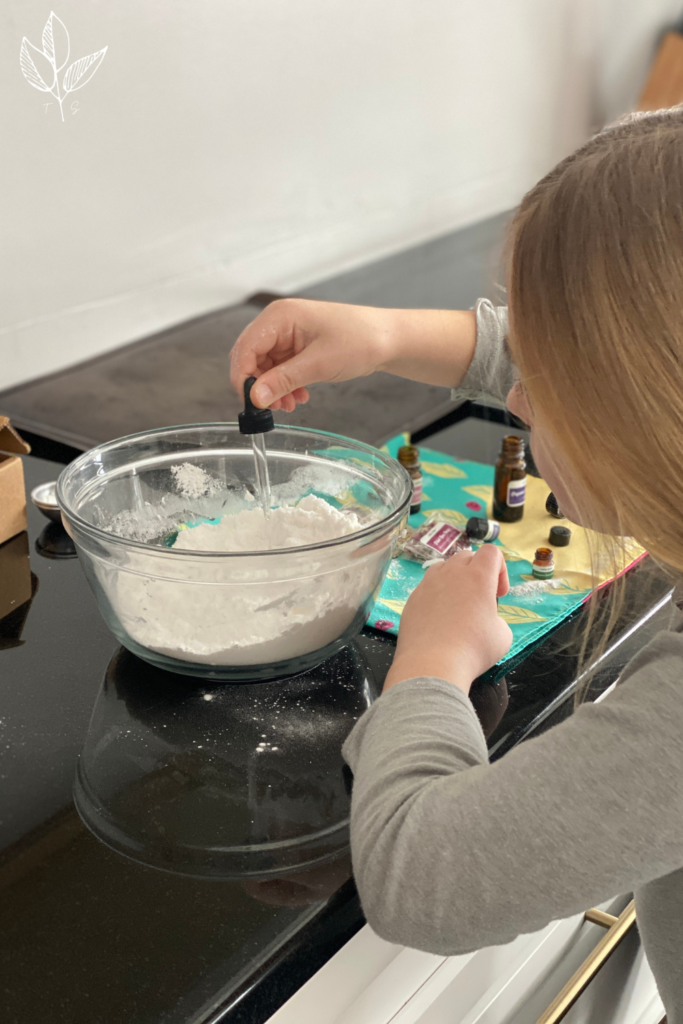
- In a separate small bowl, mix melted coconut oil, essential oil, and food coloring (if using). Stir until the color is evenly distributed.
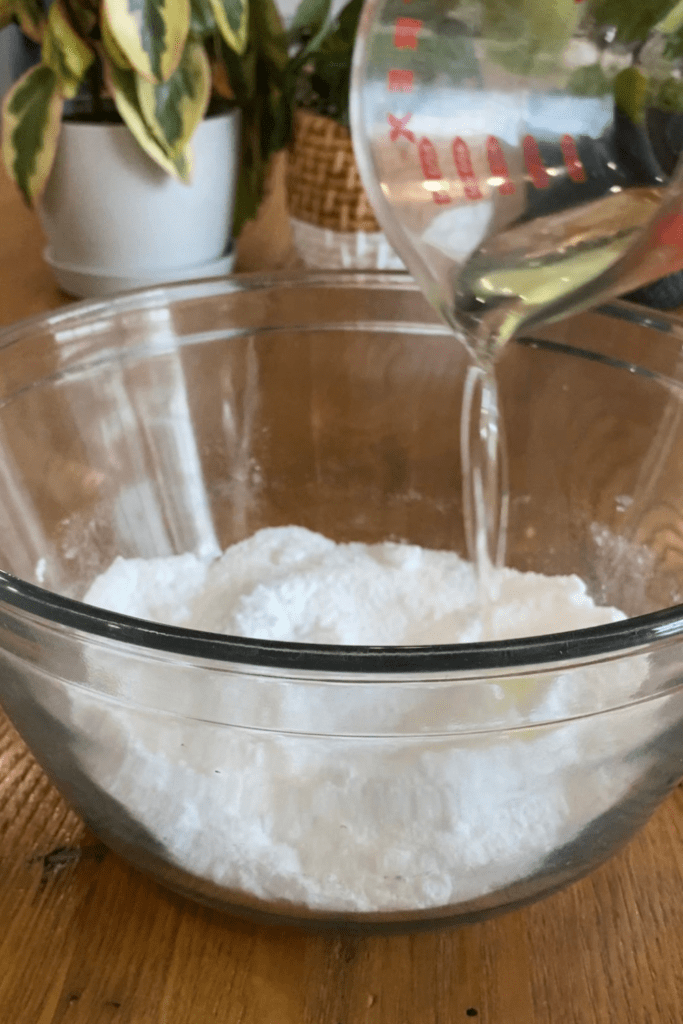
- Slowly add the liquid mixture to the dry mixture, while stirring constantly. Mix well until everything is evenly distributed.
- If the mixture is too dry, add a small amount of water (a few drops at a time) until the mixture holds together when pressed in your hand.
- Fill each half of your bath bomb mold with the mixture, pressing down firmly. If using silicone muffin cups or plastic containers, pack the mixture in firmly.
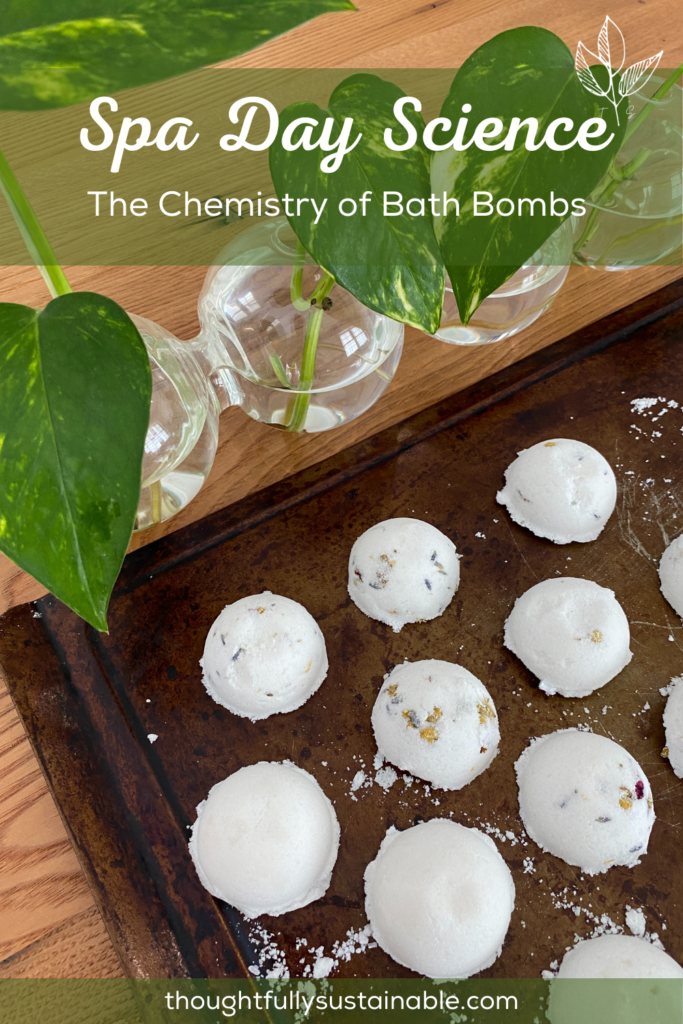
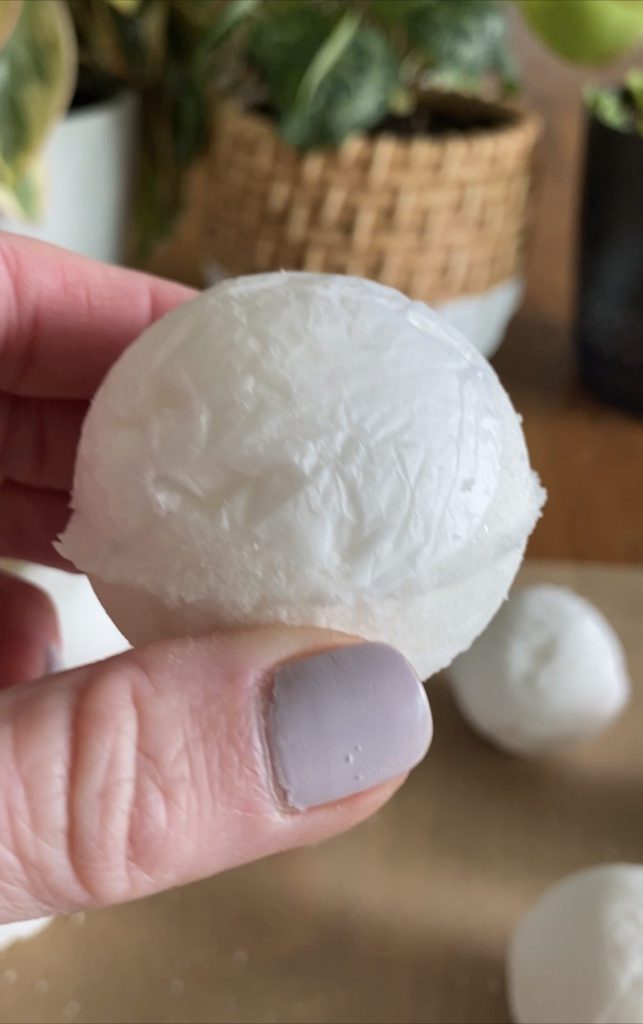
- Let the bath bombs dry for at least 24 hours before removing them from the molds.
- Store the bath bombs in an airtight container until ready to use.
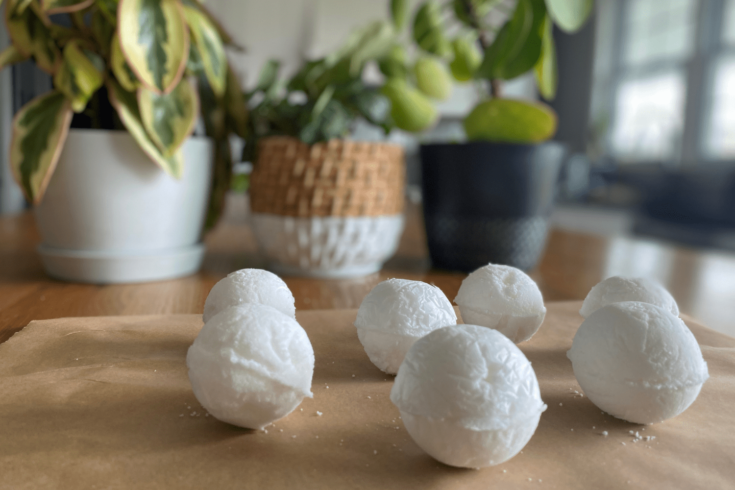
That’s it! You now have homemade bath bombs that you can enjoy in your bath or gift them to a friend or family member!
Excellent Bath Bomb Kit for Kids
If you don’t want to purchase the ingredients you need to make DIY bath bombs from scratch, you can buy a simple bath bomb making kit that perfect for kids! I really like the DIY bath bomb kit from Earthy Good.
Once I received the kit, I was immediately impressed with their attention to sustainable packaging, using seed packing paper to fill the empty spaces in the cardboard box the ingredients were shipped in, as well as the beautiful furoshiki gift-wrapping cloth that could be used to wrap the kit. The essential oils were packed in glass bottles and the form to make the bath bombs was made of tin – both materials that could easily be reused or recycled.
The instructions to make our homemade spa treat were easy to follow and my daughter and son both joined in the fun of making their own bath bombs.

Found this Post Useful? Pin It!
If you’ve found this post useful and want to save it for reference, please Pin It to your favorite Pinterest board!
How to Make Simple, Vegan Bath Bombs
Here is a simple recipe to make vegan bath bombs at home.
Materials
- 1 cup baking soda
- 1/2 cup citric acid
- 1/2 cup Epsom salt
- 1/2 cup cornstarch
- 2 tbsp. coconut oil (melted)
- 2-3 drops essential oil of your choice
- Food coloring (optional)
- Bath bomb molds (you can also use silicone muffin cups or small plastic containers)
Instructions
- In a large mixing bowl, combine baking soda, citric acid, Epsom salt, and cornstarch. Mix well.
- In a separate small bowl, mix melted coconut oil, essential oil, and food coloring (if using). Stir until the color is evenly distributed.
- Slowly add the liquid mixture to the dry mixture, while stirring constantly. Mix well until everything is evenly distributed.
- If the mixture is too dry, add a small amount of water (a few drops at a time) until the mixture holds together when pressed in your hand.
- Fill each half of your bath bomb mold with the mixture, pressing down firmly. If using silicone muffin cups or plastic containers, pack the mixture in firmly.
- Let the bath bombs dry for at least 24 hours before removing them from the molds.
- Store the bath bombs in an airtight container until ready to use.
Notes
Bath bomb molds come in many different sizes. They are sold in various diameters. I chose to use 2.2” diameter metal bath bomb molds, which made bath bombs that were approximately the same size as a small orange. I also chose to use Epsom salts that were infused with essential oil, so I did not need to add my own. I opted to skip the addition of food coloring and chose instead to make white bath bombs.