Fizzy Egg Dyeing: A Colorful Chemistry Experiment for Kids!
Spring is in the air, and that means it’s time to break out the eggs, the food coloring, and—of course—a little science! If you’re looking for a fresh spin on egg dyeing this year, I’ve got just the thing: fizzy egg dyeing using baking soda, food coloring, and vinegar. Not only is this activity ridiculously fun (who doesn’t love a little fizz?), but it’s also a great way to sneak some STEM learning into your day.
Let’s crack into the science and get started!
The Science Behind the Fizz
This experiment is a great way to introduce kids to acid-base reactions. Baking soda (sodium bicarbonate) is a base, and vinegar (acetic acid) is—you guessed it—an acid. When they mix, they react to form carbon dioxide gas, which creates all those fabulous bubbles and fizz!
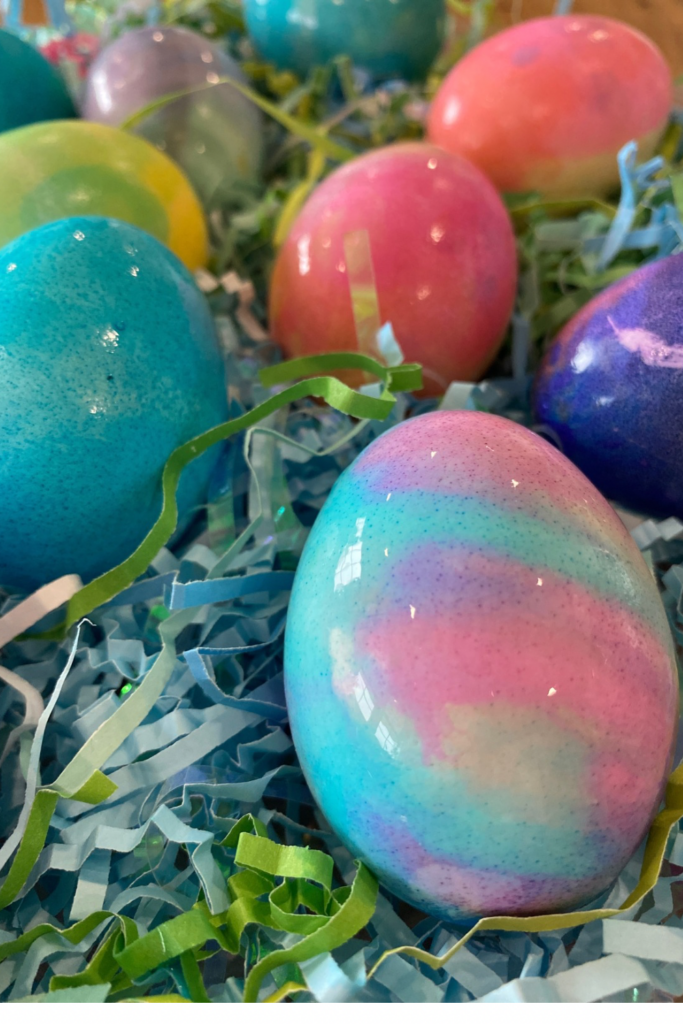
By mixing baking soda with food coloring and a little water to make a paintable paste, you create a fun, hands-on way for kids to decorate eggs. Then, when you add vinegar, the magic happens—colors fizz, swirl, and create beautiful, marbled designs.
Supplies You’ll Need
- Hard-boiled eggs (cooled and dry) – white shelled eggs work best for dyeing
- Baking soda
- Food coloring
- Small cups or bowls
- Water
- Paintbrushes or spoons
- White vinegar
- A tray or dish (to contain the fizz!)
Step-by-Step Instructions
Step 1: Hard-Boil the Eggs
- Place eggs in a single layer in a pot and cover them with water.
- Bring to a boil, then turn off the heat and cover the pot.
- Let the eggs sit for 10-12 minutes, then transfer them to an ice bath to cool.
- Once cool, dry them off and set aside.
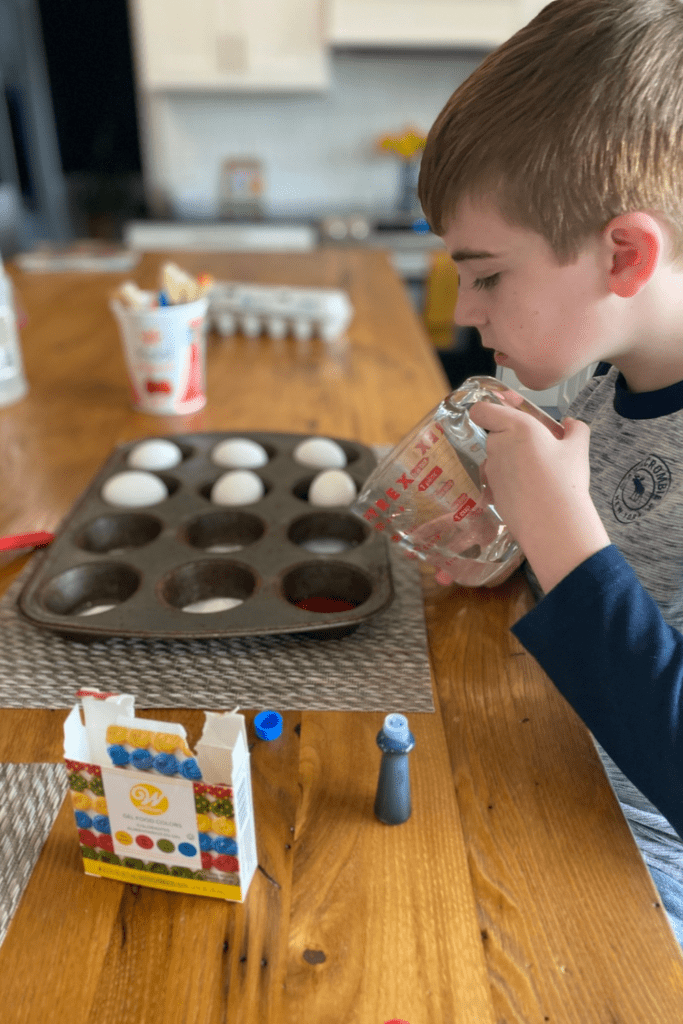
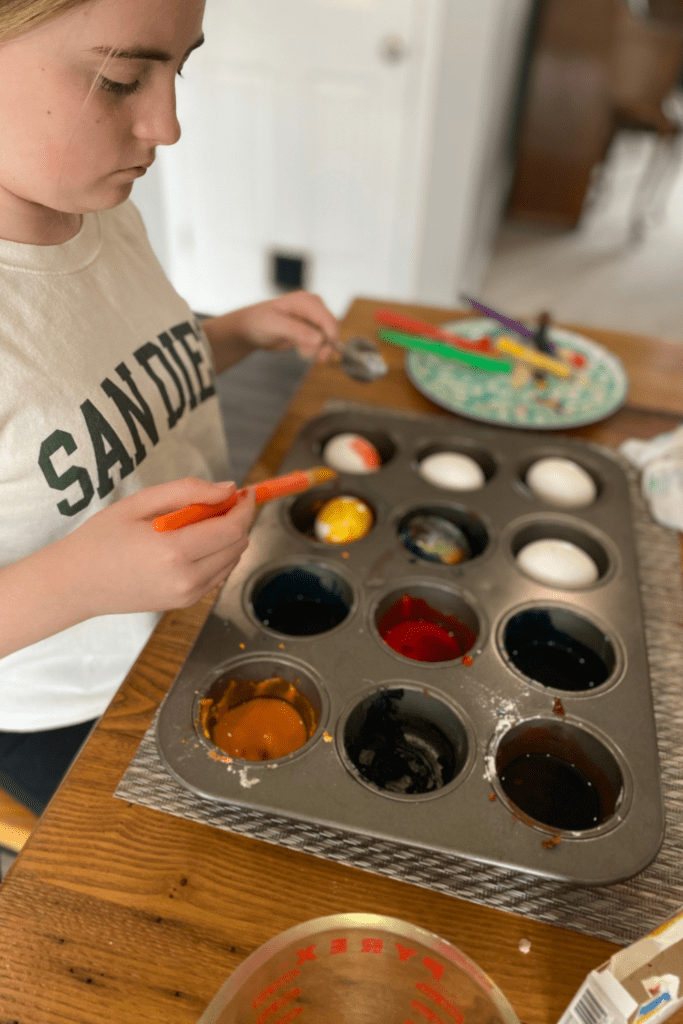
Step 2: Make the Baking Soda Paint
- In a small cup or bowl, mix 2 tablespoons of baking soda with a few drops of food coloring and 1 teaspoon of water.
- Stir until you get a thick, colorful paste. Add more baking soda if it’s too runny.
- Repeat for as many colors as you’d like!
Step 3: Paint the Eggs
- Use paintbrushes or spoons to coat your eggs with the baking soda paint.
- The thicker the layer, the fizzier the reaction!
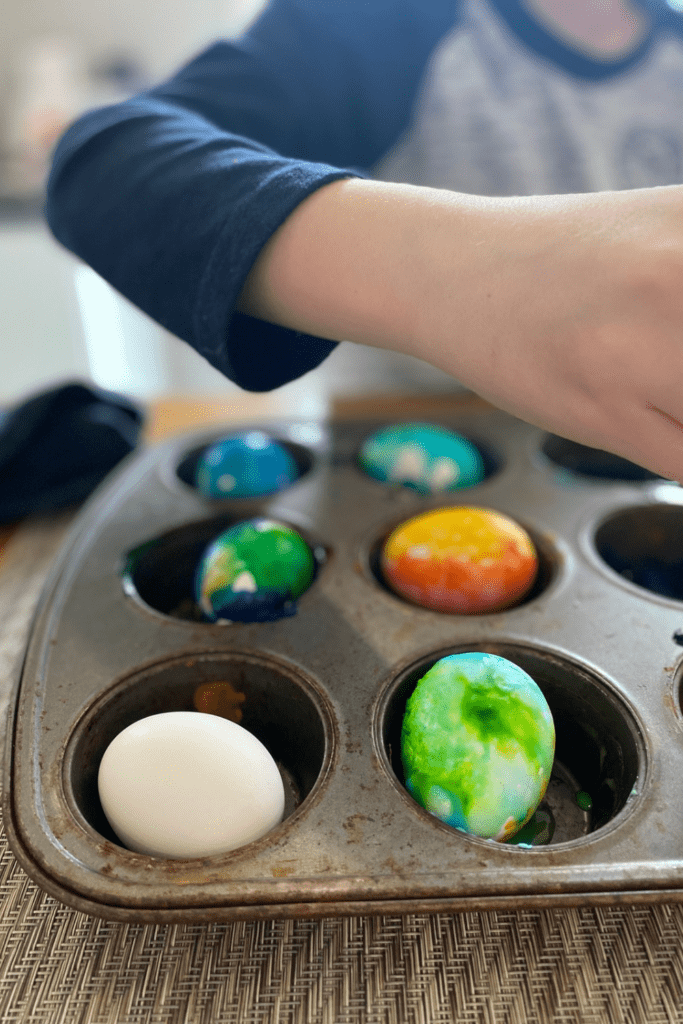
Step 4: Get Fizzing!
- Place the painted eggs in a dish or tray (to catch the mess!).
- Use a spoon to drizzle white vinegar over each egg.
- Watch as the colors bubble, fizz, and swirl!
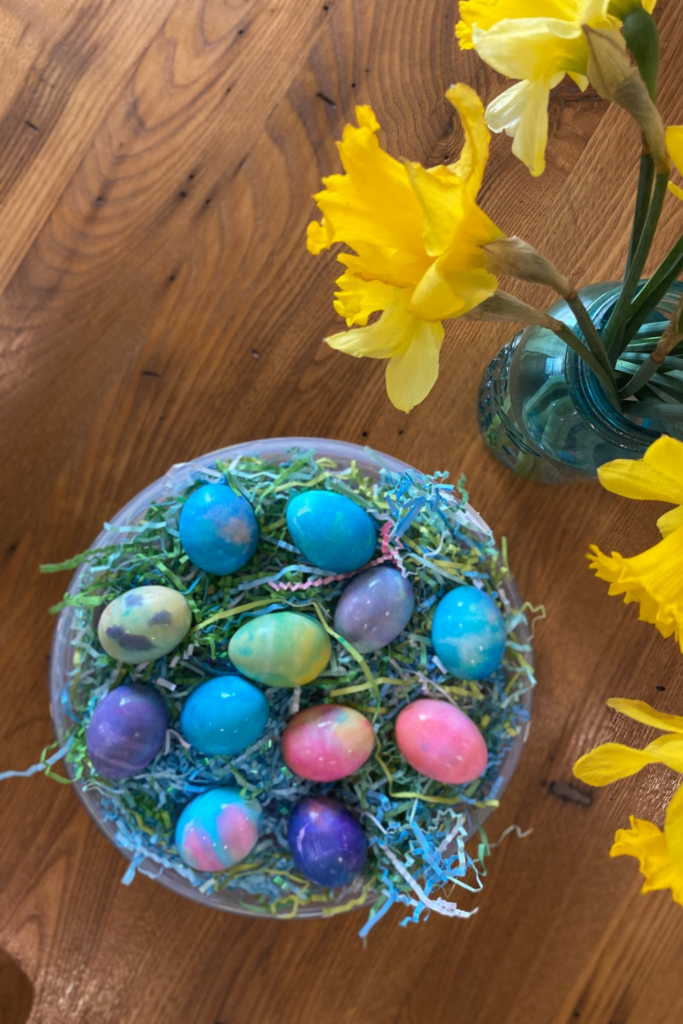
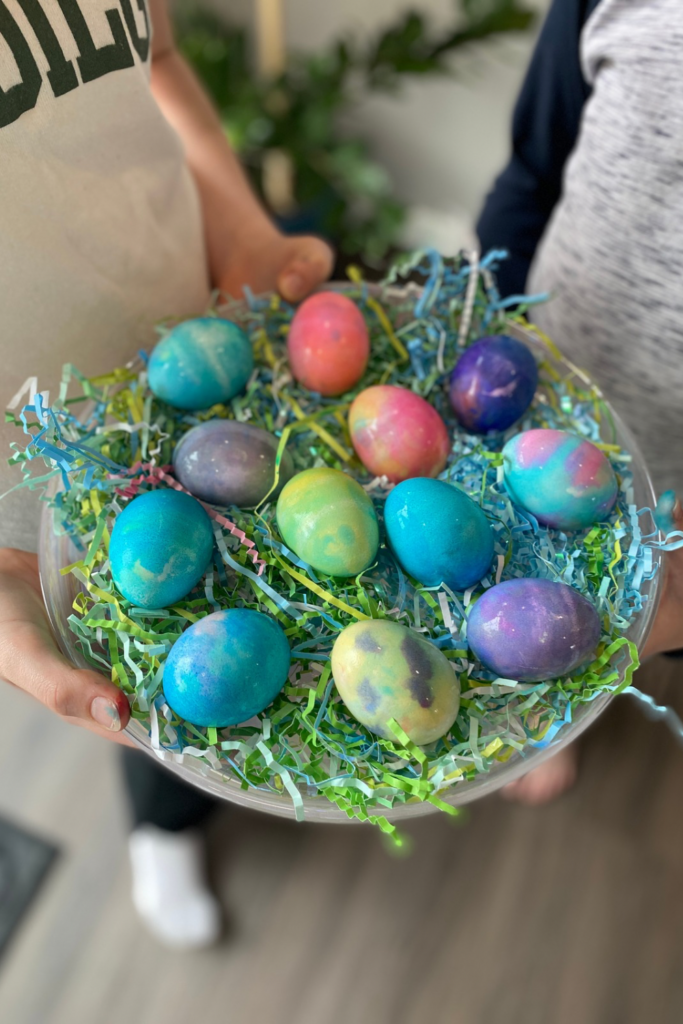
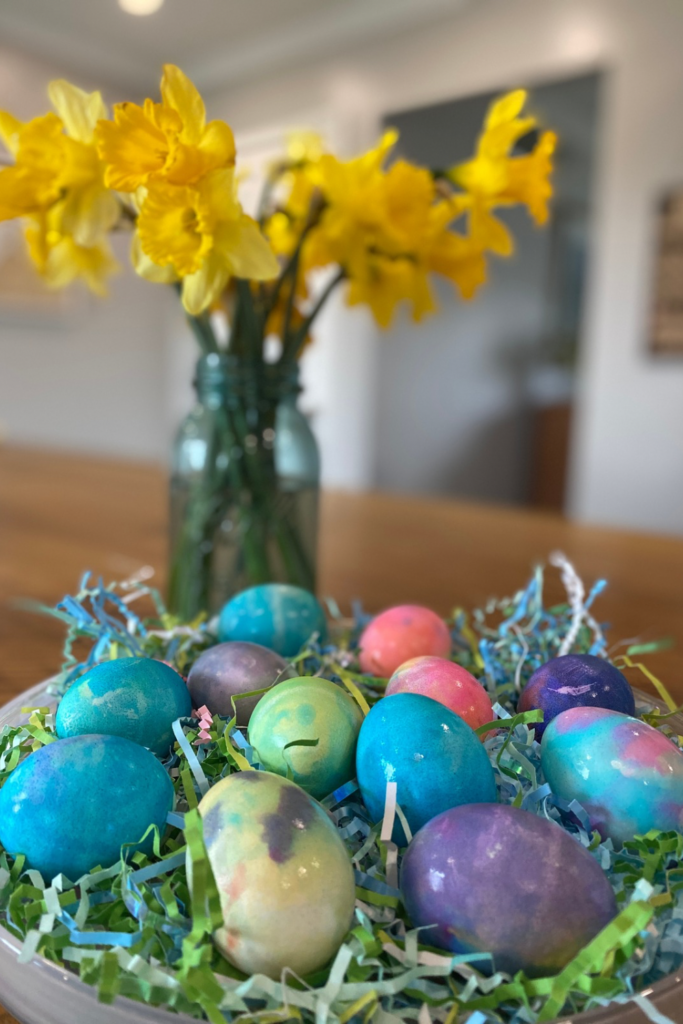
- Once the fizzing stops, gently rinse the eggs under water to reveal your masterpiece.
Watch this video to see the science in action!
Taking the Science Further
For older kids, take this activity up a notch with some extra scientific exploration:
- Experiment with different acids! Try lemon juice instead of vinegar—does it fizz the same way?
- Test different baking soda mixtures. What happens if you add more or less water?
- Explore pH levels. Use pH strips to test vinegar before and after the reaction—does it change?
- Write a hypothesis! Ask kids to predict what will happen before they add vinegar, then compare results.
Why This Activity Rocks
This project is the perfect blend of creativity and chemistry. It’s low-prep, super engaging, and a fantastic way to show kids that science isn’t just something you do in a lab—it’s in the everyday magic around us!
So grab some eggs, mix up some fizzy paint, and let the bubbly fun begin. Happy experimenting!
Have you tried this activity? Share your fizzy egg creations in the comments below!
More Spring STEM Fun!
Looking for more hands-on science fun this season? Check out these awesome STEM activities on the blog:
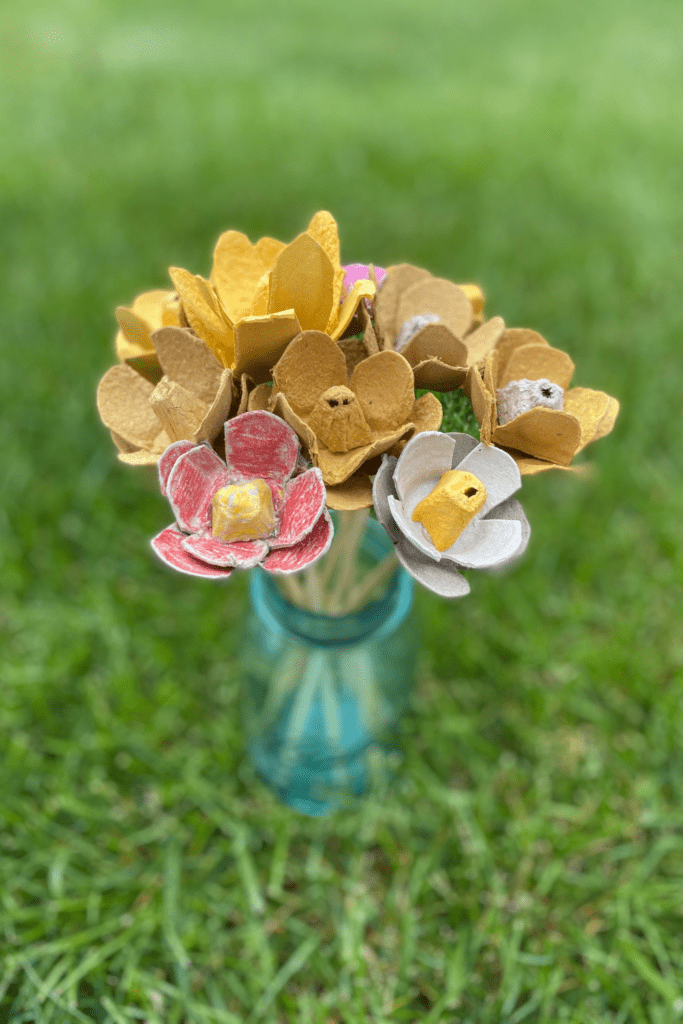
- Egg Carton Flowers: A creative way to repurpose materials and learn about plant structures!
- Spa Day Science: The Chemistry of Bath Bombs: Dive into the fizzy chemistry behind bath bombs while making your own!
Spring is the perfect time for hands-on learning—so keep exploring, creating, and experimenting!