
How to Make a Cardboard Lunar Calendar with Kids
Are you looking to introduce your learners to the phases of the moon? Discover the lunar cycle and build a moon phase tracker with this FREE, 12 page digital download!
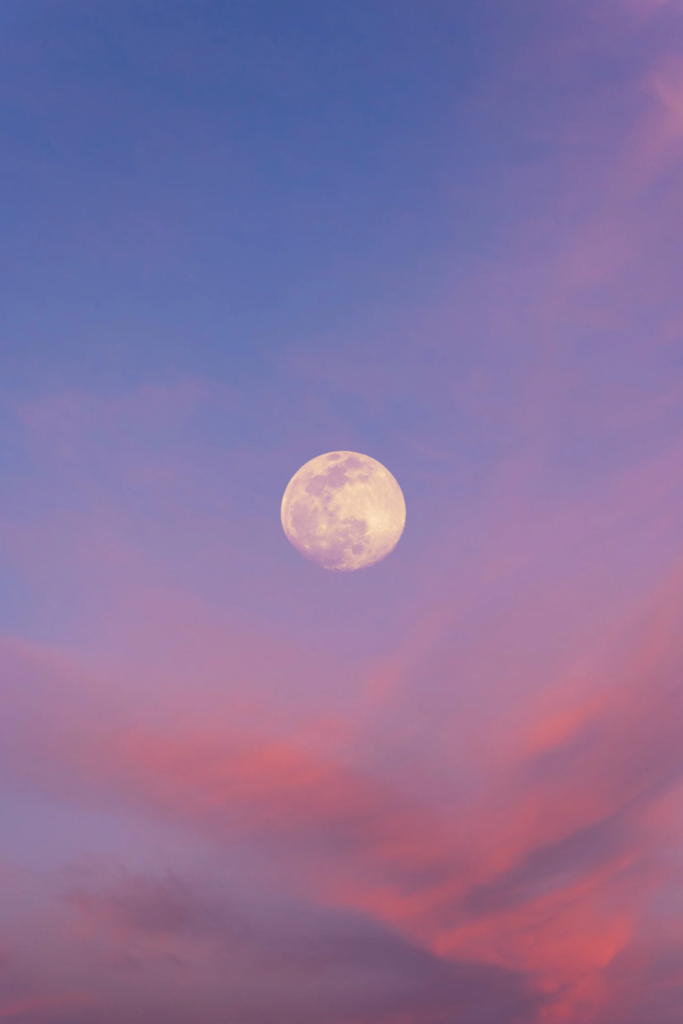
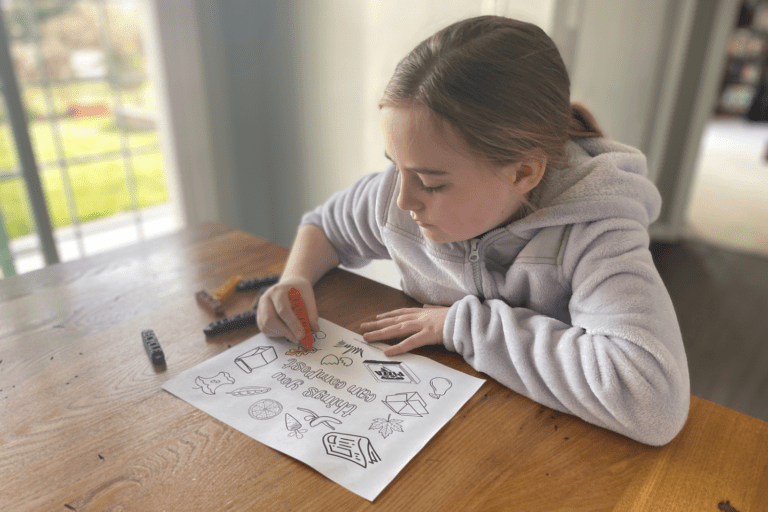
I have always been fascinated by the night sky. There is something incredible about staring up at a dark sky and contemplating the discoveries that have yet to be made. My kids seem to have inherited my celestial interests and have been curious about why the moon looks different every time they look up. So, I did what all science-loving moms do and created a set of educational worksheets and a cardboard lunar calendar for them to track the phases of the moon. You can access this 12-page Moon Phases Science Activities digital download for free! Simply head to the bottom of this post to grab your copy of my moon phases workbook.
In addition, I’ve provided you with a little background knowledge about how the moon orbits the Earth and rotates on its axis, along with some basic nomenclature on moon phases and instructions on how to build a lunar calendar using my favorite crafting material – a cardboard pizza box.
How Does the Moon Orbit the Earth?
The moon travels around the Earth in an elliptical orbit. This means that if we were to draw the orbital path of the moon, it would look like a slightly squashed circle or oval.
Why Does the Moon Not Appear to Rotate?
This is a very common question, and the answer is relatively simple. As simple as orbits and rotations of objects in space get, that is! The moon does not appear to rotate because of a phenomenon called tidal locking. Tidal locking is when a body (the moon) takes just as long to orbit around another body (the Earth) as it does to revolve once on its axis. This is why we only ever see one side of the moon!
Gravity is a work in tidal locking, as the larger body (the Earth) exerts a larger gravitational force on the smaller body (the moon). When the moon is closest to Earth, its rotation is slowed a bit relative to its orbit through space, allowing us to see slightly more of the lunar surface.
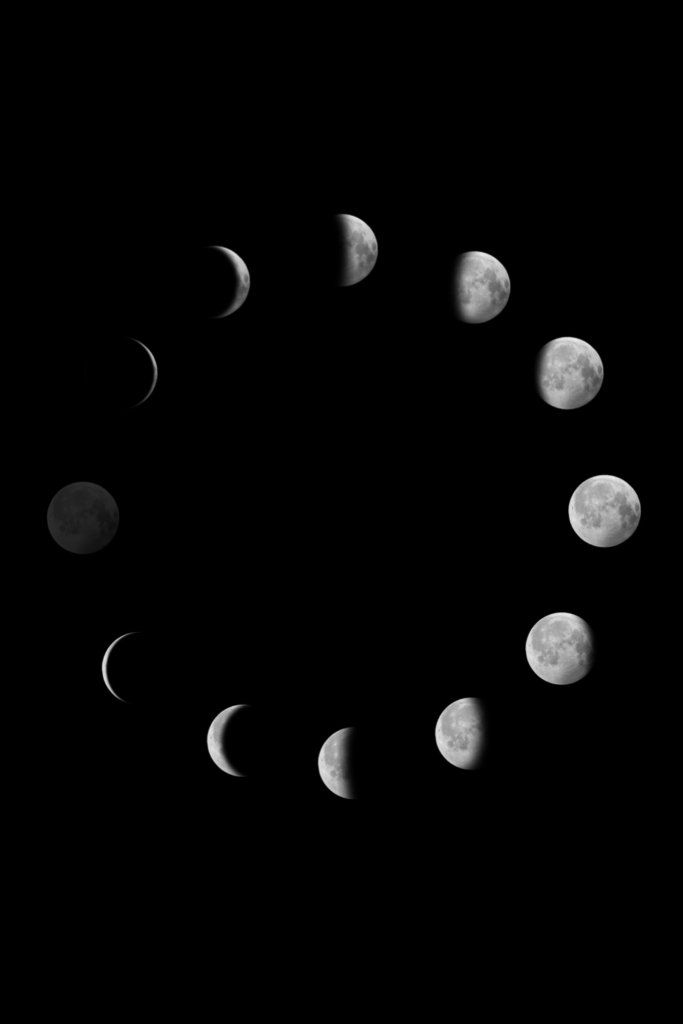
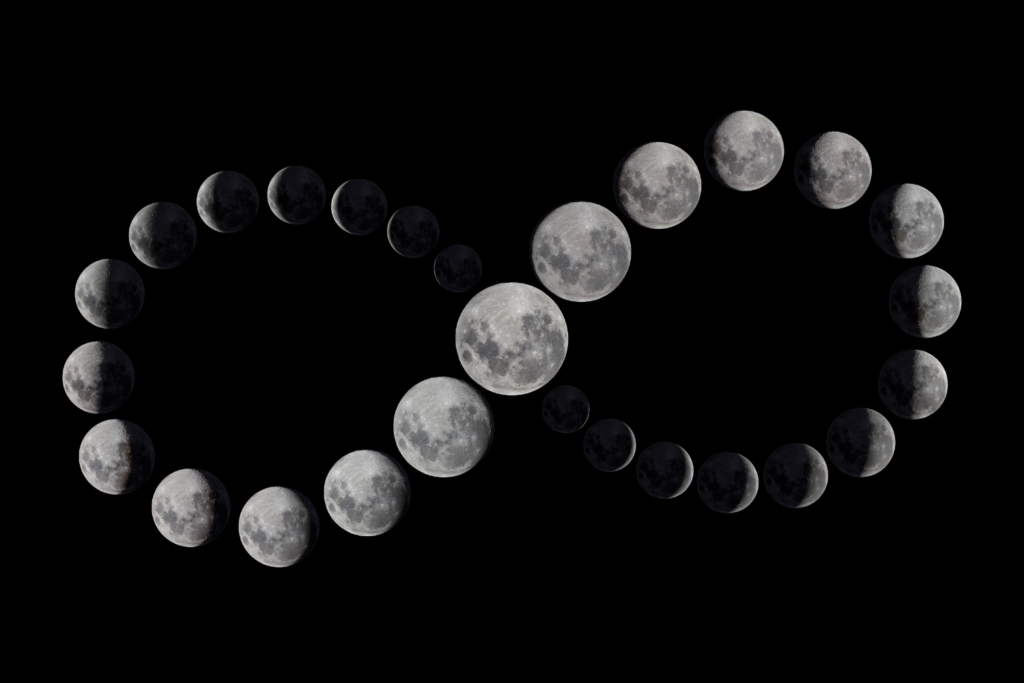
How to Learn the Lunar Phases of the Moon
The lunar phase, or moon phase, is the shape of the sunlit portion of the moon. These phases can be discussed in two ways: quantitatively or qualitatively. When talking about lunar phases quantitatively, we discuss angles relative to the position of the sun. More commonly, we describe the phases of the moon qualitatively using the following 8 terms:
- New Moon
- Waxing Crescent
- First Quarter
- Waxing Gibbous
- Full Moon
- Waning Gibbous
- Third Quarter
- Waning Crescent
To understand lunar phases in both quantitative and qualitative terms, here is a helpful table:
| Moon Phase | Angle Relative to Sun Position |
| New Moon | 0 degrees |
| Waxing Crescent | 45 degrees behind |
| First Quarter | 90 degrees behind |
| Waxing Gibbous | 135 degrees behind |
| Full Moon | 180 degrees |
| Waning Gibbous | 135 degrees ahead |
| Third Quarter | 90 degrees ahead |
| Waning Crescent | 45 degrees ahead |
The 8 phases of the moon are listed in order and this cycle repeats approximately once per month, or every 29.5 days.
What Do the Terms Waxing and Waning Mean?
The terms waxing and waning are mentioned quite often when discussing lunar phases. Waxing means to increase or become larger and waning means to decrease or become smaller. The first half of the moon cycle uses the term waxing to describe the shape of the sunlit portion of the moon relative to Earth. Once a full moon phase has passed, waxing is replaced with waning to describe the gradual decrease of the moon’s illuminated surface.
How Do You Remember What Waxing and Waning Mean?
I fully embrace mnemonic tricks to help learners remember science facts. When discussing moon phases, the mnemonic “DOC” may help to lock in the moon phase names into your learners’ memories.
Here’s how to use it:
- If the Moon phase is shaped like the letter D that means it is growing (waxing).
- If the Moon phase is shaped like the letter C that means it is shrinking (waning).
- If it’s shaped like the letter O, it is full, which is the phase in between waxing (D) and waning (C).
Where Does the Term Gibbous Come From?
Like many of our English words, the term gibbous derives from the Latin word for “hump”. Gibbous has been used in literature to describe everything from camel humps to convex shapes. The difference between a gibbous and crescent moon is simple. Any time less than half of the surface of the moon is illuminated by the sun, it is known as a crescent moon. This is the period of time when the moon transitions from the third quarter to the first quarter.
A gibbous moon is any time when more than half of the moon is illuminated by the sun. This period occurs when the moon transitions from the first quarter to the third quarter.
What are the 12 Full Moon Names?
Humans have been naming the 12 different full moons for centuries. Some of the earliest naming of full moons in the Northern Hemisphere was done by Indigenous tribes of North America. Here is a list of common names of Northern Hemisphere full moons by month.
| Month | Full Moon Name |
| January | Wolf Moon |
| February | Snow Moon |
| March | Worm Moon |
| April | Pink Moon |
| May | Flower Moon |
| June | Strawberry Moon |
| July | Buck Moon |
| August | Sturgeon Moon |
| September | Harvest or Corn Moon* |
| October | Hunter’s or Harvest Moon* |
| November | Beaver Moon |
| December | Cold Moon |
*depending upon when the September equinox falls determines which moon name is used for these months. To learn more about full moon names and meaning, I highly recommend visiting The Farmer’s Almanac.
Now that you and your learners are familiar with some basic moon science concepts, test their knowledge with a copy of the free Moon Phases Science Activities for Elementary Students, complete with answer keys.
Note: I have designed these activities for elementary students in mind, however these resources can be used for any aged student that wants to learn more about the moon.
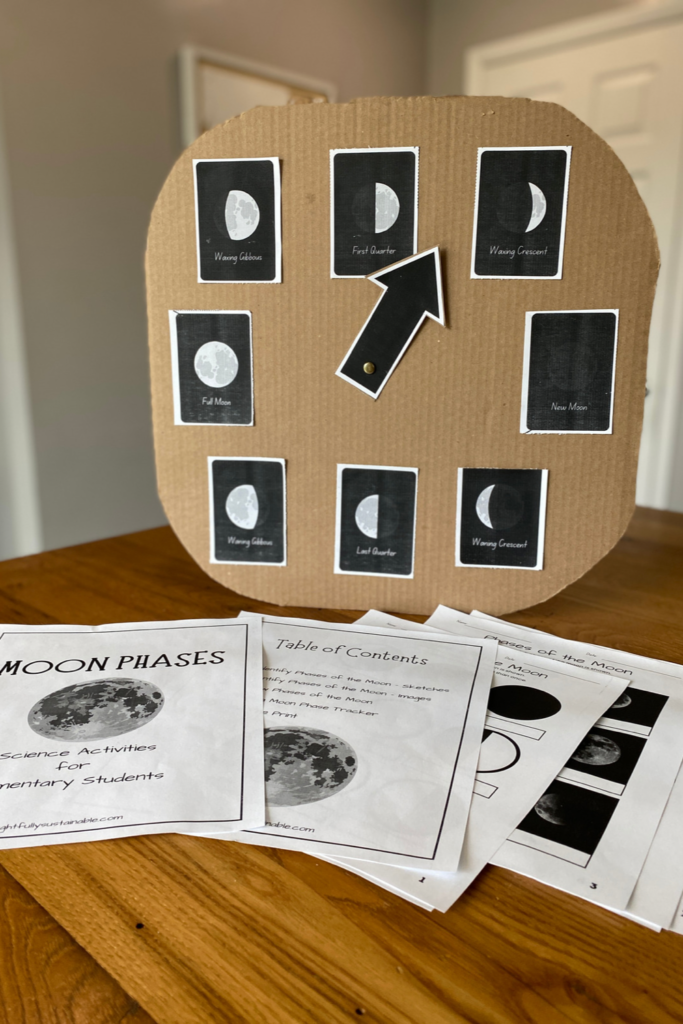
How to Build a Moon Phase Tracker
Making a moon phase tracker is a simple activity that your learners can create in under 20 minutes. Here is a list of materials you’ll need to complete the build.
Materials Needed to Build a Moon Phase Tracker
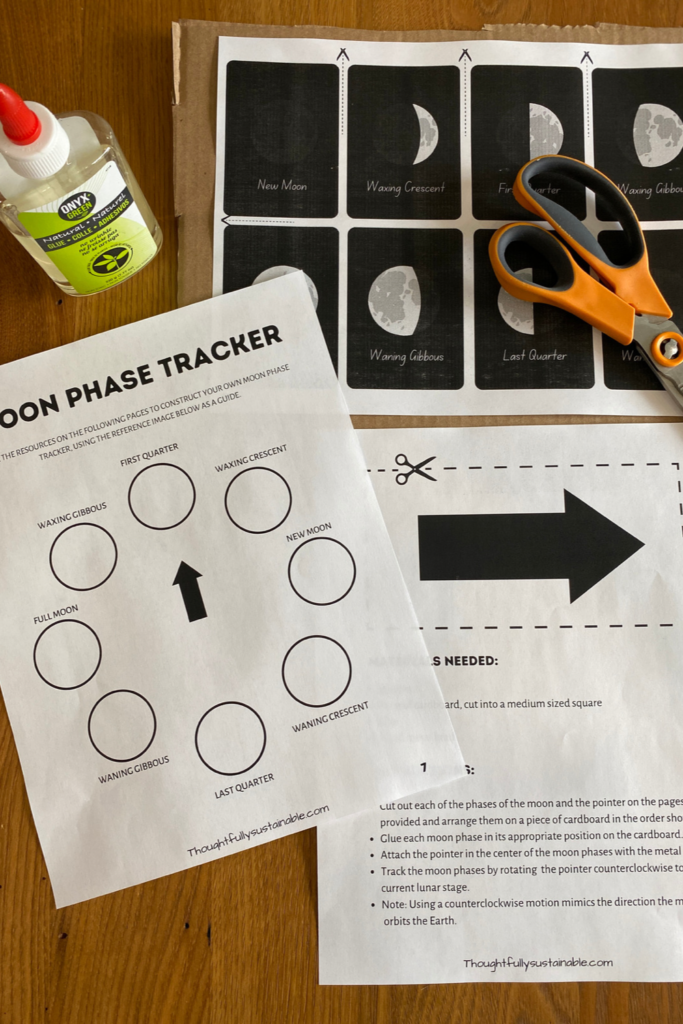
- 1 Copy of the Moon Phases Science Activities
- Scissors
- 1 Piece of Cardboard, cut into a medium-sized square. I used the clean side of a pizza box to give you some reference on size.
- Glue
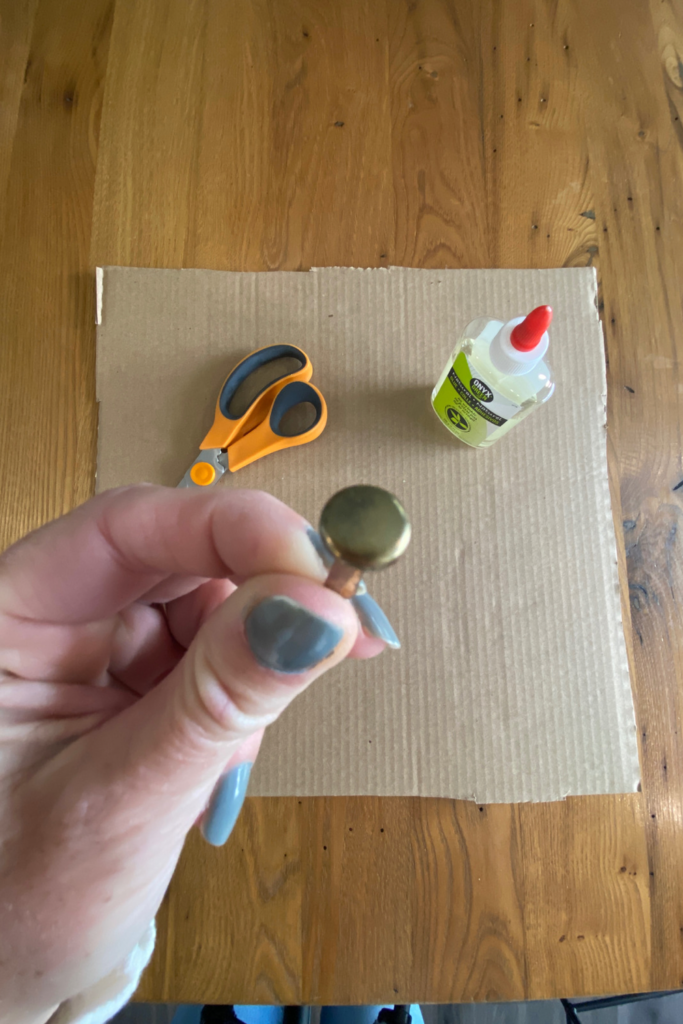
- Small Metal Brad – not sure what this is? See the image below!
Instructions to Build a Moon Phase Tracker
- Cut out each of the phases of the moon and the pointer on the pages provided and arrange them on a piece of cardboard in the order shown.
- Glue each moon phase in its appropriate position on the cardboard.
- Attach the pointer in the center of the moon phases with the metal brad.
- Track the moon phases by rotating the pointer counterclockwise to the current lunar stage.
- Note: Using a counterclockwise motion mimics the direction the moon
Before you know it, you’ll have your students reporting daily about the current phase of the moon!
I’d Be Delighted to Hear Your Feedback
If you find this resource to be useful in your home, classroom or wherever your learning environment is, please let me know by emailing me or leaving me a comment on Instagram, TikTok or Pinterest.
Additionally, if you know of someone who may be interested in this free science resource, please forward them a link to my blog. Your support is greatly appreciated!


2 Comments
Comments are closed.