5 Easy Outdoor Education Activities for Kids
Here are 5 ways to engage your kids in learning outdoors, away from screens and tuned into nature. With educational activities that incorporate science, engineering, art and language education in creative, multi-sensory ways, your children won’t want to come back inside!
Unless it’s time for lunch, of course.
My kids love to learn outside. Specifically because they don’t actually realize that what they’re doing is “learning”. My son and daughter relate outdoor time with playing, so from a parenting perspective, taking educational activities outside is met with little to no resistance. A major win for anyone wanting to incorporate learning at home!
An added bonus to learning outside is that the mess that may result from the activities my children are engaged in never enters my home. We all know that creativity often fosters a tornado-like disaster in its wake, so taking educational activities outside helps parents like myself from constantly repeating the “don’t make a mess” mantra, which can stiffle the creative process in our kids.
Below are five outdoor educational activities that can be easily incorporated into your learning routine.
Create a Nature Inspired Story
The next time you are outside with your child, point out a nest, a crack in the sidewalk or a hole in a tree and ask them to tell you what animals could possibly live there. Once they’ve answered your question, prompt them with more questions to expand their imagination:
- How did the animal find their home?
- Where do they get their food?
- Who comes to visit them?
- What do they do while they’re awake?
Depending on the interest and age level of your child, you can guide them towards creating a more factual or purely imaginative narrative that can be simply dictated to you, drawn out in pictures or written down. It truly does not matter what they create; the important thing is that they are using nature to inspire their imagination.
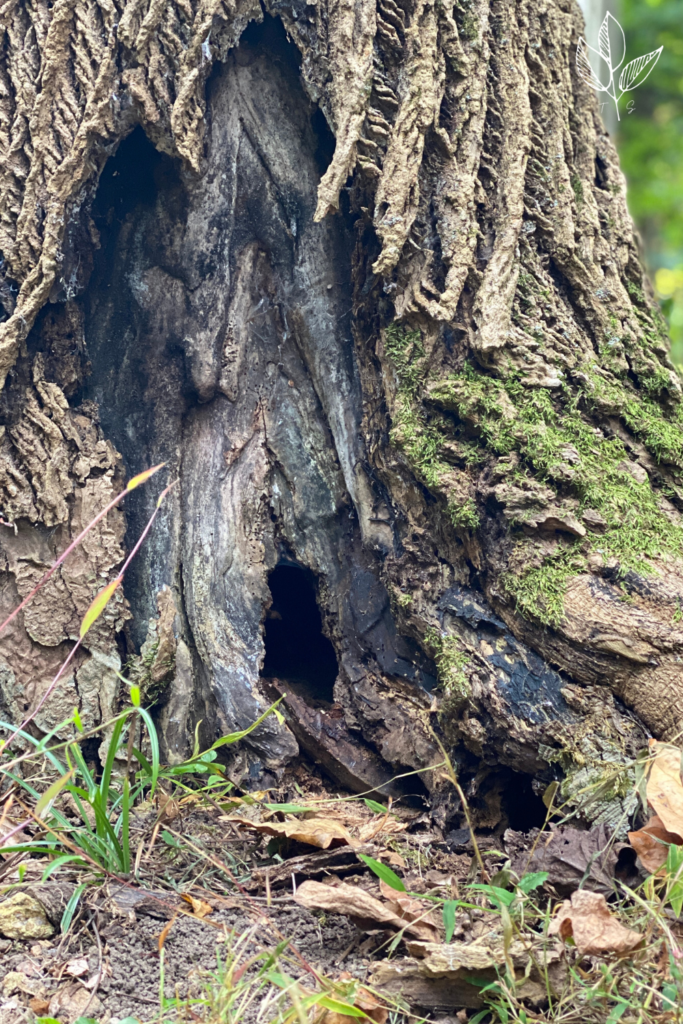
The picture above is of a tree that grows in the woods behind my childhood home. On one of our most recent visits to “Grandma’s house” I pointed out this beauty to my 8 year old and asked her to come up with a story about who lived there. This is what she wrote:
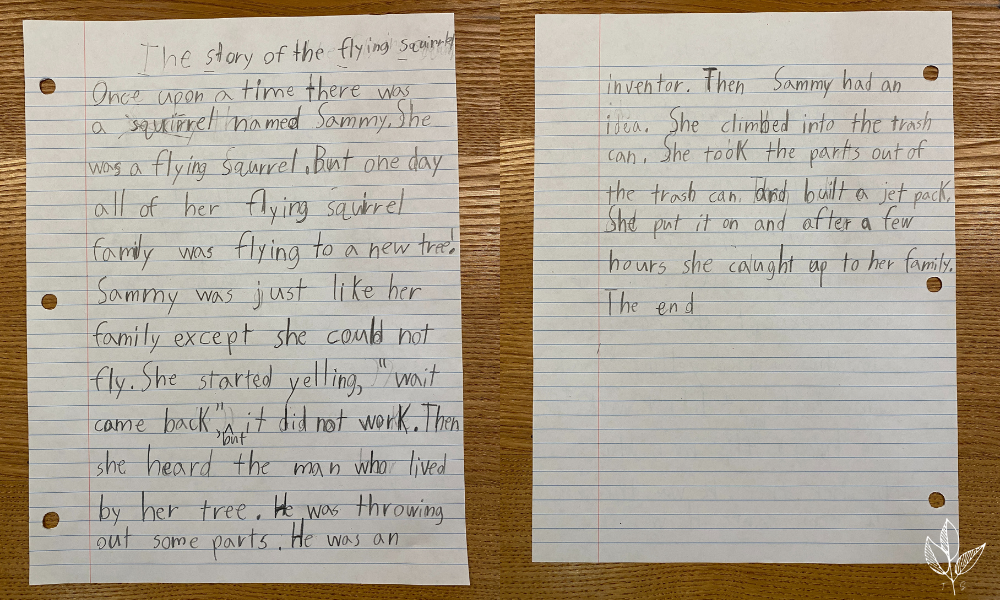
Apparently, the tree we chose to talk about was the “new home” for the flying squirrel family! As you can plainly see, it doesn’t have to be an eloquently written or elaborate story. What is important is that you pick something that they’ll pass by more than once, allowing them to make a connection with the particular place and pay attention to changes that occur over time. They may even decide to write more than one story!
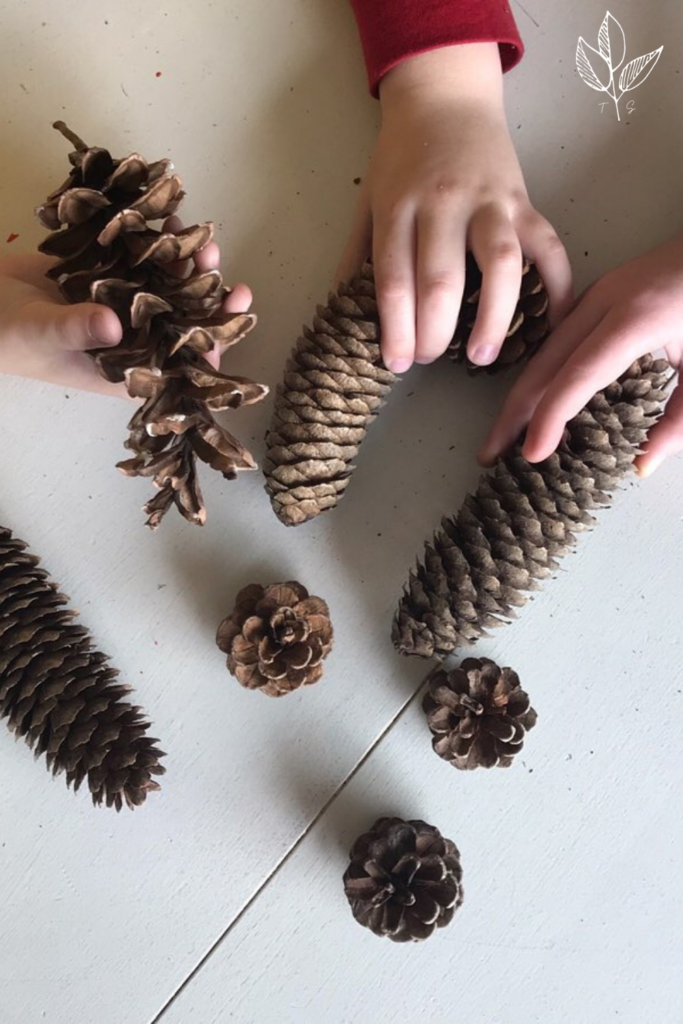
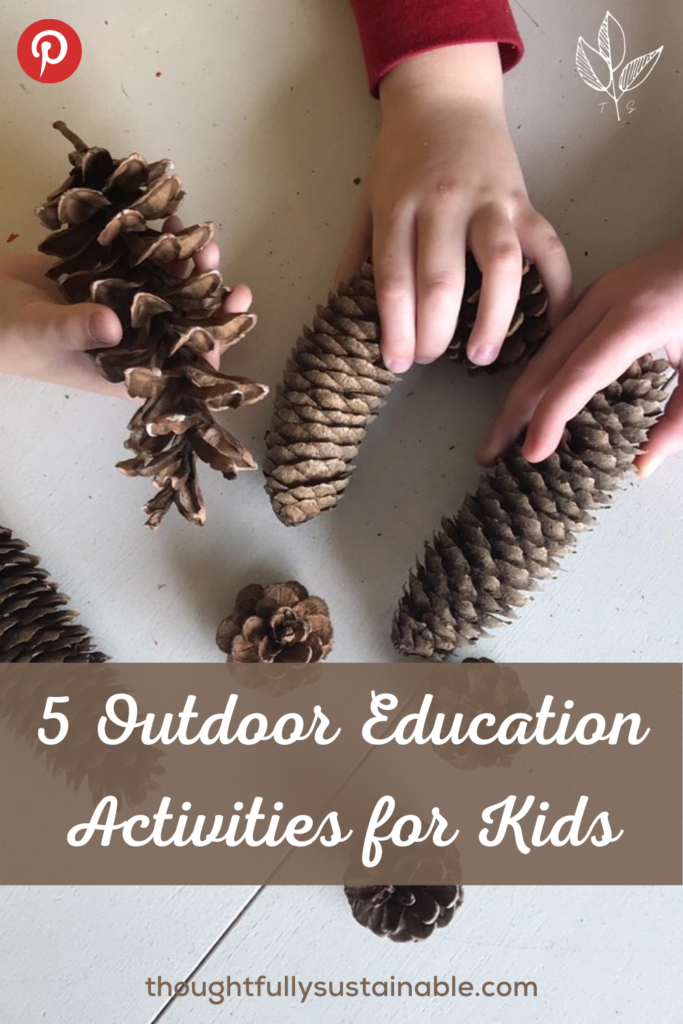
Start a Nature Collection
I cannot speak for every young child, but for all of the ones that I have had the pleasure of spending time with, they have all had one thing in common: they like to collect stuff.
And by stuff, I mean practically anything: rocks, stickers, money (who doesn’t like that), figurines – if they can fit it in their pockets – they want to accumulate as many as possible! Capitalize on this amassing behavior and take them outside to collect whatever natural objects they’re drawn too. Some examples of collections my kids have made:
- Pine cones
- Sticks
- Rocks
- Leaves
- Flower petals
Once they’ve gotten a handful of their chosen nature item, have them organize them first by size, then by color and then by shape. If you have older kids, you can even use apps like iNaturalist or Seek to further classify the items that they have collected. (Note -this might be tricky to do with rocks or sticks, FYI!)
The point of this activity is to allow your learners to see the diversity of life that exists right in their neighborhood or local park. For younger learners, this is a wonderful practice in identifying similarities and differences in items, as well as learning how to sort by specific characteristics. For older learners, it is a gateway to discovering and appreciating the other species that inhabit their area, further supporting the interconnectedness of their human lives with other living beings.
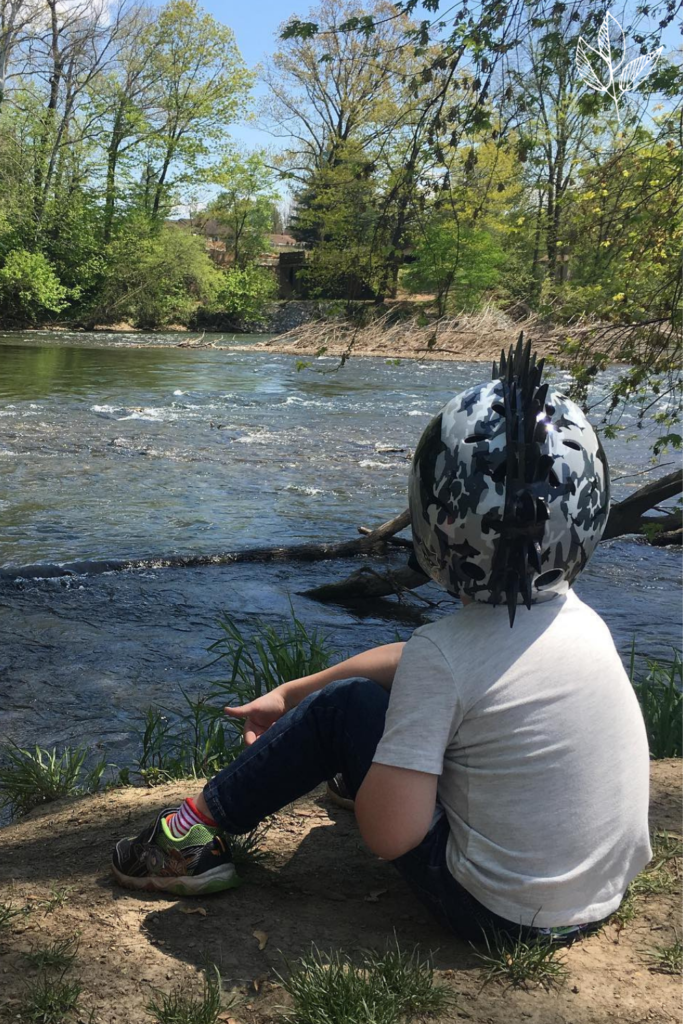
Find an Outdoor “Sit Spot”
I originally read about this practice in the book, “How to Raise a Wild Child” by Scott D. Sampson and immediately tried it with my kids. I’ll be honest, this is probably both the easiest and hardest outdoor activity to do.
Why? It’s easy because it requires absolutely nothing except for a spot to sit outside. This can be on your back porch, on a park bench, under a tree in a forest – literally anywhere as long as you and your child are outside. It’s also the hardest because it requires you to sit silently and just observe. No cameras, no paper and pencils, just you and your senses taking in what’s happening around you.
As parents and caregivers, we know that getting a young child to sit in silence is practically impossible. So, that’s why you start with a short time goal – say 2 minutes to begin. After the time is up, ask your child to describe what they saw, what they heard, even what they smelled. Return to the same spot as often as possible, and slowly increase your silent observation time. You’ll be amazed at what your children notice, as well as how different your observations are.
Once you return home, keep a log of observations with your child, noting the date and time of each outing. See if you notice any changes based on the season, time of day or the presence or absence of human activity in the space. These simple observations can lead to fantastic discussions, while also demonstrating to your child the importance of listening and watching.
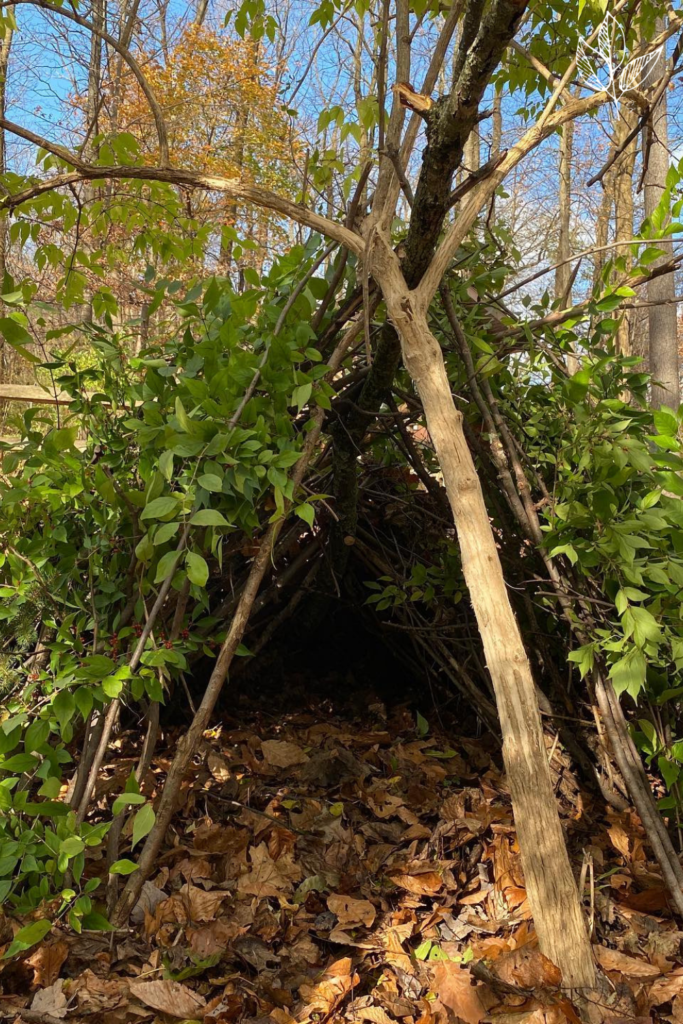
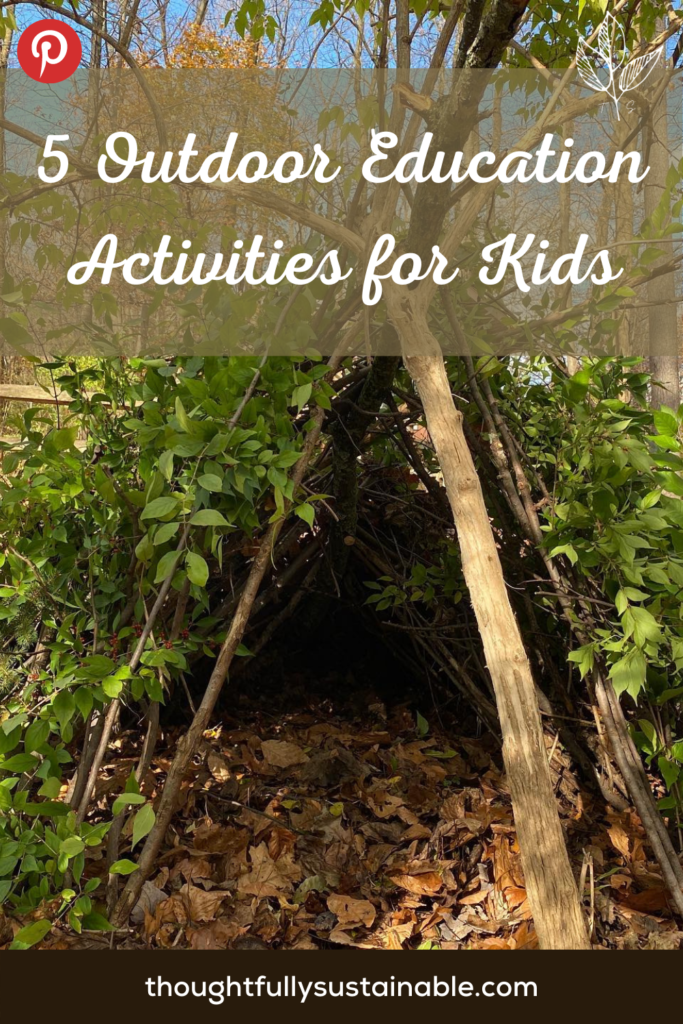
Imitate Animals: Construct an Outdoor Shelter
Have you ever watched a bird build a nest? It’s a labor of love, to be sure! A fun way to build an appreciation for the comforts of home that may easily be taken for granted is to attempt to construct your own outdoor shelter!
My kids and I were once again visiting my Mom’s house, which gave us the space (and a copious amount of sticks) to build the shelter seen above. However, do not let a lack of access to a big backyard or wooded area keep your kids from trying this excellent engineering activity! By simply providing them with raw materials such as twigs, grass, leaves, moss, glue and/or mud they can try to assemble a small birds nest or squirrel shelter.
This can also be an excellent way to introduce your children to traditional building practices of Indigenous people who were extremely skilled at constructing both temporary shelters and permanent homes using materials found in their local environments. A simple internet search of the Indigenous people that were the first inhabitants and caretakers of the land you reside on can provide you with insights on what natural resources they utilized and the type of structures they built, based on the landscape and climate region.
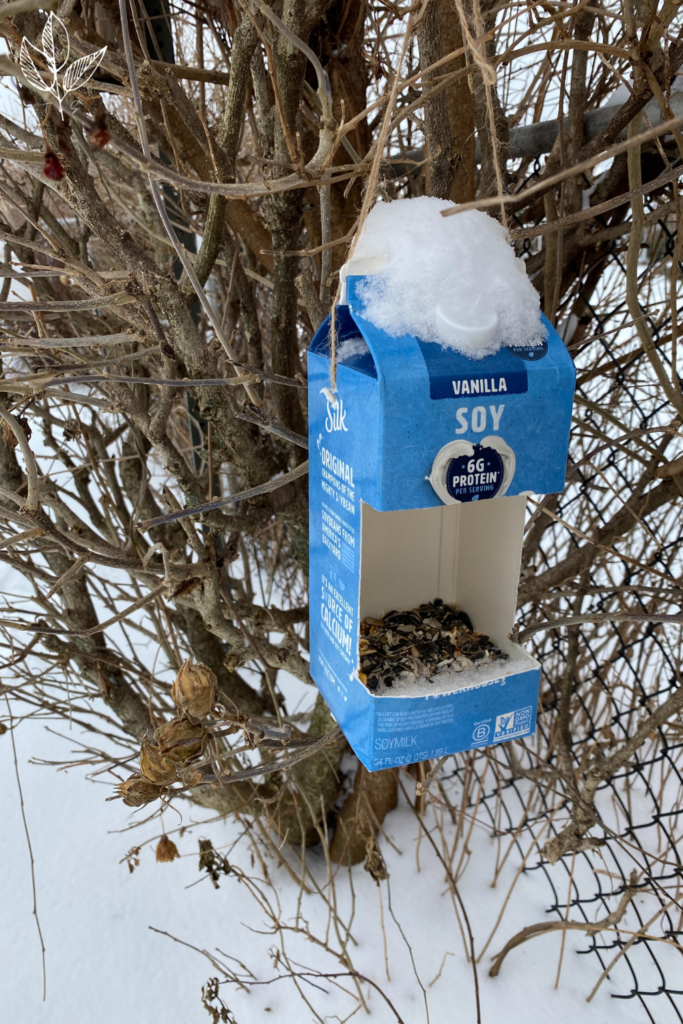
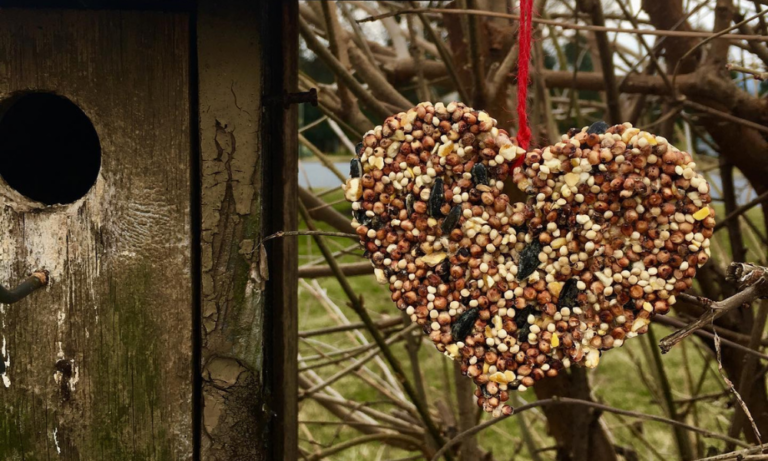
Build a Bird Feeder Out of Recycled Materials
Got a drink carton or milk jug? Then you’ve got the makings for a birdfeeder! Children love to feel “big and responsible”, so why not let them be in charge of feeding the neighborhood birds? In return, they’ll get to observe and identify the feathered friends (and possibly resident squirrels) that reside in your area. Here’s what you’ll need:
Materials Needed to Build a Recycled Bird Feeder:
- A clean, dry drink carton or plastic jug
- Twine or rope (even a shoelace will do)
- Scissors or a knife – to be used by the supervising adult
- Birdseed
Video Tutorial to Build a Recycled Bird Feeder
Here is a quick video tutorial to walk you through the steps of building a bird feeder out of a clean, dry milk carton.
Once your bird feeder is complete, you can incorporate watching who comes to visit during one of your “sit spot” times or have your child create a narrative about who they think will come for dinner! As you can plainly see, these activities can be combined with one another to create excellent outdoor learning opportunities!
Build a Bird-feeder from Recycled Materials
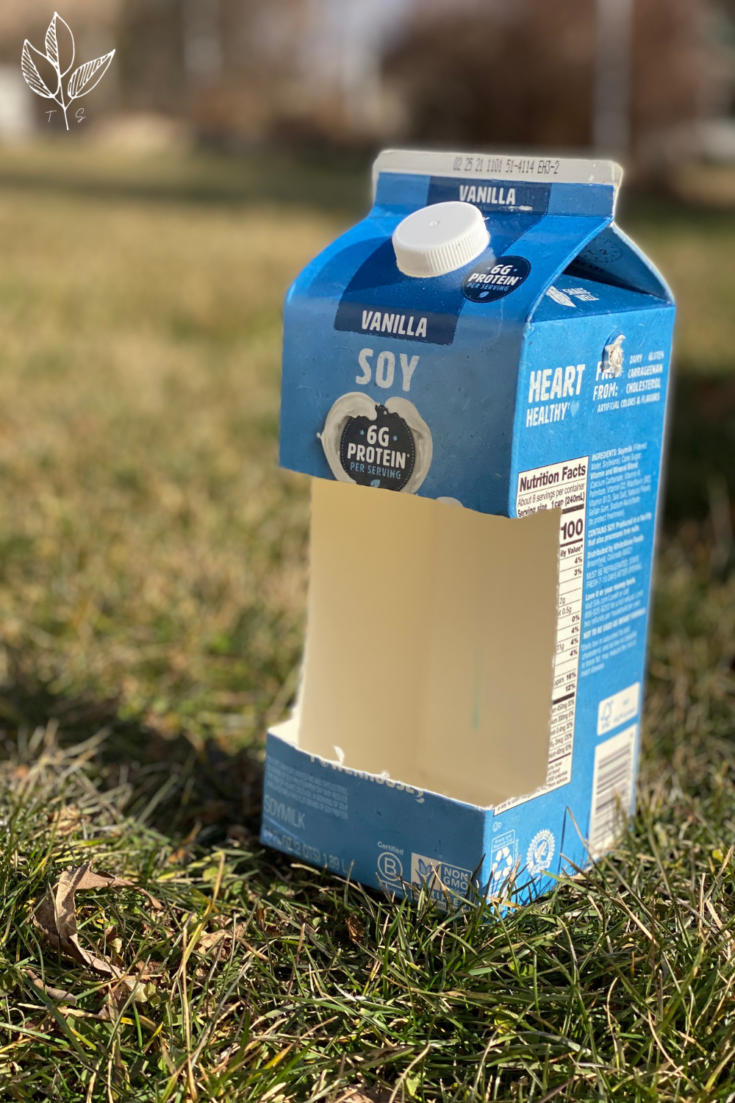
Here's a simple way for your kids to build a bird-feeder using recycled materials!
Materials
- clean, dry milk carton
- string, approximately 2 feet (30 cm) long
- scissors or box cutter
- bird seed
Instructions
- Gather your materials.
- Be sure to supervise or assist children when making this birdfeeder.
- Clean and dry your milk carton. Be sure to replace the cap on top of the carton.
- Using a pair of scissors or a box cutter, cut out a square from the front of the milk carton, making sure to leave at least a 4-5 cm ledge at the bottom.
- Poke 8-10 holes in the bottom of the carton to allow for water drainage.
- Poke a hole on either side of the top of the milk carton.
- Run a string through the holes at the top of the carton and tie the string together to form a loop to hang your bird-feeder.
- Fill the bottom of the carton with bird seed and hang outside.
Find This Post Useful? Pin It!
If you’ve found this post useful, I’d be grateful if you Pinned it to your favorite Pinterest board, or shared it to your social media platform of choice! What other outdoor learning activities would you add to this list? I’d love to learn from you! Please leave your ideas in the comments section below.