How to Propagate Plants in Water with Kids.
Have you ever wondered how some plant cuttings, when put in water, “magically” grow roots? I’ve got the answer for you! Read on to learn the science of how some plants can be propagated in water, as well as for instructions for how you can try propagating your own plants with your kids at home!
What is Plant Propagation?
Plant propagation is the process of growing new plants. There are two ways in which plants can be propagated. One way involves crossing the pollen and egg from 2 parent plants, which is known as sexual propagation. This method creates a genetically unique offspring from its parents and is the typical reproductive process needed for flowering plants.
A second way to propagate plants is by taking a cutting from one parent plant and stimulating it to produce a genetically identical new plant. This is known as asexual propagation. This method is done by taking a cutting of a root, stem or leaf and placing the cutting in water to stimulate new growth.
The Science of Plant Propagation from Cuttings
So, how does plant propagation actually work? Here’s the science to explain how some species of plants, such as pothos plants, Chinese money plants, and spider plants, can grow new individual plants from cuttings of the parent plant.
When you take a cutting from a parent plant, the cutting goes into protection mode and forms a group of cells called a callus. Unlike the callus that forms on your foot, this group of cells has the unique ability to respond to the plant’s chemical messages and differentiate, or transform, into root cells when placed in water. These root cells multiply, creating a new root system for the “baby” plant!
Propagating plants in water is a simple, yet powerful visual to introduce your kids to botany (the study of plants) and give them the confidence to grow something all by themselves, with little maintenance required!
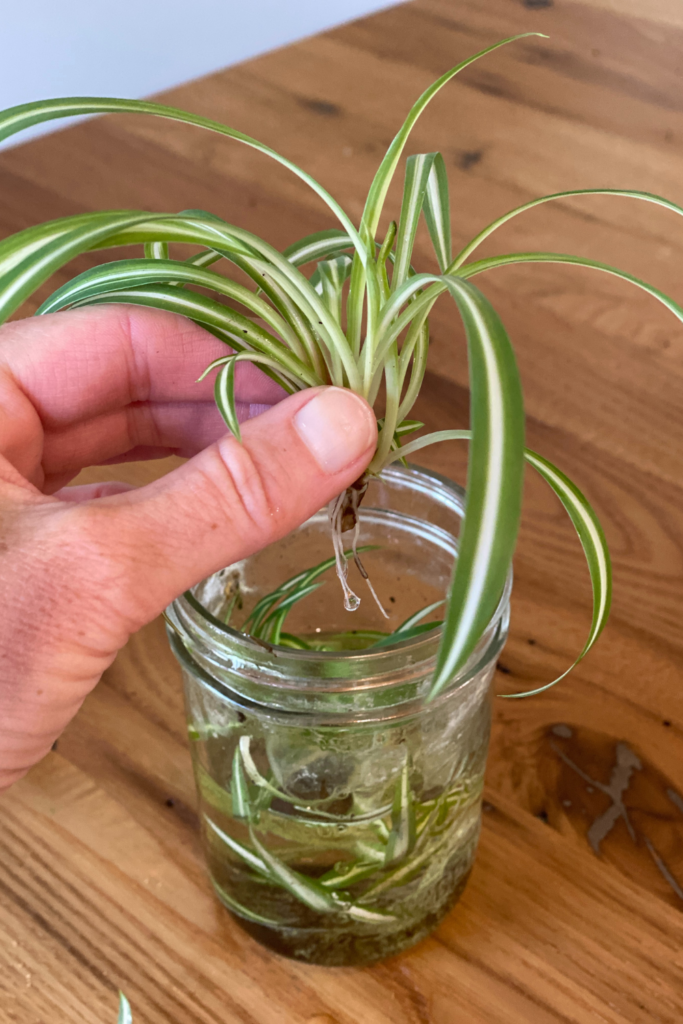
Spider plant
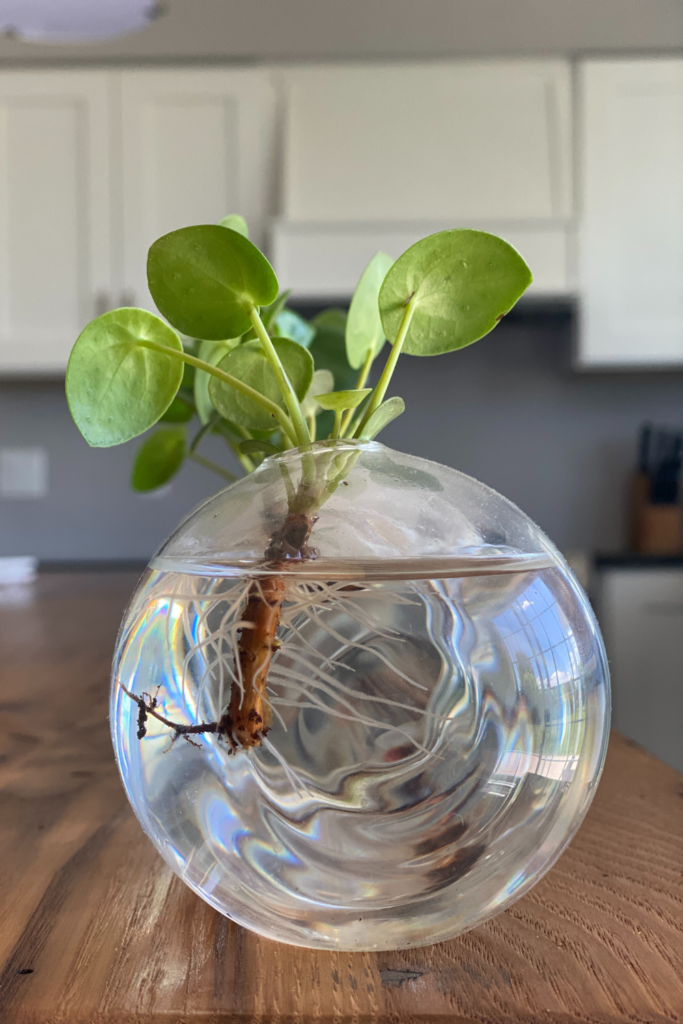
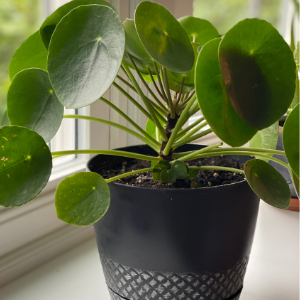
Chinese Money Plant
Plant Species We’ve Propagated
My kids and I have successfully propagated the following species of plants in water:
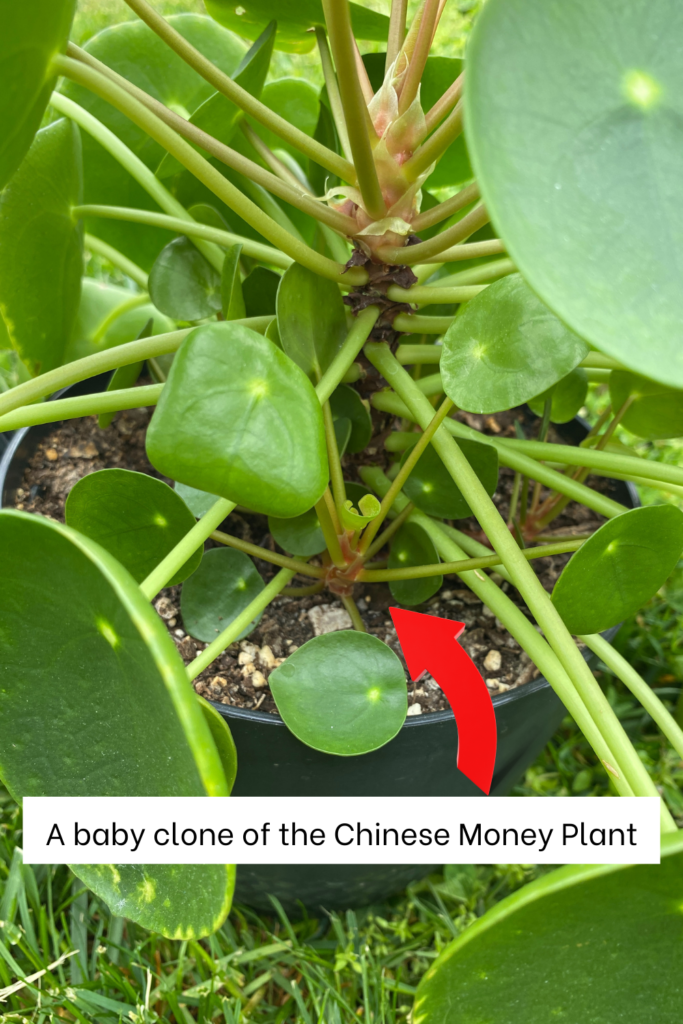
- Pilea Peperomiodes, a.k.a the Chinese Money Plant or Friendship Plant
- Pothos plants (there’s a huge variety of these plants – we regrew Golden Pothos)
- Chlorophytum comosum, a.k.a the Spider Plant
You can also do a simple search online to see if any of the plants you already own would work to propagate in water. If you don’t happen to own any, prior to buying a new plant, reach out to your community members in your local Buy Nothing Group, Facebook Marketplace or Next Door to see if anyone would be willing to give you a few plant cuttings!
How to Propagate your Plant in Water
Once you’ve chosen the plant you’d like to propagate, you’ll want to grab a few simple supplies.
Materials needed to propagate plant roots
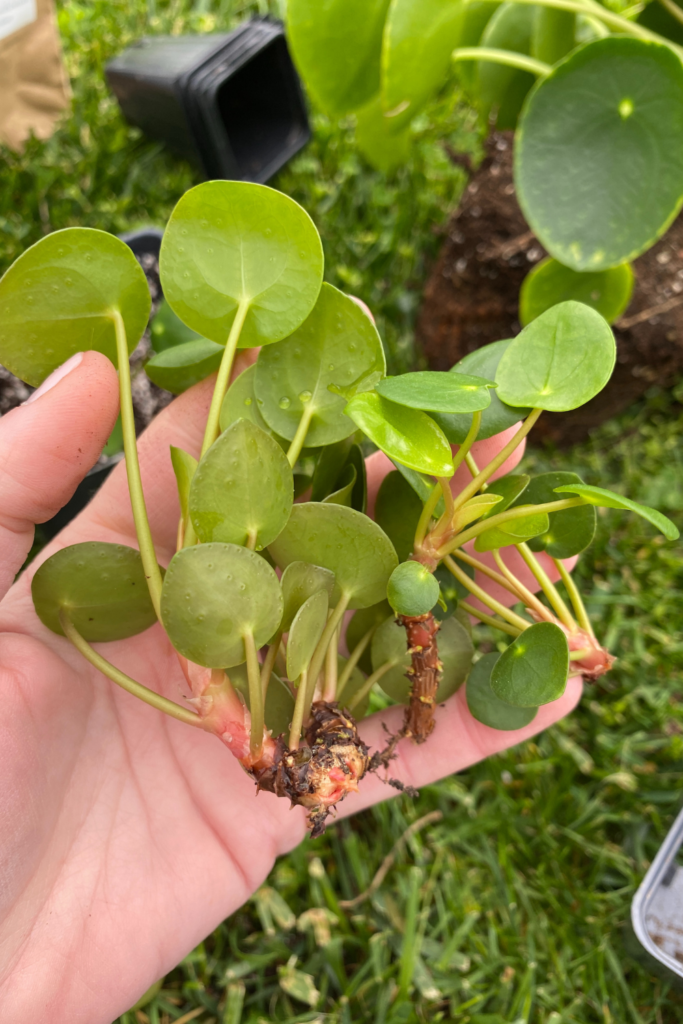
- a baby clone of your parent plant (see image above for reference)
- a sharp blade
- a small container of water
- a plastic lid (optional)
Instructions to propagate plant roots
- Find a baby clone of your parent plant and, using a sharp blade, cut it from the base or stem of the parent plant.
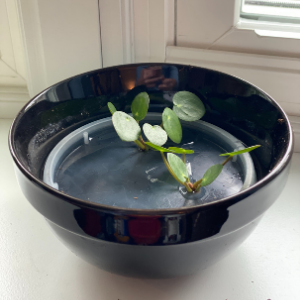
- Submerge the stem of the baby clone in water. Do not submerge the leaves. You can a) poke holes in a plastic lid to float on top of a jar of water to keep the leaves dry and the stem wet. b) fill your container with a small amount of water so only the stem of the cutting is submerged.
- Change water every few days, or if it becomes cloudy or slimy.
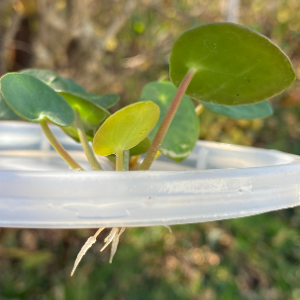
- Within 1-2 weeks, you’ll start to see roots emerge.
Checking on the growth of the roots every few days was one of my kids’ favorite parts of this process. If you want to incorporate some STEM building skills into this activity, you can have them measure and record the change in growth of the plant’s roots every other day, and then create a line graph to visually track the data!

The parent plant, Pilea Peperomiodes. Cuttings floating in water to establish roots. The roots after 2 weeks of propagation.
Potting your newly grown plant
You’ll want to wait until the newly grown roots are at least 1 inch (2.5 cm) long before transplanting your plant into soil.
Once transplanted, allow the soil to dry out before watering again to help plant establish a stronger root system in its new soil environment.
Making a Recycled Pot for your Plant
As we always seem to have extra glass jars around the house, I decided to let my kids create their own potting environments using a few simple materials:
Materials for Kid-friendly Pots
- cleaned, clear glass jar
- small rocks
- potting soil or garden soil (we used a mixture of both!)
- small gardening shovel (or they can just use their hands!)
Once we collected our supplies, I had them do the following:
Instructions for making your own pots
- Place small rocks in the bottom of the clear glass jar, filling it 1/4 full.
- Fill the remainder of the jar with potting soil
- Use your finger to make a small hole in the top of the soil that is deep enough to submerge the roots of your newly propagated plant.
- Place your plant in the hole and gently press soil around its base.
- Gently water your newly potted plant.
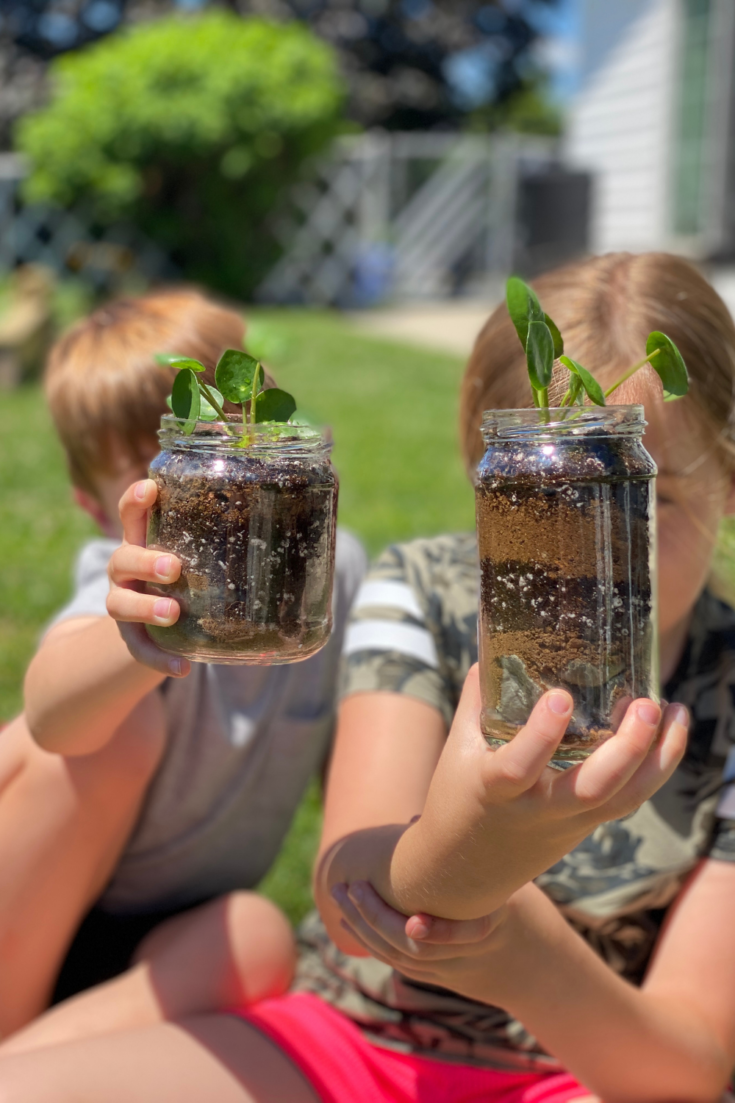
The rocks at the bottom will allow for proper drainage of the soil, however, be sure to instruct your kids to observe if there is a lot of standing water at the bottom of the jar. This indicates that there is plenty of water in their jar and the plant can go without being watered for a few days.
Using a clear, glass jar as a pot has the added benefit of allowing your kids to watch the roots of the plant continue to grow! Having their own window into the world beneath the soil is a pretty cool thing.

Propagated Plants Make Great Sustainable Gifts!
We’ve gifted quite a few of our propagated plants to family and friends. This past Christmas, I stumbled on a cute holiday cup and saucer at my local thrift store and, after adding a few small pebbles and some soil, it make for a festive (yet temporary) home for my plant. Note – after a few more months of growth, it would require a larger pot to continue to grow.
My kids have loved gifting the Friendship plant, also known as the Chinese Money plant, (shown above) to their own friends, as they had a sense of pride that they had grown the gift all by themselves.
Have you ever propagated plants in water before? I’d love to hear your trial and error stories! If you find this post useful, please Pin it to your favorite Pinterest board!

How to Make a Planter From a Glass Jar
Using a few simple materials from around the house, you can upcyle a glass jar into a pot for your plant!
Materials
- cleaned, clear glass jar
- small rocks
- potting soil or garden soil (we used a mixture of both!)
- small gardening shovel (or they can just use their hands!)
Instructions
- Place small rocks in the bottom of the clear glass jar, filling it 1/4 full.
- Fill the remainder of the jar with potting soil.
- Use your finger to make a small hole in the top of the soil that is deep enough to submerge the roots of your newly propagated plant.
- Place your plant in the hole and gently press soil around its base.
- Gently water your newly potted plant.
Notes
The rocks at the bottom will allow for proper drainage of the soil, however be sure to instruct your kids to observe if there is a lot of standing water at the bottom of the jar. This indicates that there is plenty of water in their jar and the plant can go without being watered for a few days.