
How Does Salt Affect Ice? A Simple Science Experiment
Looking for a way to explain to your learners why salt is utilized to combat icy roadways and sidewalks? Check out this simple science experiment to demonstrate how salt affects the freezing point of water and how the over-utilization of salt can be harmful to the environment.
Every winter before a storm, large trucks rumble down the road through my neighborhood, spreading salt crystals over the pavement. My six-year-old was curious about why these trucks appeared before a storm and so I decided to not only tell him but to show him, with a simple science experiment.
The Simple Science of Water and Salt
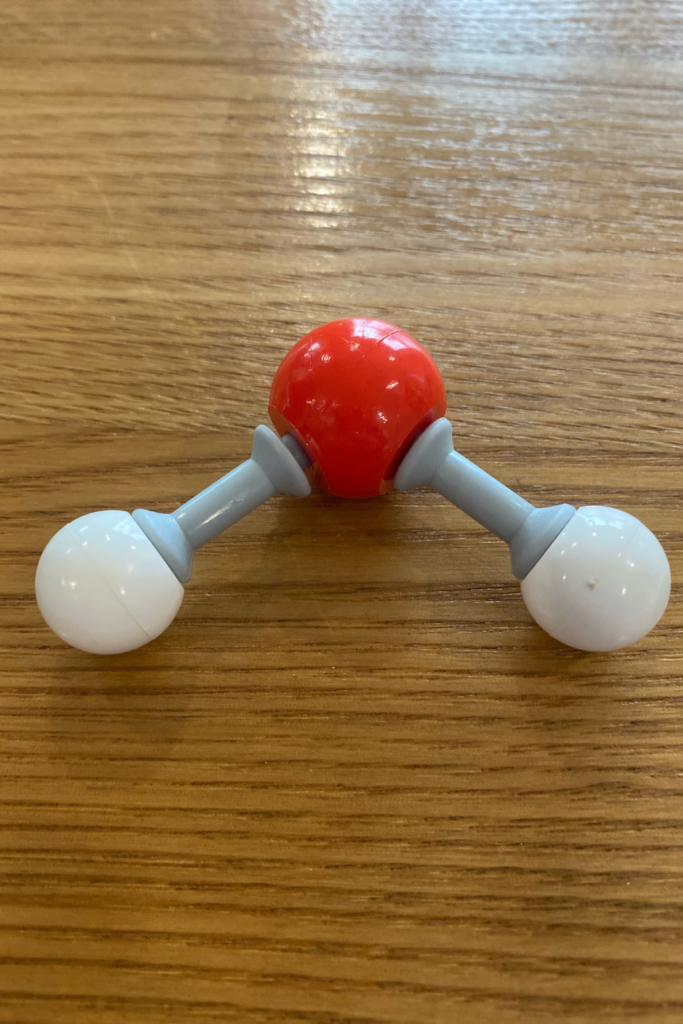
To provide my kids with a bit of background information, I broke out my chemistry modeling set and gave them a brief description of what’s happening at the molecular level.
Water is a molecule that is made up of two elements: hydrogen and oxygen. Water, also written as H2O, freezes at 0℃ or 32℉. However, when a compound like sodium chloride, NaCl, what we commonly refer to as salt, is dissolved in water, something interesting happens. The salt compound breaks apart into sodium and chlorine ions and prevents the water molecules from bonding together at their normal freezing point of 0℃ or 32℉. The addition of salt actually lowers the freezing point of water!
When this occurs, we can’t actually see the sodium and chlorine ions at work, as they are way too small for our eyes to observe. What we do notice is that, when salt is applied to ice, the ice begins to melt. This is because the composition of water is no longer plain H2O; it now has sodium and chlorine ions floating around in it, causing the freezing point to decrease.
How’s that for some snazzy science?
Making the Science of Salt and Water Visible
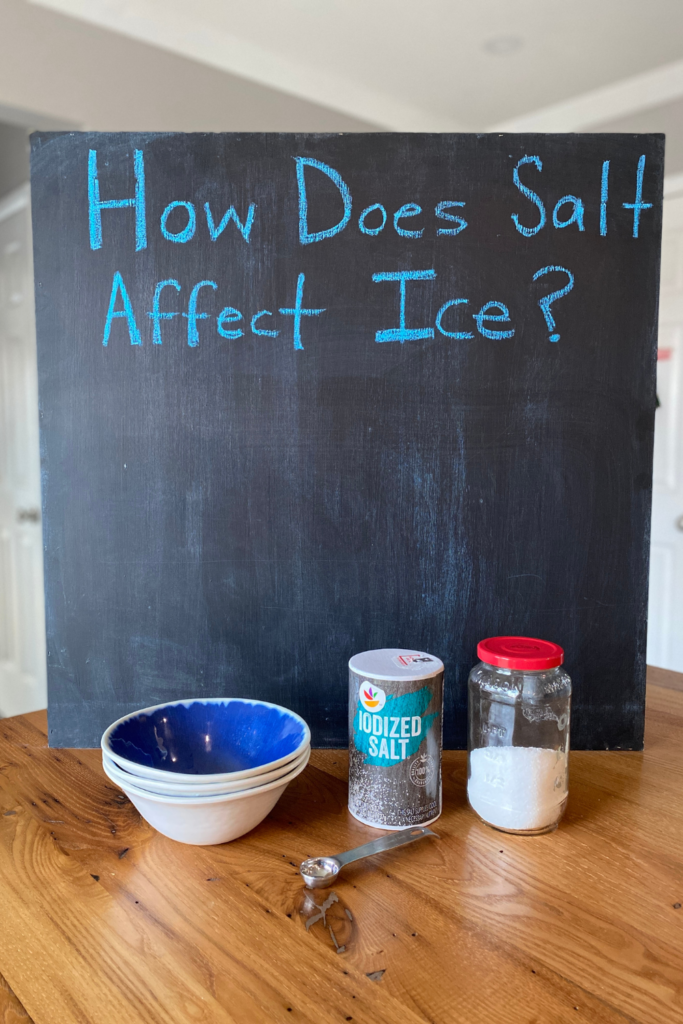
In order to visualize the concept of salt lowering the freezing point of water, I gathered a few simple supplies from my kitchen and got to work. This experiment took approximately 30 minutes for my kids to complete from start to finish, with additional time to discuss the environmental implications of adding salt to icy roadways.
Materials Needed for the Science Experiment
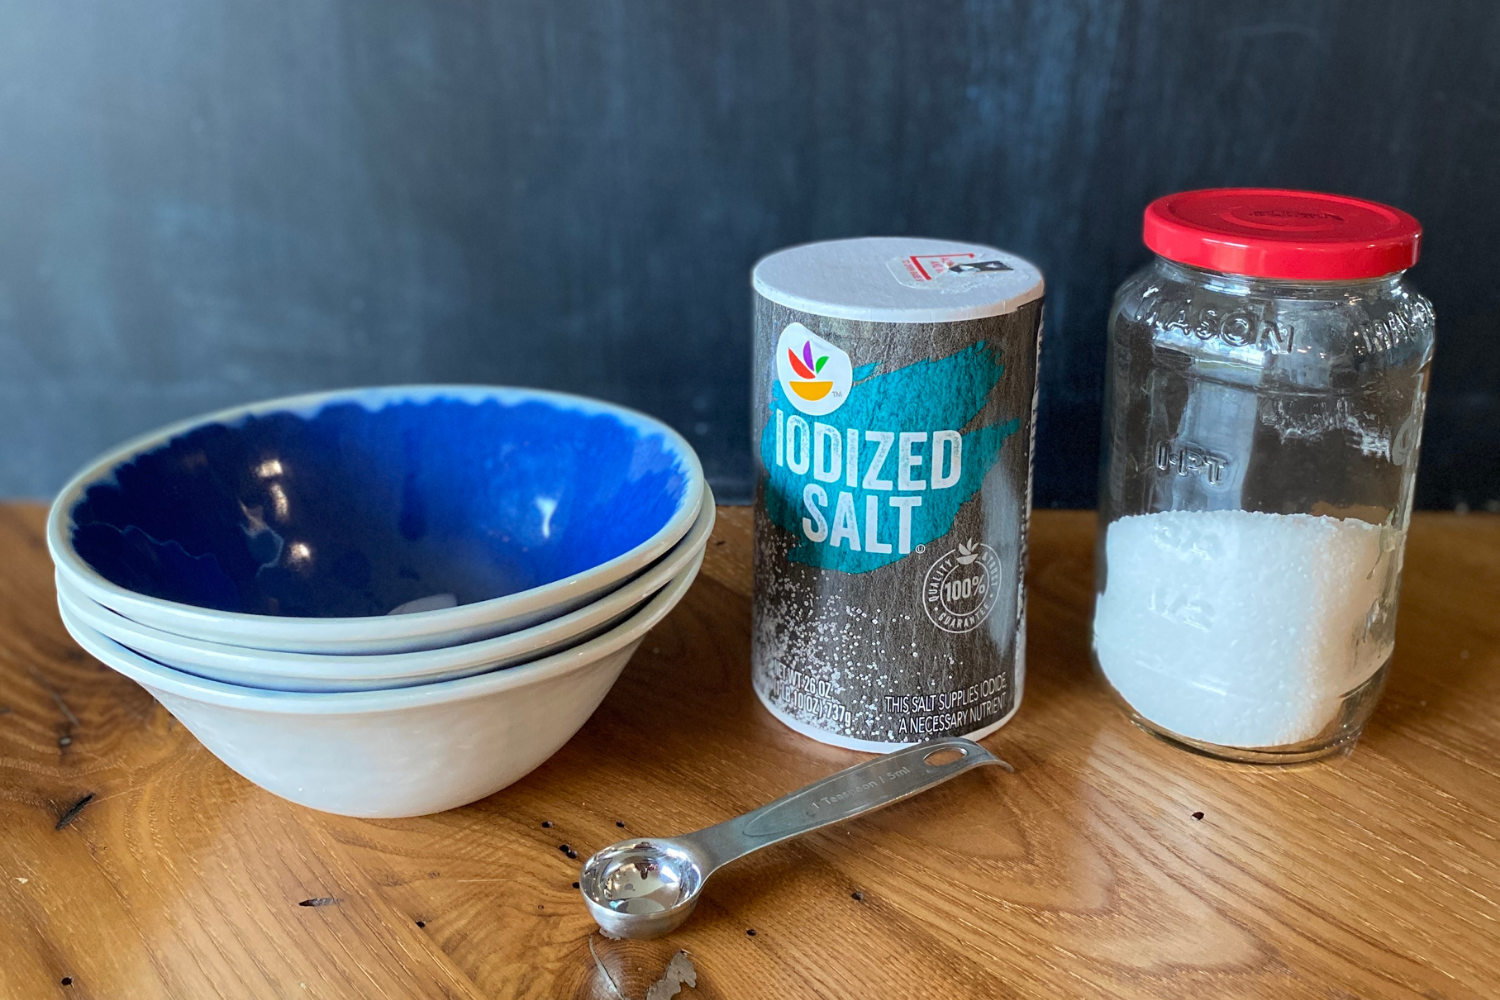
To demonstrate how salt affects the freezing point of water, you’ll need the following materials:
- 2 Ice cubes
- Table salt*
- 2 bowls
- Teaspoon
- Timer or Clock
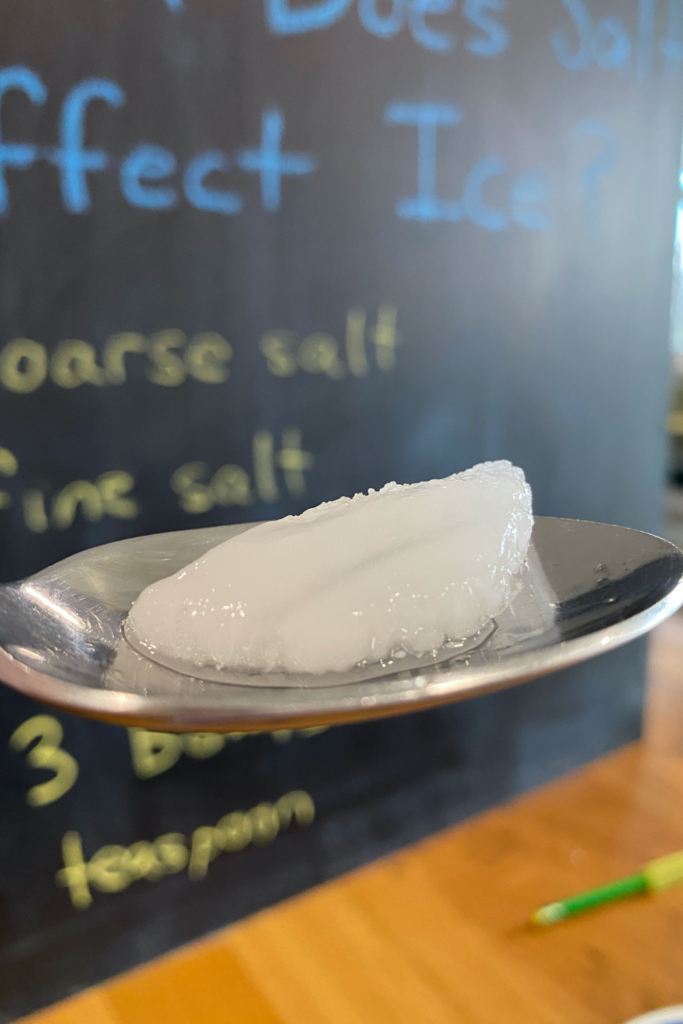
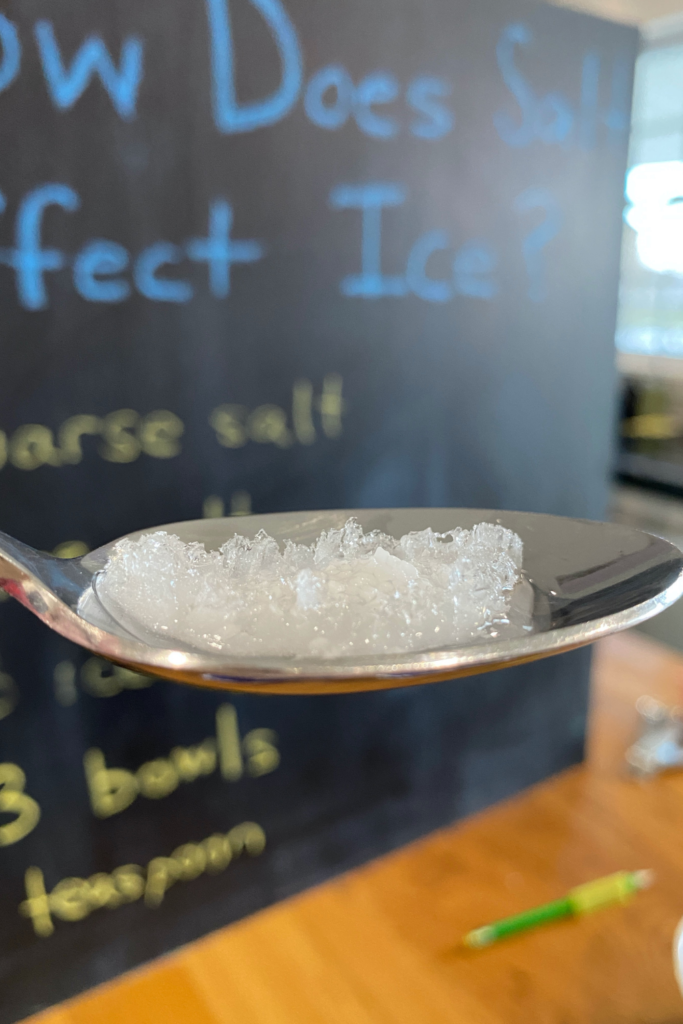
*You can use either fine or coarse table salt for this experiment. I chose to use both to demonstrate the difference in melting time for each option. If you want to test both salt types as well, you will need 3 ice cubes and 3 bowls.
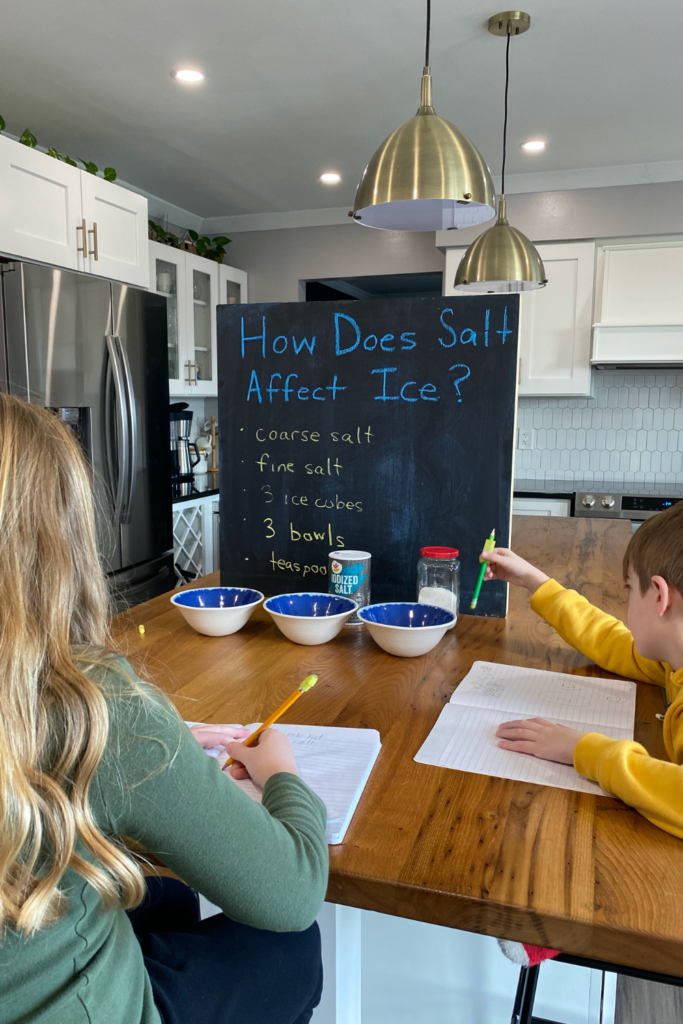
Make Predictions to Practice Critical Thinking Skills
To engage your learners in critical thinking (and to add an extra layer of fun to the science experiment!) have them make the following predictions prior to conducting the experiment:
- Which ice cube will melt the fastest?
- How much time will it take for the plain ice cube to melt?
- How much time will it take for the salty ice cube to melt?
Not only do these questions get students thinking about the experiment, but they also allow them to make mathematical comparisons to the results, engaging the “M” in STEM! Have your learners record their predictions in a table, like the one shown below.
Title: What Effect Does Salt Have on Ice?
| Ice Cube | Ice Cube + Salt | |
| Predicted Time it took to completely melt the ice cube (minutes) | ||
| Actual Time it took to completely melt the ice cube (minutes) |
I’ll explain more about teaching students how to collect data in an organized manner in the data collection portion of this post.
Most importantly, this is a fun activity to get your kids thinking and making hypotheses. Most children are afraid of being “wrong”; this activity teaches them that being wrong is part of the fun! Taking educated guesses is what drives science forward because when we realize our answer is wrong, we can confidently move forward in the right direction! Try to foster the idea that it’s not the “right” or “wrong” answer that’s important, but rather the learning that happens as a result of the experiment.
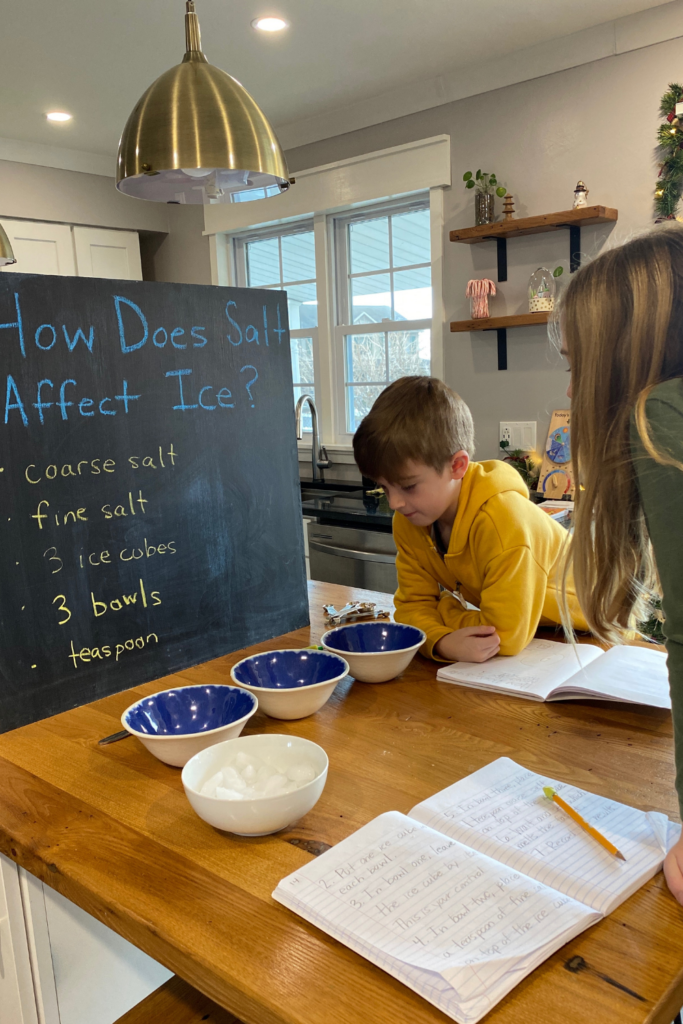
Instructions to Conduct the Salty Ice Experiment
Follow these step-by-step instructions to visualize the effect salt has on the ice.
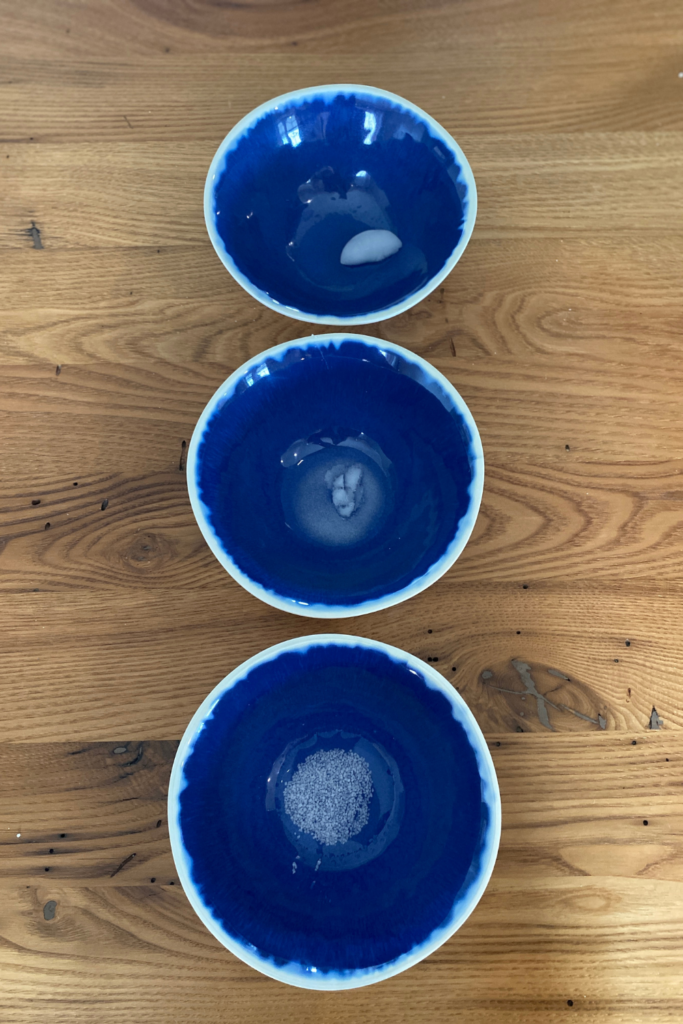
- Set the bowls on a level surface.
- Place an ice cube in each bowl.
- Label the first bowl as your control. This bowl will only contain an ice cube.
- Label the second bowl as your variable.
- Into the second bowl, pour one teaspoon of table salt on top of the ice cube.
- Record the time or start a stopwatch
- Observe the difference in the time it takes for the two ice cubes to melt.
If you have chosen to test the effect that both fine and coarse table salt have on the ice cubes, add a step to the instructions, applying one teaspoon of the additional salt to a third ice cube.
The temperature of the surrounding air will affect the rate at which both ice cubes melt. You want to specifically focus on the difference in time between the melting rates of the ice cubes.
Simple Data Collection for the Science Experiment
This is a great activity to introduce or reinforce the importance of recording data in an organized manner. Create a simple table like the one below for your learners to write down their observations. Point out that a table must have a title, clear labels explaining what each value represents, along with the units of measurement used.
Here is an example of a table to use for the salty ice experiment:
Title: What Effect Does Salt Have on Ice?
| Ice Cube | Ice Cube + Salt | |
| Predicted Time it took to completely melt the ice cube (minutes) | ||
| Actual Time it took to completely melt the ice cube (minutes) |
If you have chosen to test an additional type of table salt, be sure to add an extra column to the table.

Discussion Questions for the Salty Ice Experiment
Once your learners have completed the salty ice science experiment, have them revisit their predictions and compare them to the results. Try to avoid statements such as, “Were your predictions right or wrong?” as the aim is not for them to be accurate in their assumptions, but instead to learn how to properly conduct an experiment and analyze results. Here are some prompts you can try to get them thinking:
- Which ice cube changed from solid to liquid first? Why do you think that happened?
- How does the melting time of the plain ice cube compare to your prediction? Did it melt faster or slower than you predicted?
- How does the melting time of the salted ice cube compare to your prediction? Did it melt faster or slower than you predicted?
- How can this knowledge be useful to someone that lives in a climate zone that receives ice and snow in the winter?
Depending on the age and ability level of your learners, have them calculate the numerical difference in predicted versus actual melting times of each ice cube to add an extra mathematical component to this lesson.
Environmental Implications of Using Salt to Decrease Ice Accumulation on Outdoor Surfaces
To apply what they have learned, introduce and discuss the environmental issues that arise when salt is applied in abundance to icy roadways and outdoor surfaces. You can utilize the video lesson I created with Medinah Eatman of Science Teacher Mom to guide this portion of their learning, beginning at the Nature Connection section, found at minute 15 of the virtual lesson. You’ll notice that I reference a printable in the video, which you can access for free here:
Here are the main takeaways from this section of the lesson:
- Excess salt washes into local waterways, causing problems for the plants and animals that reside there.
- Fresh water fish that reside in local waterways have hatchlings that are 30% smaller than average when exposed to higher salinity. Salinity is a value that addresses the amount of salt dissolved in water.
- Increased salinity in freshwater can kill zooplankton and phytoplankton, which are important food resources for fish, clams, snails, and insects.
- Plants can be negatively affected by increased salinity, causing them to have smaller leaves, flowers, and fruit, as well as slower stem growth.
- Large mammals like deer and moose are attracted to the salted roadways, causing in increase in collision rate with these animals during winter months.
The lesson then goes on to discuss the appropriate level of salt to use per area of ice, as well as some salt alternatives currently available to treat icy surface conditions.
Making Science Easily Accessible
Conducting simple scientific experiments like this one allows students to see that science is everywhere and doesn’t require fancy equipment to conduct investigations. Additionally, their confidence in making predictions and interpreting information will grow, strengthening their critical thinking skills.
If you try this salted ice experiment, please let me know by tagging me @thoughtfullysustainable on Instagram or Facebook, or by leaving a comment below! If you have any questions, feel free to email me!
How Does Salt Affect Ice? A Simple Science Experiment
Looking for a way to explain to your learners why salt is utilized to combat icy roadways and sidewalks? Check out this simple science experiment to demonstrate how salt affects the freezing point of water and how the over-utilization of salt can be harmful to the environment.
Materials
- 2 Ice cubes
- Table salt*
- 2 bowls
- Teaspoon
- Timer or Clock
Instructions
1. Set the bowls on a level surface.
2. Place an ice cube in each bowl.
3. Label the first bowl as your control. This bowl will only contain an ice cube.
4. Label the second bowl as your variable.
5. Into the second bowl, pour one teaspoon of table salt on top of the ice cube.
6. Record the time or start a stopwatch
7. Observe the difference in the time it takes for the two ice cubes to melt.
Notes
You can use either fine or coarse table salt for this experiment. I chose to use both to demonstrate the difference in melting time for each option. If you want to test both salt types as well, you will need 3 ice cubes and 3 bowls.


2 Comments
Comments are closed.