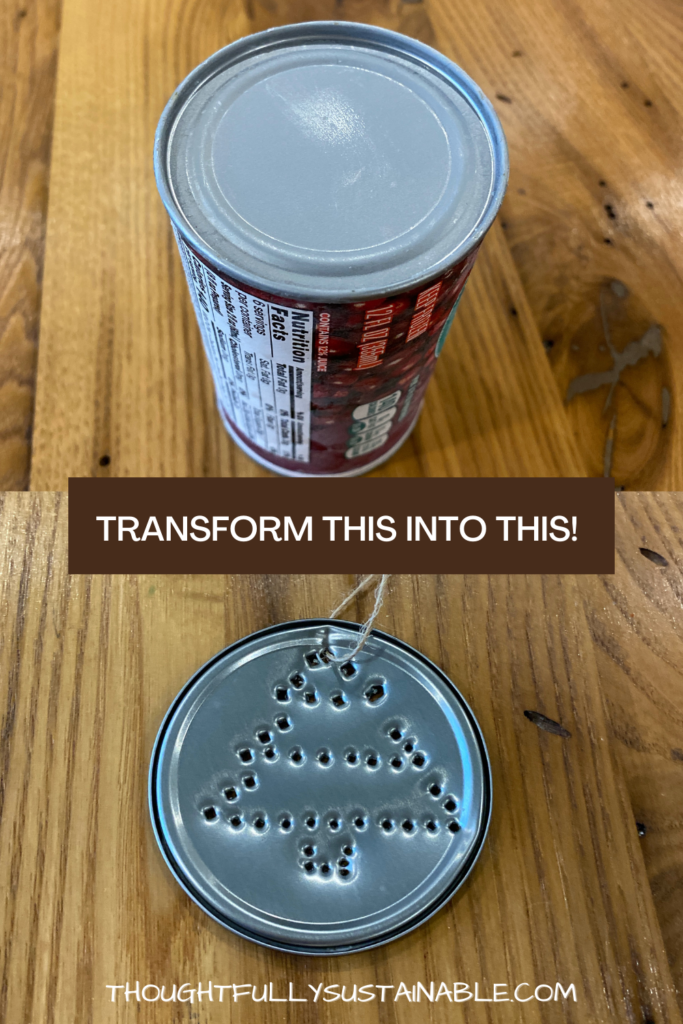
How to Transform Metal Lids into Holiday Ornaments
Are you looking for a simple, family-friendly holiday craft that does not require a trip to the store? Repurpose metal lids into festive holiday ornaments!

The winter holiday season can be a stressful time for families. The busyness of additional activities, the ever-growing shopping lists, the desire (or pressure) to decorate your home – the to-do lists for families can quickly become overwhelming. In addition, the waste created by this hustle and bustle can be incredibly disheartening.
In an attempt to slow down the pace of the holiday season, my family started a tradition of making our ornaments for one of our trees. Last year we decided to decorate two trees. One tree holds the keepsake ornaments from my childhood, along with the various gifted and thrifted ornaments we have collected along the way. The other tree holds trash.
I got your attention there, didn’t I?
Let me restate. The items on our second could be trash if we tossed the materials into the waste or recycling bins. However, we have chosen to repurpose our cardboard toilet paper tubes, wine corks, brown paper bags, and metal lids to create decorative ornaments instead!
Making Metal Lid Ornaments for the Holiday Season
Setting aside time to create decorations with our family has been a rewarding experience. Not only does it save us time and money running in and out of stores to purchase decorations, but it demonstrates to our children that materials have value and should not be wasted. In addition, it allows us to set aside time to get creative together.
Do we create a mess? Sometimes. Does the activity always go as planned? Of course not. However, we’ve tested and fine-tuned our approach to creating a few simple decorations, such as the metal lid ornaments, for your family to create with ease!
Materials Needed to Create the Metal Lid Ornaments
Look no farther than your recycling bin and utility drawer to find all the materials needed to create these simple, festive ornaments.
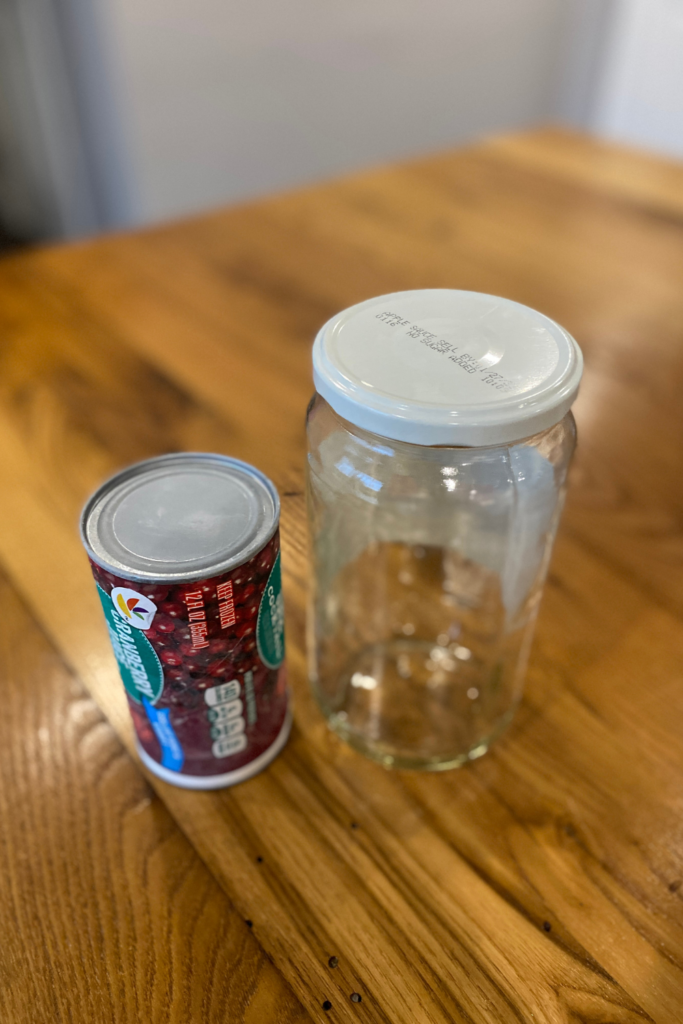
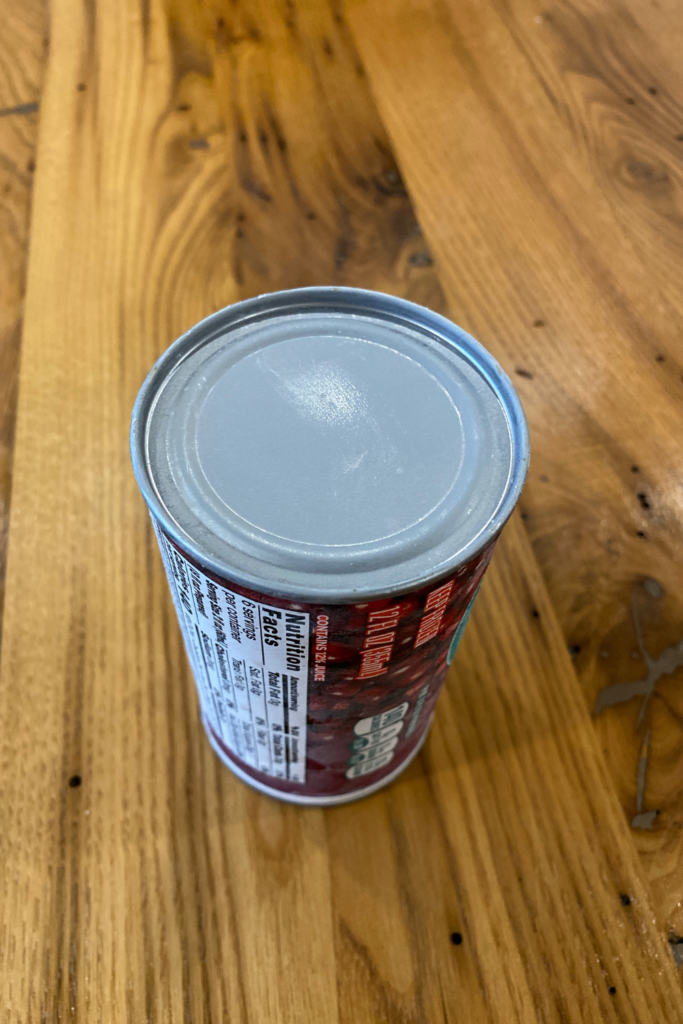
- Clean, dry metal lid with smooth edges. Frozen juice concentrate or glass jar lids work best.
- Nail
- Hammer
- Safety goggles
- Paper
- Pencil
- Scissors
- Tape
- Cutting board or scrap piece of wood
- Ribbon, string, or yarn
- Pliers (optional)
If you plan to create these metal lid ornaments with kids, I have found that using a pair of pliers to hold the nail in place while my child taps the nail with a hammer has saved us some hurt fingers. Depending on the ability level of the one wielding the hammer, they can hold the nail in place with the pliers themselves, or an adult can be in charge of keeping it steady.
Instructions to Create the Metal Lid Ornaments
Once you have collected the materials needed, follow these simple instructions to create your personalized metal ornament.
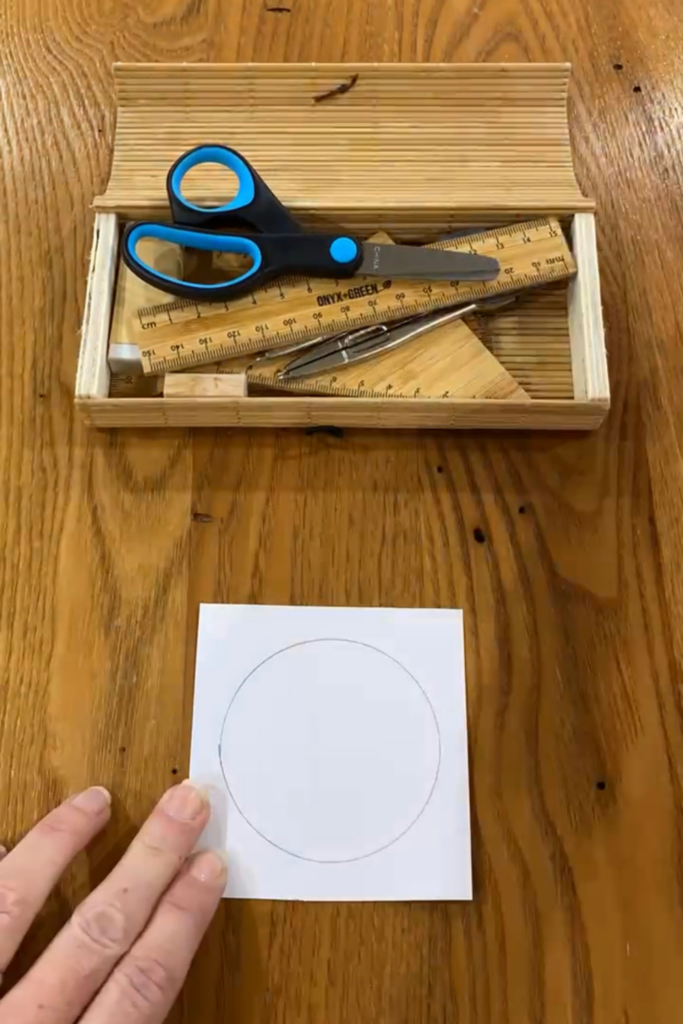
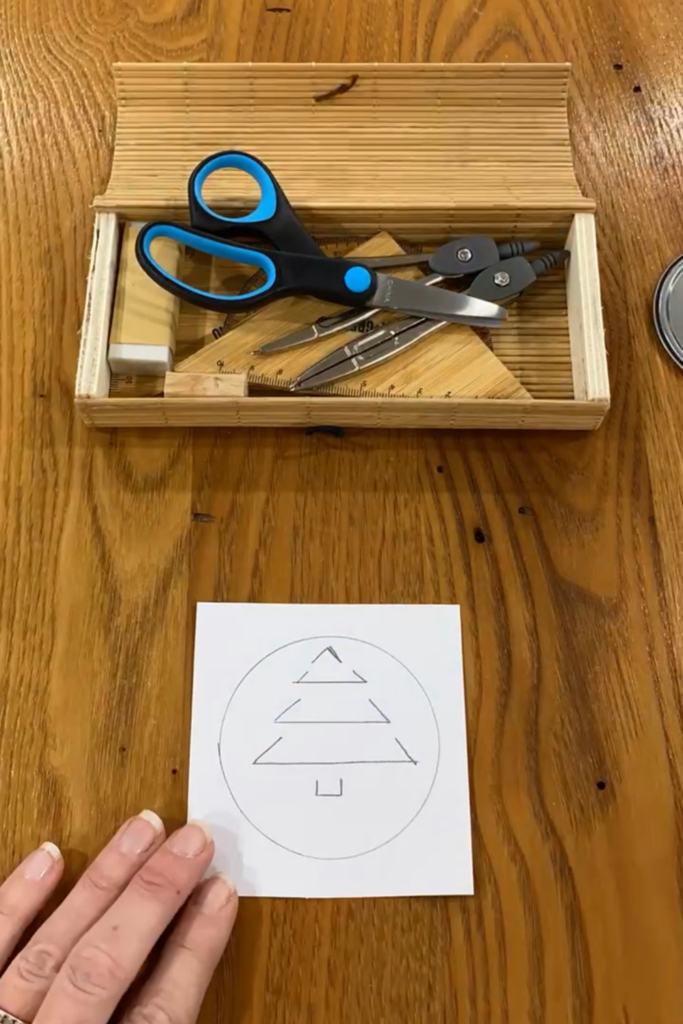
- Trace the circular are of the lid on a piece of paper.
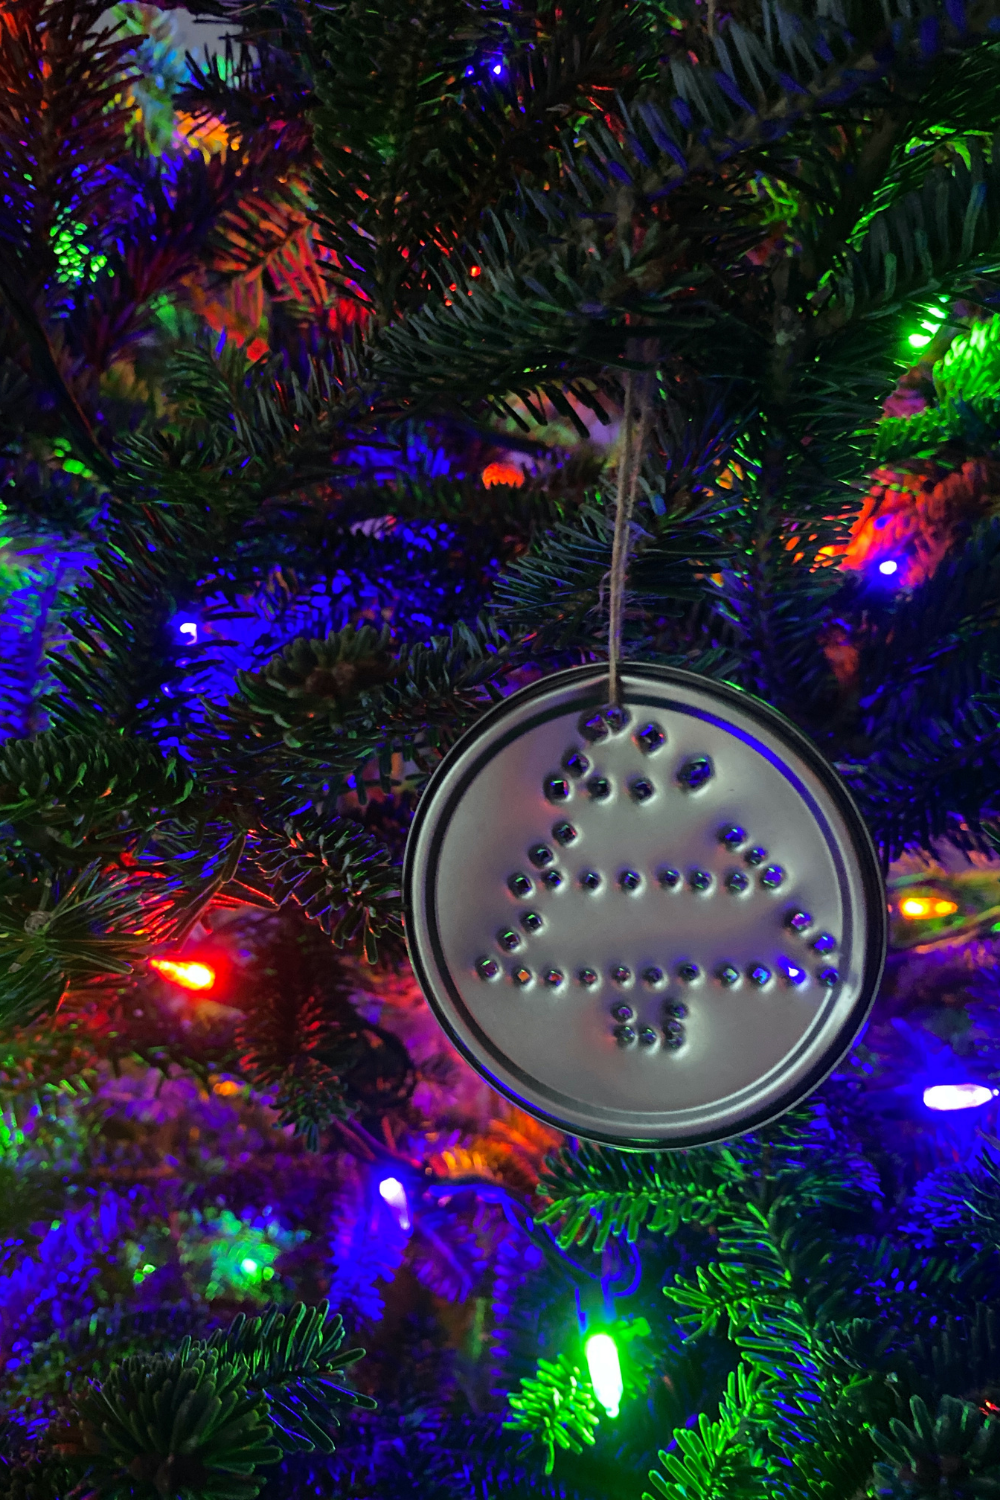
- Draw a simple image on the paper circle. I chose to sketch an outline of a tree; drawing a letter also works well for this project.
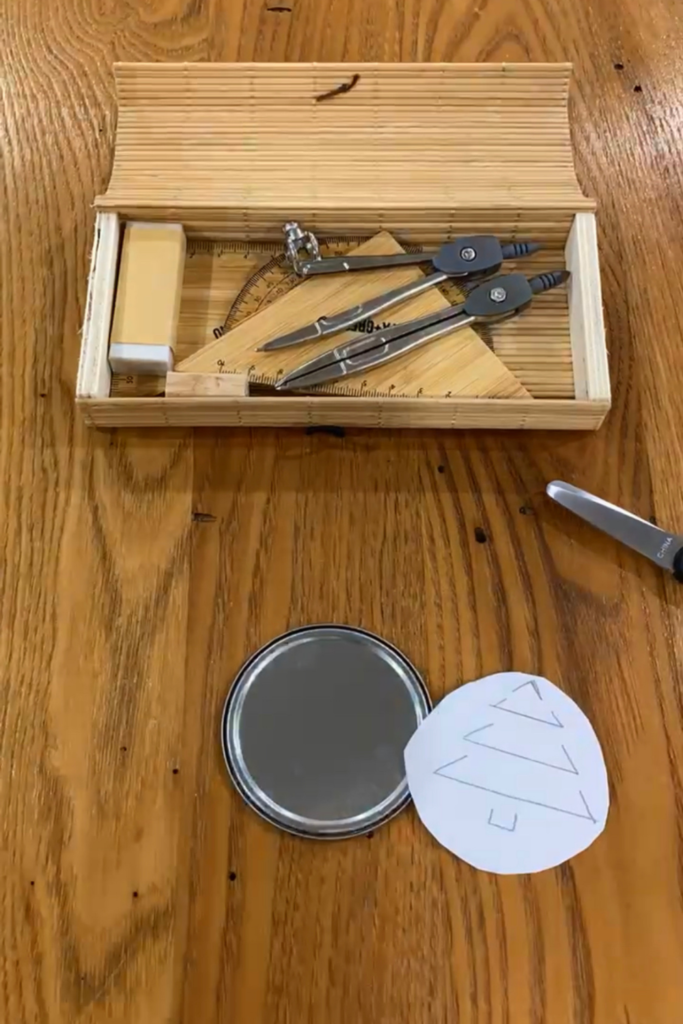
- Cut out the paper circle and tape it to the metal lid.
- Place the lid on top of a piece of scrap wood or cutting board.
- Put on safety goggles.
- Using a hammer and nail, trace the outline of your design by gently hammering small holes along the lines drawn.
- Lift your paper drawing to check your work. Don’t like it? Add more holes if needed. The backside of the lid will be rough, so use caution when handling.
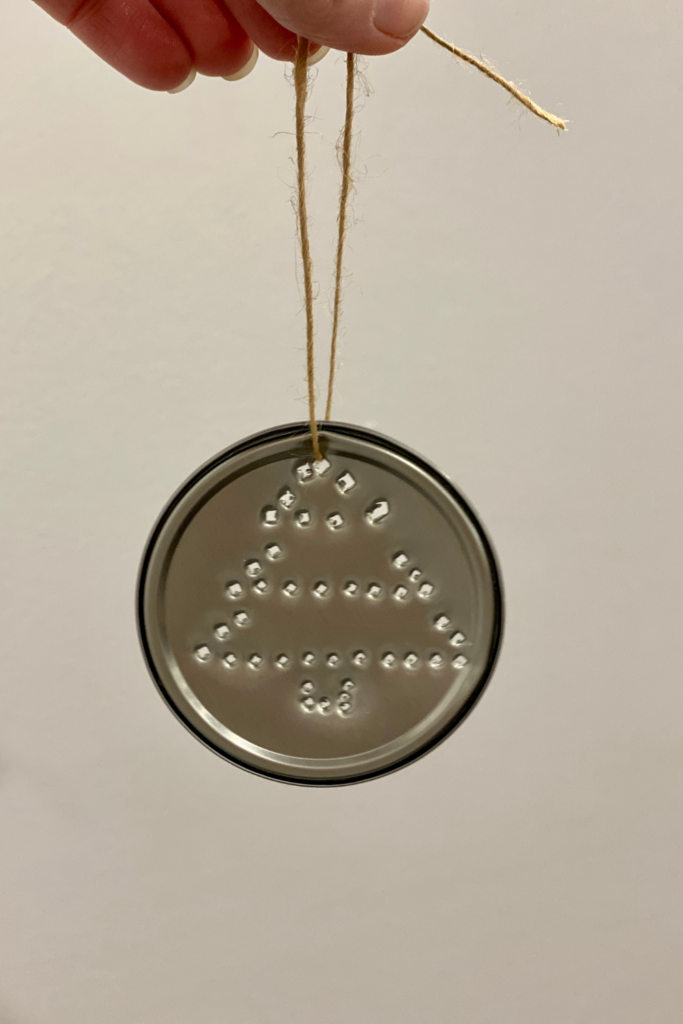
- When you are satisfied with your design, hammer a hole in the top of the metal lid and run a ribbon through the hole.
- Create a loop with the ribbon and tie it to create a hanger for your newly upcycled metal lid ornament.
Only a small amount of force is needed to create holes in the metal lid to allow light to pass through. Hold the completed metal lid ornament up to a light source to check that you have pierced the metal enough to let sufficient light pass through the holes.
How to Use Your Personalized Metal Lid Creation
Wasn’t that easy? Now that you have created your first metal lid ornament, you can use them in a variety of ways. Here are a few different ideas that I thought you might enjoy.
- Hang the metal lid in front of a light bulb on a tree to allow the light to pass through the hammered design.
- Use the metal lid as an embellishment on a gift.
- Make reusable gift tags for family and friends by hammering the first initial of the person’s name onto the lid.
- Create a garland with multiple lids to spell out your family’s last name or a word like peace, making sure to hammer connection holes on the right and left side of the lids to string them together.
Get creative with your metal lids and make many simple holiday decorations and gifts. Just be sure to add a word of caution about the possible sharp edges on the back of the lids created by the nail punctures if you choose to gift your creations.
I’d love to see what you create! Share them on Instagram or Facebook and tag me @thoughtfullysustainable, or email them to me. And as always, if you have any questions, feel free to leave a comment below!
How to Transform Metal Lids into Holiday Ornaments
Are you looking for a simple, family-friendly holiday craft that does not require a trip to the store? Repurpose metal lids into festive holiday ornaments!
Materials
- Clean, dry metal lid with smooth edges. Frozen juice concentrate or glass jar lids work best.
- Nail
- Hammer
- Safety goggles
- Paper
- Pencil
- Scissors
- Tape
- Cutting board or scrap piece of wood
- Ribbon, string, or yarn
- Pliers (optional)
Instructions
- Trace the circular are of the lid on a piece of paper.
- Draw a simple image on the paper circle. I chose to sketch an outline of a tree; drawing a letter also works well for this project.
- Cut out the paper circle and tape it to the metal lid.
- Place the lid on top of a piece of scrap wood or cutting board.
- Put on safety goggles.
- Using a hammer and nail, trace the outline of your design by gently hammering small holes along the lines drawn.
- Lift your paper drawing to check your work. Don’t like it? Add more holes if needed. The backside of the lid will be rough, so use caution when handling.
- When you are satisfied with your design, hammer a hole in the top of the metal lid and run a ribbon through the hole.
- Create a loop with the ribbon and tie it to create a hanger for your newly upcycled metal lid ornament.
Notes
Only a small amount of force is needed to create holes in the metal lid to allow light to pass through. Hold the completed metal lid ornament up to a light source to check that you have pierced the metal enough to let sufficient light pass through the holes.