How to Make an Easy DIY Minecraft Creeper Piñata + 3 Free Piñata Filler Ideas
Looking to make a simple and inexpensive Minecraft piñata? Ditch the expensive store-bought piñatas and make your own super easy and nearly free Minecraft piñata. Create a homemade Minecraft Creeper piñata out of items you already have to turn up the fun at your next birthday party or celebration! I’ve also included three free piñata filler ideas to save even more money and reduce waste. It’s great for your budget, the birthday guests, and the planet.
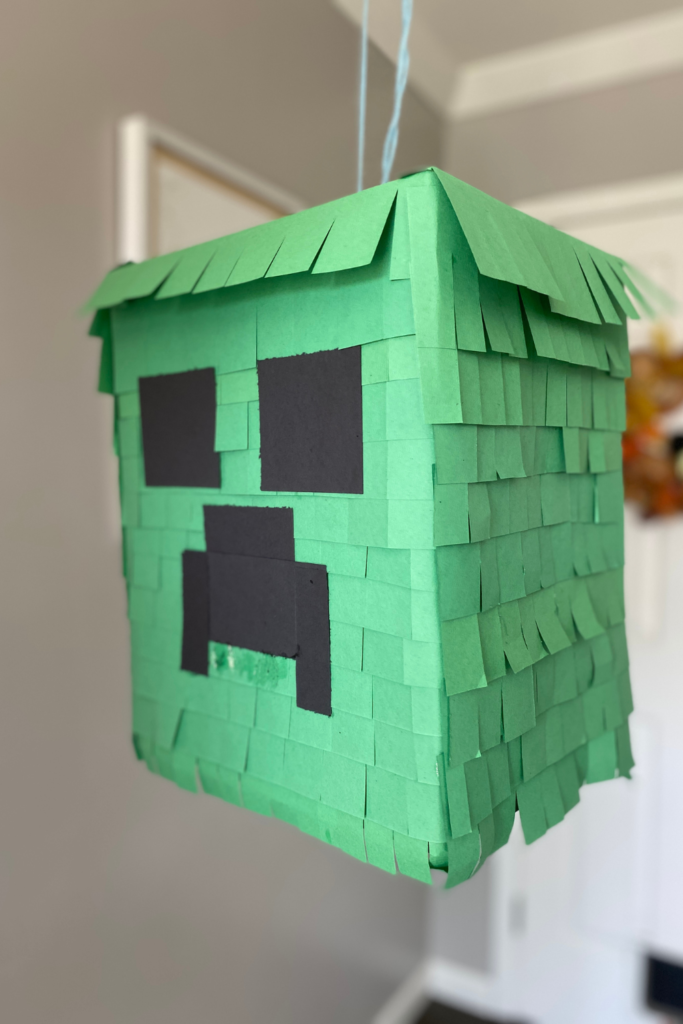
This year, my son announced that he would really, REALLY like a Minecraft-themed birthday party. I think a major factor in his decision was that he saw a Minecraft Creeper piñata in the party section of our local Target. After checking the price tag, I did what most moms do and googled the average price of similar items, which ranged from $22 to $34, excluding tax and shipping.
After re-examining the piñata, which was little more than a square box covered in green streamers, I decided this would be fabulously simple to make myself. So home I drove, heading straight for our basement where I keep my stash of crafting materials, which consists of a big box of recyclable and non-recyclable items that enter our home and show signs of great potential that I cannot dispose of them.
Am I a bit of a self-proclaimed sustainable hoarder? Yes. Yes, I am.
After rummaging through my artfully curated box of supplies, I discovered almost everything I would need to make an affordable and easy DIY Minecraft Creeper piñata.
3 Sustainable and Free Piñata Filler Ideas
You may not need to go out and buy new goodies to fill the pinata. Consider things you already have or may be available in your community to save money on pinata fillers and reduce waste. Repurposing small toys, trinkets, and candy saves money and is a more sustainable pinata filler alternative.
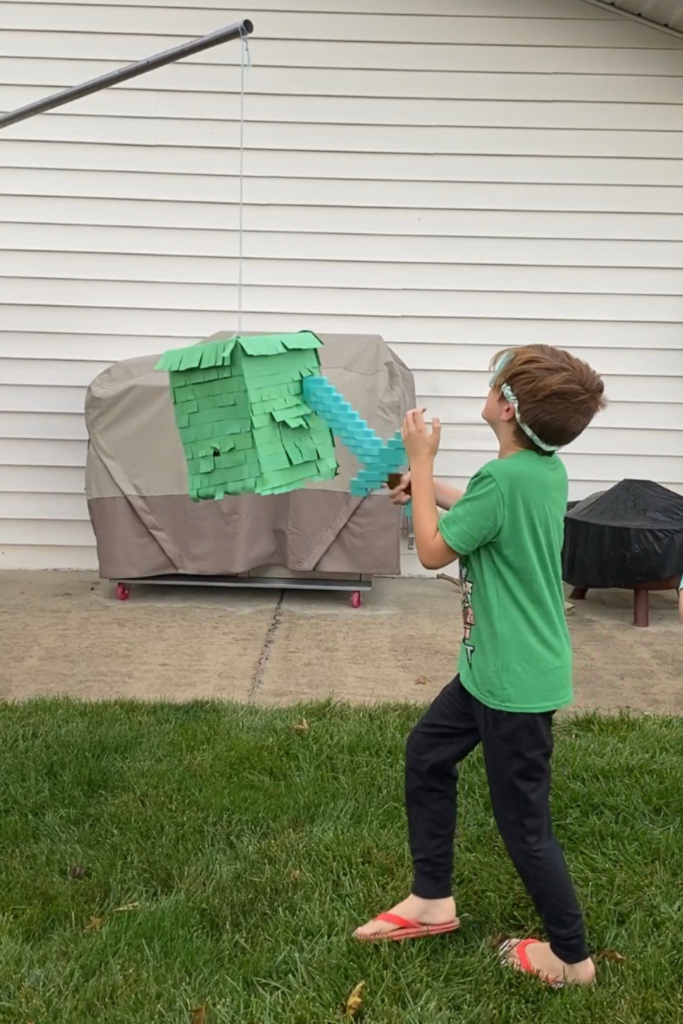
My son’s birthday falls right after Halloween, so we repurposed Halloween candy as a simple piñata filler option. We didn’t have any small toys or trinkets on hand in my “sustainable hoarding stash”. But even if you don’t have them at home, you may be able to get free pinata fillers from neighbors or friends.
Before you rush out to purchase trinkets or candy, consider some of these more sustainable and inexpensive pinata filler ideas instead.
Regift Small Toys and Trinkets
I don’t know about you, but keeping up with the little figurines and mini toys that enter our home feels like a full time job. Clear a bit of the physical and mental clutter in your life by repurposing small toys to fill the piñata. If you have small children that still like to put toys in their mouths or give everything a good lick (you know it happens), be sure to give the preloved trinkets a quick soap and water dunk before you offer them as prizes to your guests.
Shop Your Buy Nothing Group or Facebook Marketplace
If you’re out of the small toy phase, or the ones that reside in your home are your child’s prize possessions, consider putting a request on your local Buy Nothing Group or Facebook Marketplace for small toys to fill a piñata. You’ll be amazed at how quickly your request is met by parents looking to declutter their homes! Another option is to stop into your local secondhand or consignment shop and see what types of small toys they have available. Just remember to give any items a quick wash with soap and water or a mild bleach solution to clean them.
Repurpose Holiday Candy
Every holiday comes with its assortment of sweets, from chocolate eggs to jelly beans. Repurpose some of this candy to fill your homemade piñata. Even better, if you ask your friends and family if they have candy they’d like to donate to your DIY birthday activity, my guess is that you’ll be met with a joyful “YES!”
If you’re met with more edible donations than your piñata can hold, we also annually repurpose candy to decorate our homemade gingerbread houses. Building gingerbread houses has been my family’s tradition since I was a little girl and makes for a fantastic (and inexpensive) way to reuse sugary confections.
Materials Needed to Make a Minecraft Creeper Piñata
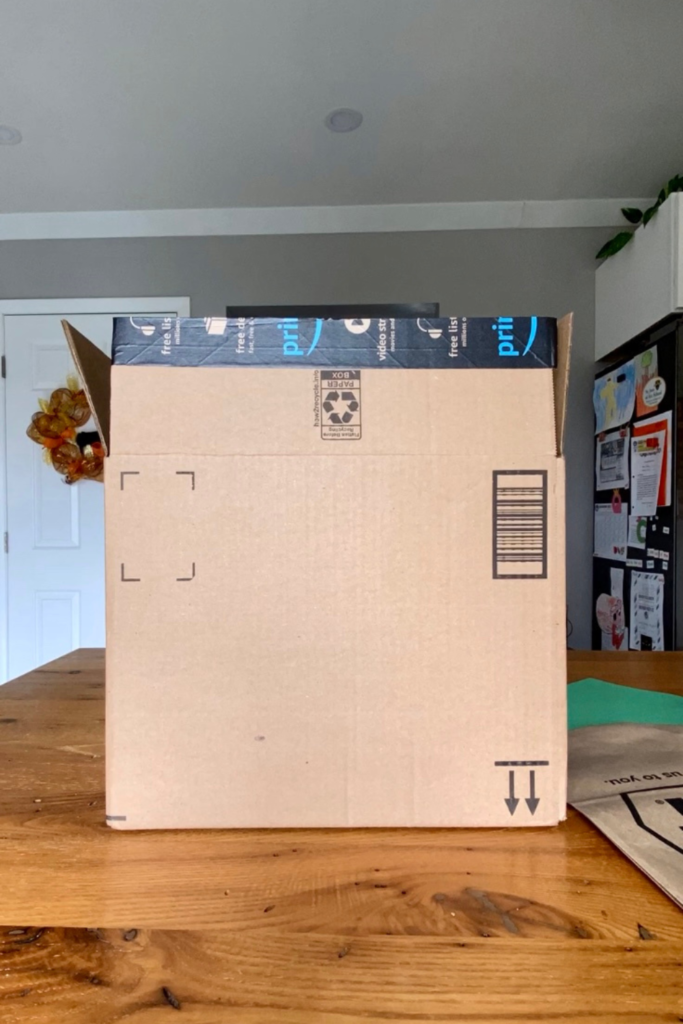
Here are the supplies I used to build a Minecraft piñata for my son’s birthday. I shopped at my house for the materials needed for this project. I’ve included some alternative supplies that could be used in lieu of what I had on hand, in an effort to encourage you to use what you have.
To build a Minecraft Creeper piñata, you will need:
- A medium-sized square or rectangular cardboard box
- Brown paper bag
- Scissors
- Box cutter
- Packing tape
- White glue or school glue
- Green and black construction paper*
- Yarn or string**
- Goodies to fill the piñata
- Ruler (optional – I estimated my measurements and it turned out fine, but if you like to be extra careful, grab a measuring device.)
*colored streamers, colored printer paper, or tissue paper would also work.
**depending on how heavy your pinata is once it is filled with goodies, you may want to use a metal clothing hanger or a piece of wire to suspend the piñata.
At this point, consider where you plan to hang the piñata. If it is going to be strung from an outdoor tree branch or indoor beam of your home, measure an appropriate length of yarn or string to allow the piñata to hang at the height you require. If you are hanging the piñata from a free moving pole like we did, the length of the string is less important as you will be able to raise and lower the piñata based on the height of your contestant.
Download a Free Minecraft Creeper Template
To save time in the creation of your DIY Minecraft Creeper piñata, I created a free, downloadable template of the Creeper face just for you! Simply enter your name and email address below to receive the template in your inbox.
Don’t forget to download the free Minecraft Creeper piñata template!
Instructions to Make a Minecraft Creeper Piñata
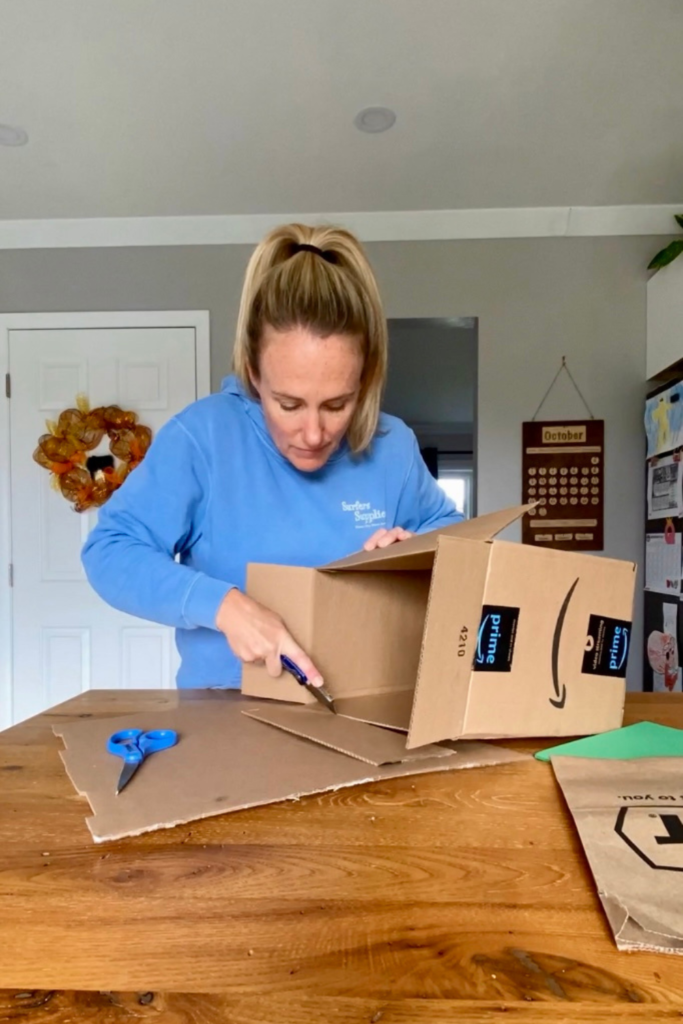
Once you’ve gathered your supplies, follow these instructions to construct your homemade piñata. This took me approximately 1.5 hours to complete, which included drying time.
- Turn the box so that you are looking at a side that contains 4 flaps.
- Cut off the 2 long side flaps and keep the 2 short side flaps attached to the box.
- Flip the box over to the other side and repeat Step 2.
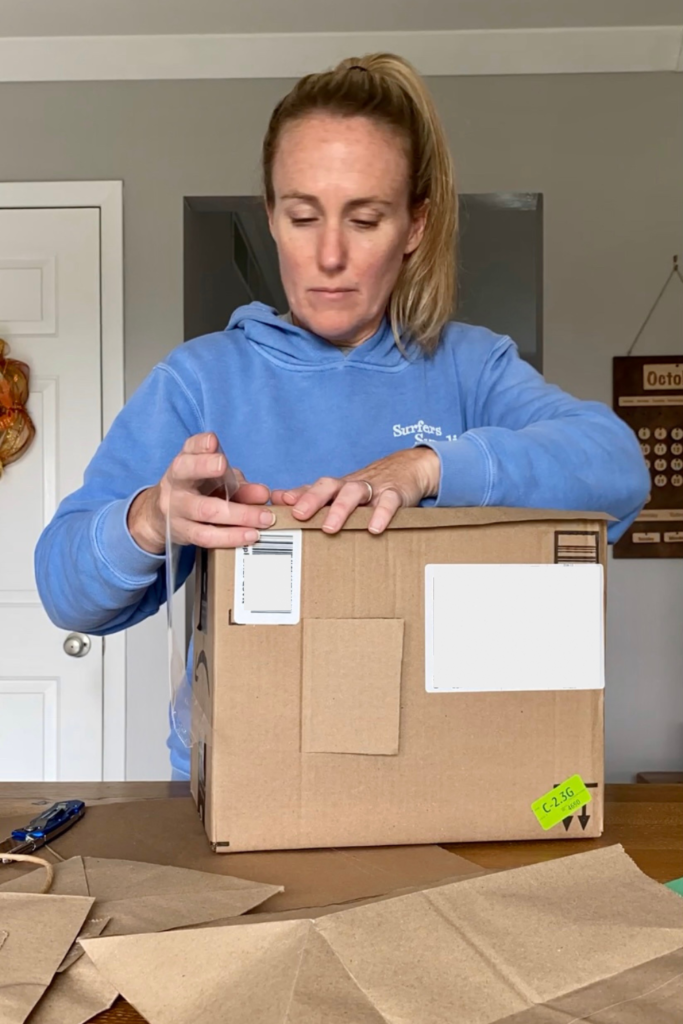
- Measure the approximate size of the side of the box and cut out a piece of brown paper bag to cover the space, allowing for the paper bag to fold over the four sides.
- Attach the paper bag to the side of the box with packing tape.
- Repeat Steps 4 and 5 for the other side of the box.
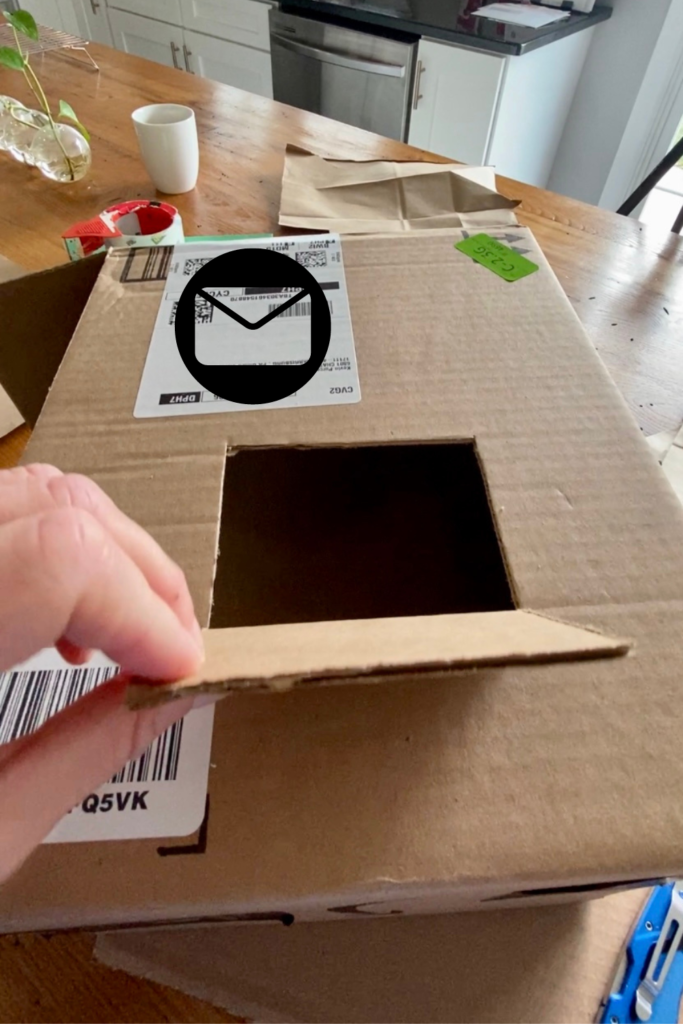
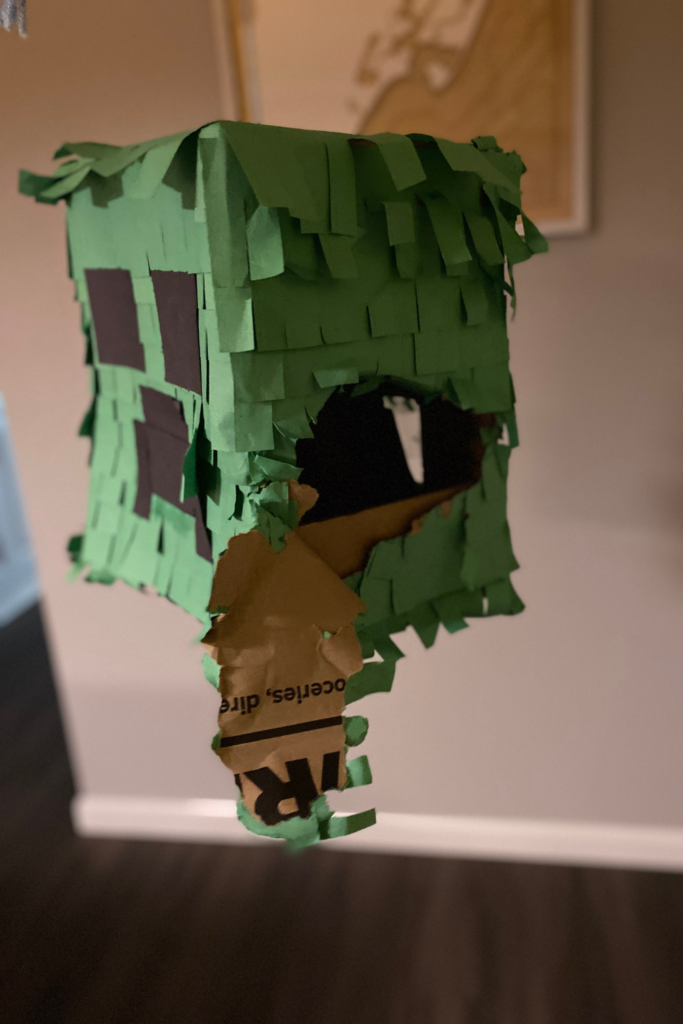
- Turn the box so that you are looking at the back of the box. Using a box cutter, cut a three-sided flap into the back of the box. Fold the flap outward along the uncut side. You will use this flap to fill the piñata with goodies later.
- On the top of the box, carefully use a box cutter to create two adjacent holes, approximately 2 inches (5 cm) apart.
- Thread the yarn through the holes of the box to create a loop from which to hang the piñata. See my notes in the materials section for determining where to hang your homemade piñata.
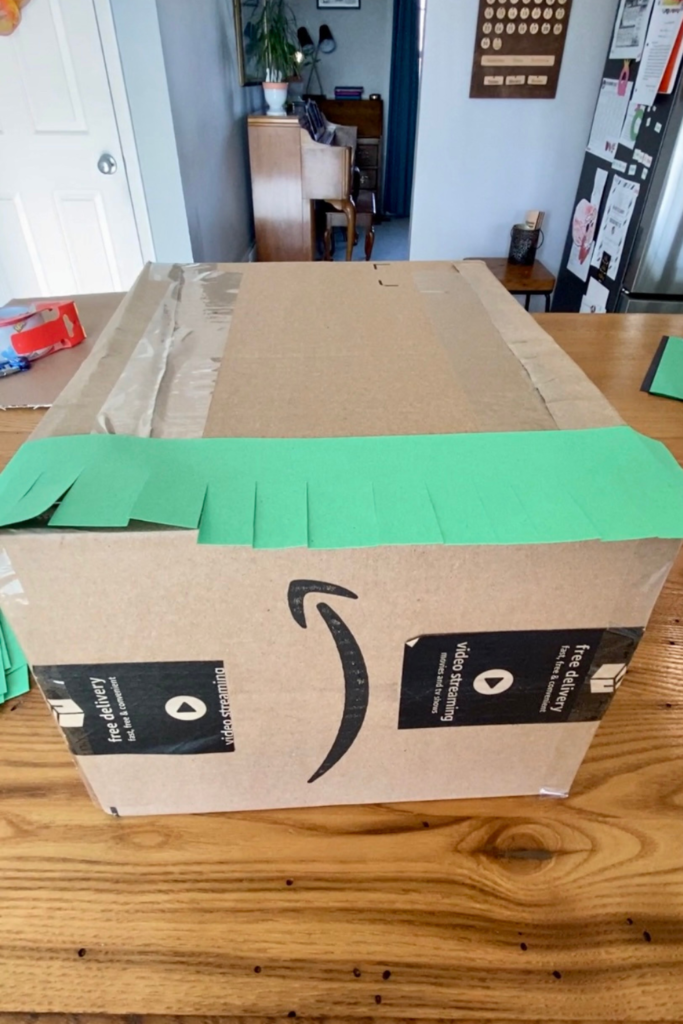
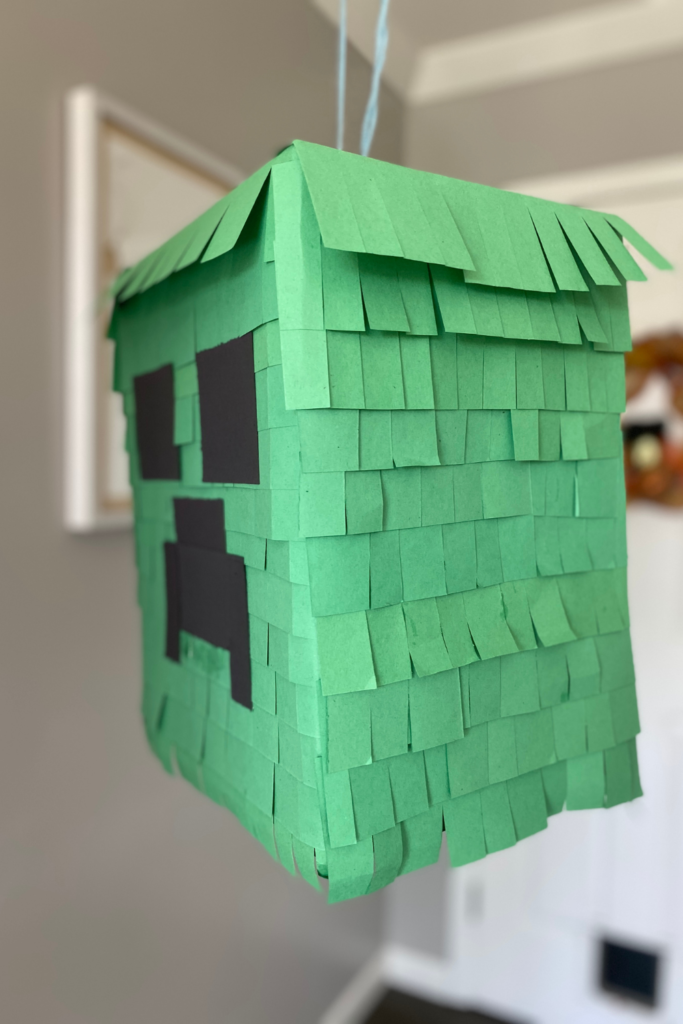
- Now that the structure of your DIY piñata is completed, it’s time to decorate! To make a Minecraft Creeper piñata, cut strips of green construction paper lengthwise.
- Along each horizontal strip of green construction paper, make vertical cuts halfway up to create a fringed appearance to the paper.
- Glue the fringed green paper in a layered fashion along the front, back and sides of the piñata, taking care to avoid gluing the candy flap shut. Allow the glue to dry.
- Download my FREE Creeper face template and cut out the necessary shapes from black construction paper.
- Glue the Creeper face onto the front of the piñata and let dry.
- Fill your homemade piñata with goodies. Be sure to test the weight of the piñata by holding it by the yarn to make sure you don’t overfill the box and bust a seam before the party begins!
- Use packing tape to seal the flap shut.
Once you’ve followed these instructions, you’ll have a homemade Minecraft Creeper piñata that’s perfect for any celebration!
Minecraft Creeper Piñata Video Tutorial
Here’s a short video I created to show you how I made my piñata.
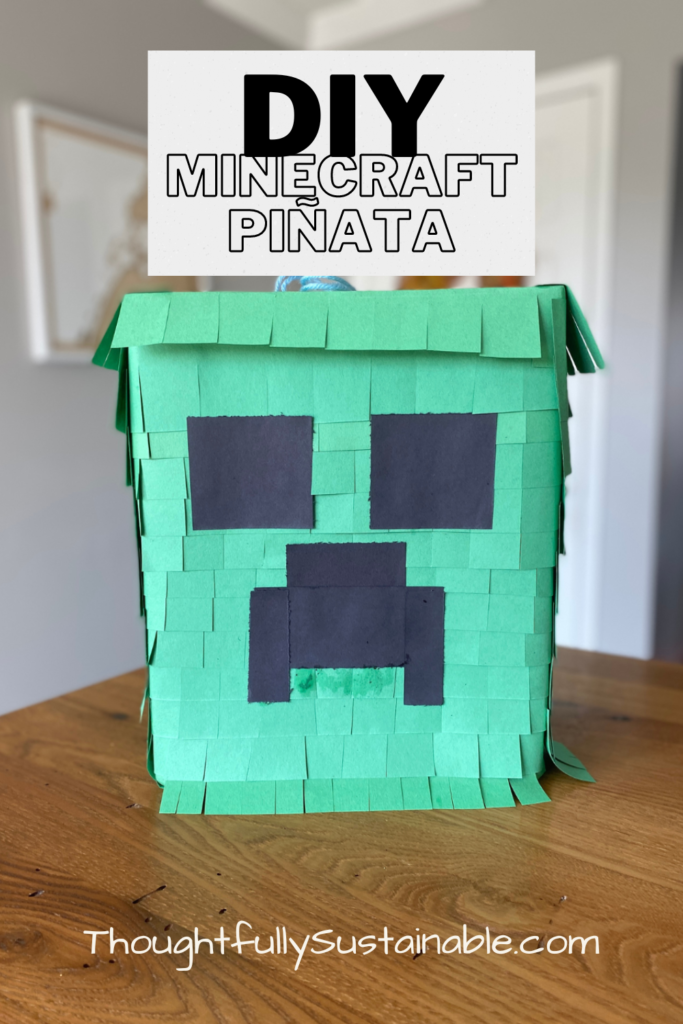
Save this Idea Pin so you can reference it later when you’re readying to make your DIY Minecraft Creeper piñata.
Don’t forget to download the free Minecraft Creeper template!
How to Sustainably Dispose of Your DIY Piñata
Once the party is over and your homemade Minecraft piñata has delighted your guests, it’s time to clean up. Here are some simple instructions to sustainably dispose or repurpose your piñata and its contents.
- Remove any remaining goodies from the inside of the piñata.
- Remove the yarn from the box and save it for another crafting session.
- If you used plastic packing tape, remove the tape from the cardboard box, flatten it, and recycle the box covered with paper. If you used paper packing tape, there’s no need to remove it.
In addition to responsibly disposing of the piñata, you can research if anyone in your community has a candy wrapper collection box from Terracycle to repurpose the foil and plastic packaging from your sugary treats.
Inspired to continue crafting responsibly with cardboard boxes? My friend Jen of Honestly Modern has a fantastic collection of fun and creative ways to reuse cardboard delivery boxes.
How to Make a Minecraft Creeper Pinata
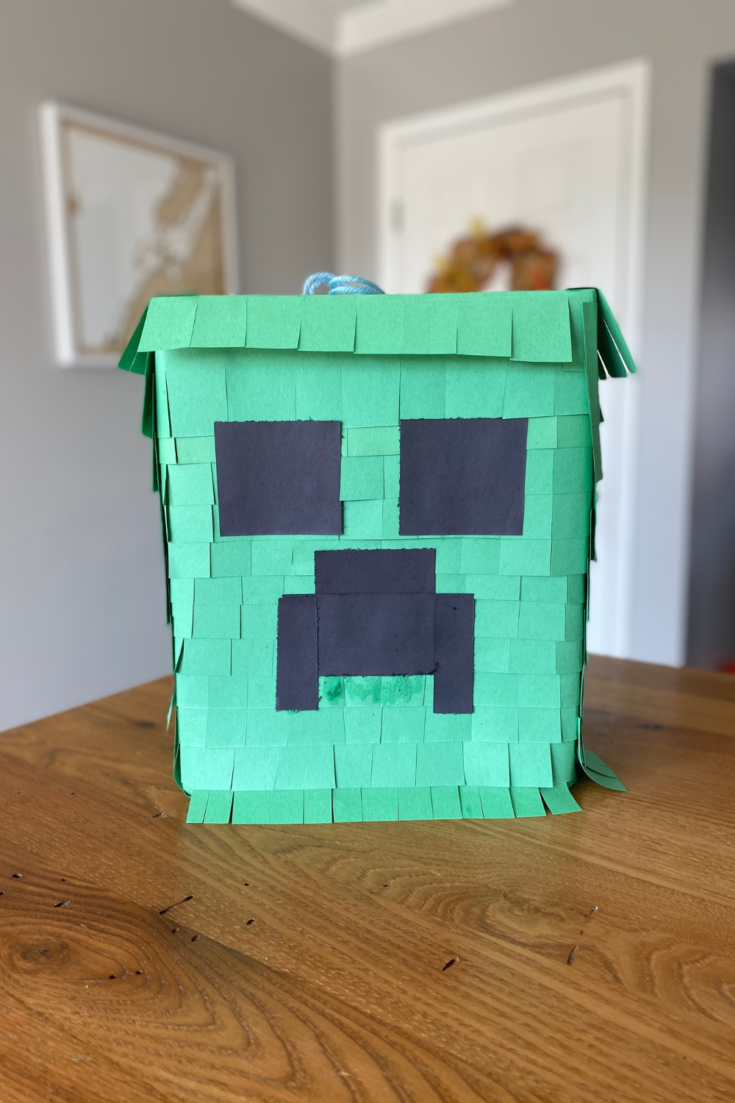
Do you have a Minecraft fan in your life? Create a homemade Minecraft Creeper piñata out of items you already have to turn up the fun at your next birthday party or celebration!
Materials
- A medium-sized square or rectangular cardboard box
- Brown paper bag
- Scissors
- Box cutter
- Packing tape
- White glue or school glue
- Green and black construction paper
- Yarn or string
- Goodies to fill the piñata
- Ruler (optional - I estimated my measurements and it turned out fine, but if you like to be extra careful, grab a measuring device.)
Instructions
- Turn the box so that you are looking at a side that contains 4 flaps.
- Cut off the 2 long side flaps and keep the 2 short side flaps attached to the box.
- Flip the box over to the other side and repeat Step 2.
- Measure the approximate size of the side of the box and cut out a piece of brown paper bag to cover the space, allowing for the paper bag to fold over the four sides.
- Attach the paper bag to the side of the box with packing tape.
- Repeat Steps 4 and 5 for the other side of the box.
- Turn the box so that you are looking at the back of the box. Using a box cutter, cut a three-sided flap into the back of the box. Fold the flap outward along the uncut side. You will use this flap to fill the piñata with goodies later.
- On the top of the box, carefully use a box cutter to create two adjacent holes, approximately 2 inches (5 cm) apart.
- Thread the yarn through the holes of the box to create a loop from which to hang the piñata. See my notes in the materials section for determining where to hang your homemade piñata.
- Now that the structure of your DIY piñata is completed, it's time to decorate! To make a Minecraft Creeper piñata, cut strips of green construction paper lengthwise.
- Along each horizontal strip of green construction paper, make vertical cuts halfway up to create a fringed appearance to the paper.
- Glue the fringed green paper in a layered fashion along the front, back and sides of the piñata, taking care to avoid gluing the candy flap shut. Allow the glue to dry.
- Download my FREE Creeper face template and cut out the necessary shapes from black construction paper.
- Glue the Creeper face onto the front of the piñata and let dry.
- Fill your homemade piñata with goodies. Be sure to test the weight of the piñata by holding it by the yarn to make sure you don’t overfill the box and bust a seam before the party begins!
- Use packing tape to seal the flap shut.
Notes
Once the party is over and your homemade Minecraft piñata has delighted your guests, it's time to clean up. Here are some simple instructions to sustainably dispose or repurpose your piñata and its contents.
- Remove any remaining goodies from the inside of the piñata.
- Remove the yarn from the box and save it for another crafting session.
- If you used plastic packing tape, remove the tape from the cardboard box, flatten it, and recycle the box covered with paper. If you used paper packing tape, there’s no need to remove it.


One Comment
Comments are closed.