
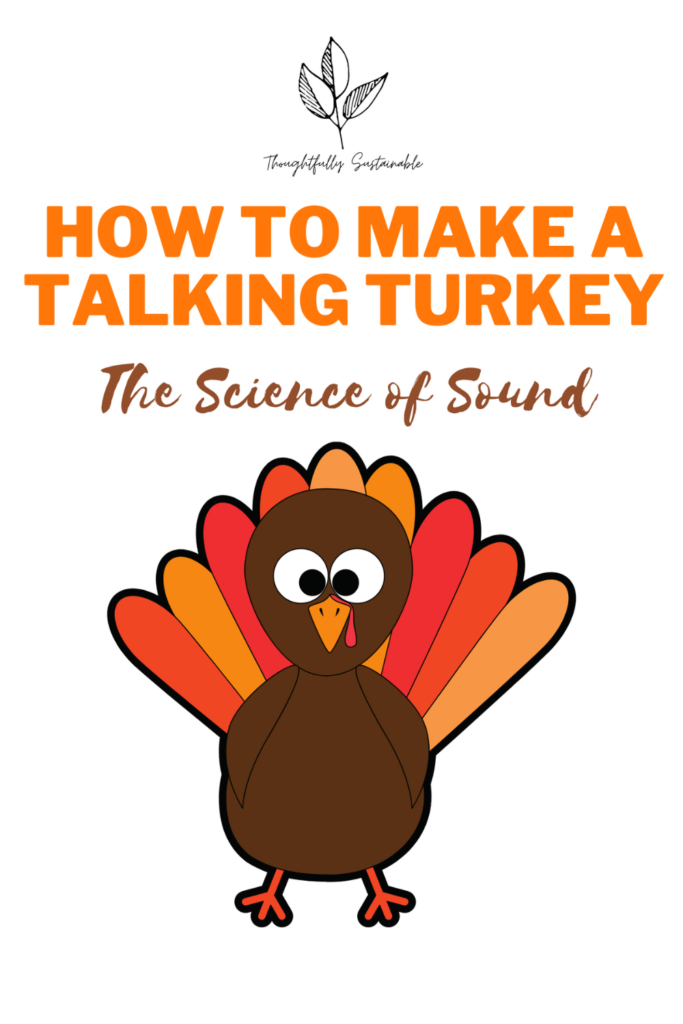
How to Make a Thanksgiving STEM Project + FREE Printable
Looking for a fun, free Thanksgiving STEM project that teaches kids the basics of sound waves? Check out my talking turkey STEM project that includes a free printable, guaranteed to cause your learners to gobble with delight!

I am one of the homeroom moms for my daughter’s classroom. Since I am a former science teacher, I can’t help but want to incorporate fun science lessons into the holiday parties we host. When I started thinking about the upcoming Thanksgiving holiday, I was reminded of a simple science experiment my daughter had done in an after-school program that involved sound waves. I clearly remember her giggling with delight when she came home with a cup and a string that, when pulled on with wet fingers, sounded like a squawking bird!
That’s when the idea of the Thanksgiving talking turkey STEM project was born. Using materials I already had at home, I created this simple sound wave science experiment to introduce my daughter’s classmates to the concepts of vibration and amplification.
The Science Behind the Talking Turkey Thanksgiving Project
This simple STEM project introduces students to sound waves and amplification. Sound waves are created when an object moves back and forth quickly, creating vibrations. Vibrations travel through different mediums (solids, liquids, and gases) until they reach the eardrum, which allows us to detect a sound.
In this talking turkey science project, the learner wets the tips of their fingers and pulls down on the string that is attached to the cup. This quick downward motion causes the string to vibrate. The vibration moves up the string, creating a sound wave.
The sound wave is amplified by the presence of the cup. The word amplify means to increase the volume of the sound. The body of the turkey (a.k.a. the cup) acts as an amplifier and makes the turkey “gobble” louder.
You may be familiar with a similar experiment that utilizes this basic science to make a telephone out of two cups and a string. You may want to use this as a simple demonstration to help your learners understand how the vibration of a string can create sound waves.

Demonstrating How String Vibrations Create Sound Waves
Here is a simple demonstration to help students understand how sound waves are made.
A hole is placed in the base of each cup and attached to either end of the long string. Two students stretch out the string until it is taut. One student speaks into the cup on one end while the other student listens with the cup on the other end. The student that is speaking causes the string to vibrate, sending their sounds down the string and into the ear of the listening student.
Have each student take turns playing the role of speaker and listener. Also, have them experiment with how tightly they pull the string. They will detect a difference in how well they hear each other’s sounds based on the tautness of the string.
Free Printable To Make A Talking Turkey
Once you’ve given your students the background information they need to understand the science behind sound waves, it’s time to start constructing the talking turkey. Download my FREE printable to begin creating the talking turkey STEM project.
Materials to Make a Talking Turkey STEM Project
Here are the supplies I used to build a talking turkey for my daughter’s classroom Thanksgiving STEM project. I shopped at my house for the materials needed for this project. I’ve included some alternative supplies that could be used instead of what I had on hand, to encourage you to use what you have.
To build a talking turkey, you will need:
- plastic cup, large yogurt container, or paper cup
- piece of string approximately 2 feet (60 cm) long
- paper clip
- box cutter or knife*
- brown construction paper
- tape
- my FREE turkey printable
- crayons/markers/colored pencils
- a small dish of water
*adult assistance is needed
Free Ways to Find the Talking Turkey Materials You Need
If you don’t have some of the materials to make the talking turkey science activity, consider a few of the following sustainable alternatives to purchasing the necessary supplies.
Ask Your Friends, Family and Neighbors
Did your grandmother ever tell you a story about how she went to the neighbor’s house to borrow a cup of sugar? As the pace of our modern lives have increased, we have forgotten or have never known what it’s like to walk across the street to ask to borrow something. Capitalize on the kindness of your neighbors, family members and friends and revitalize the simple act of borrowing!
Shop Your Local Buy Nothing Group or Facebook Marketplace
If you’re missing some materials to make the talking turkey, consider putting a request on your local Buy Nothing Group or Facebook Marketplace. You’ll be amazed at how quickly your request is met by others looking to declutter their homes! Another option is to stop into your local secondhand or consignment shop and see what items they have available. I have successfully shopped secondhand for crafting materials more times than I can count.
Check With Your Local Library
Libraries are for borrowing much more than just books! My local library continually hosts children’s activities and crafting sessions. Put a request into your librarian for extra crafting supplies they may have left over from a workshop. My good friend Jen, editor of Honestly Modern, has written an entire series based on ways you can capitalize on your local libraries resources.
Instructions to Make a Talking Turkey STEM Project
Once you’ve gathered your supplies, follow these instructions to construct your talking turkey science project. Building this sound wave science project took me approximately 20 minutes to complete.
- Place the cup upside down on a flat surface.
- Using a box cutter or knife* make a small hole in the center of the cup’s base.
- Cut a 2-foot long (60 cm) piece of string and push the string through the hole, leaving 4 inches (10 cm) of string sticking out of the base of the cup. You may need to use the end of the paperclip to help guide the string through the hole.
- Tie the paperclip to the short end of the string that is above the base of the cup. This will serve as the anchor for the string, ensuring that it won’t pull through the hole of the cup when you tug on the string to make the turkey “gobble”.
- Cut out a strip of brown construction paper and tape it around the circumference of your cup. Remember, the paper does not need to perfectly cover the cup, as you will be adding the turkey head and tail feathers to cover up any bare spots.
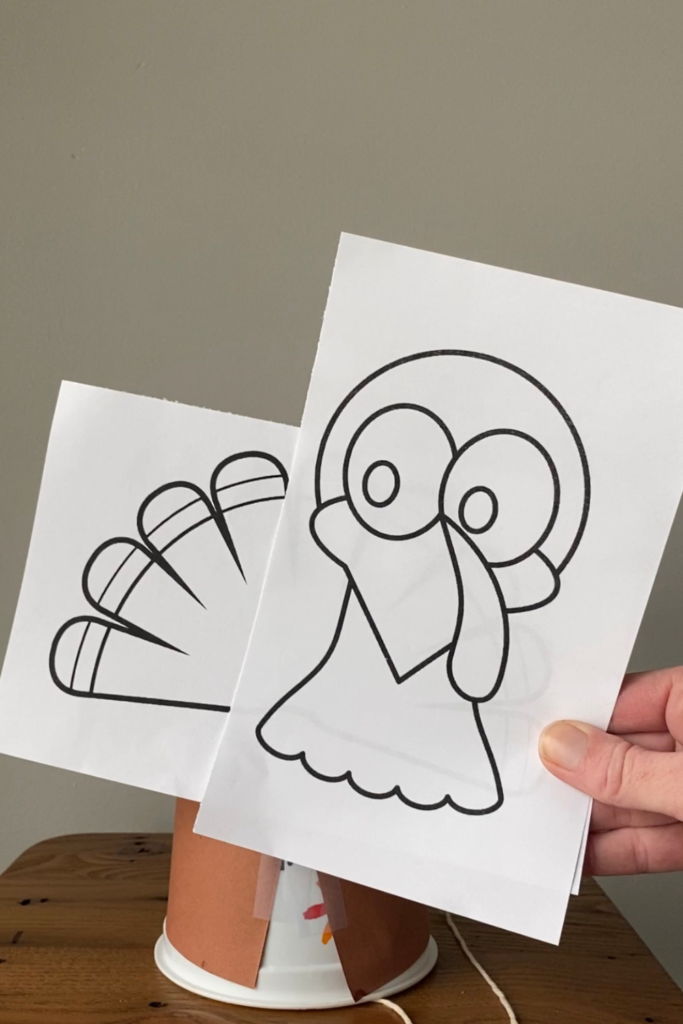
- Color and cut out my free turkey printable.
- Tape the head of the turkey to one side of the cup.
- Tape the tail feathers to the opposite side of the cup from the turkey head.
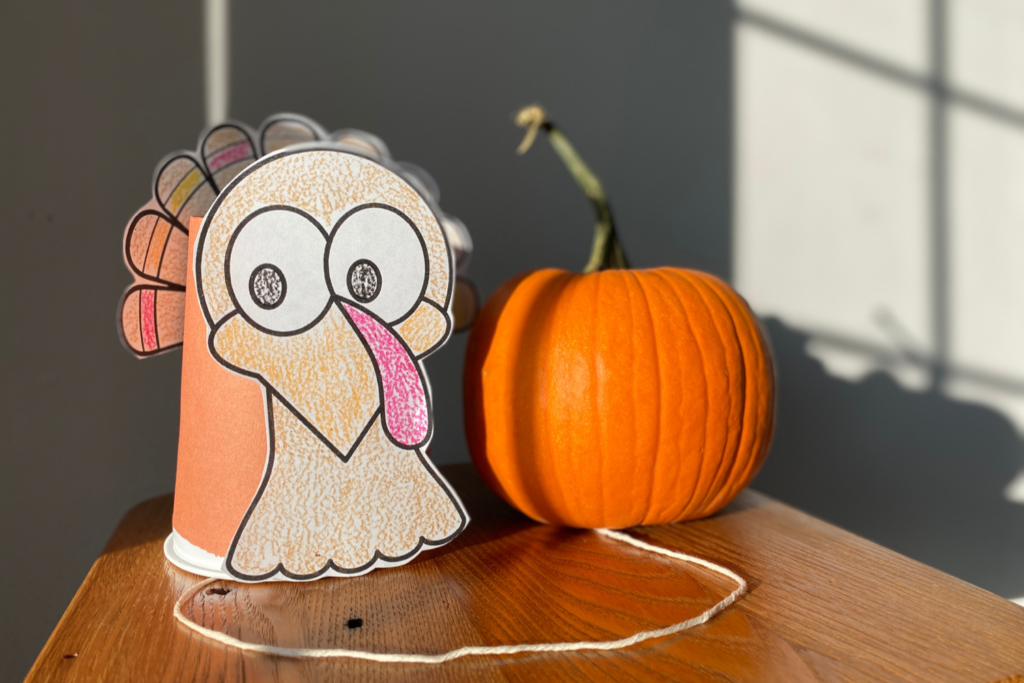
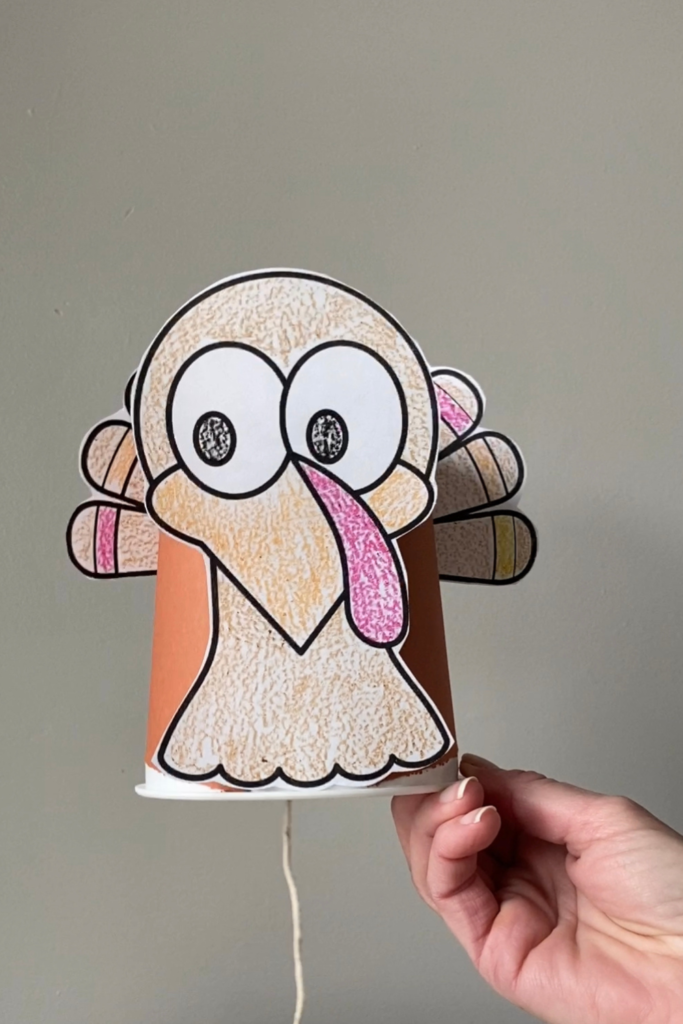
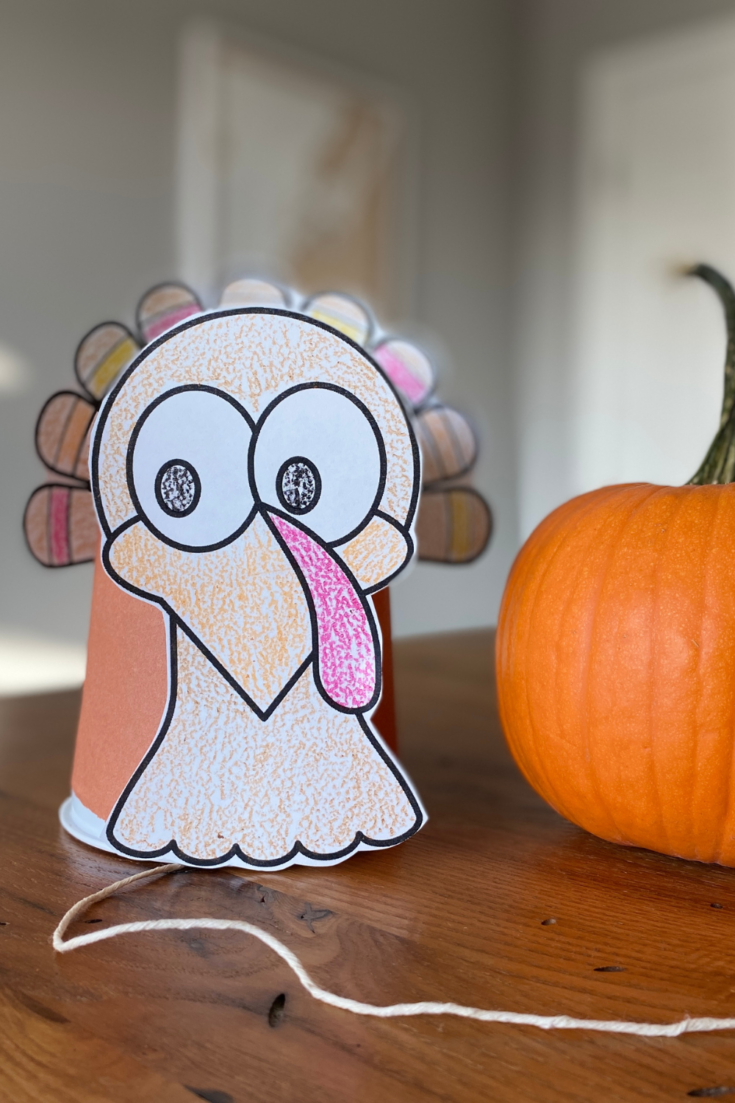
- The construction of your talking turkey is complete! Now it’s time to make your turkey talk.
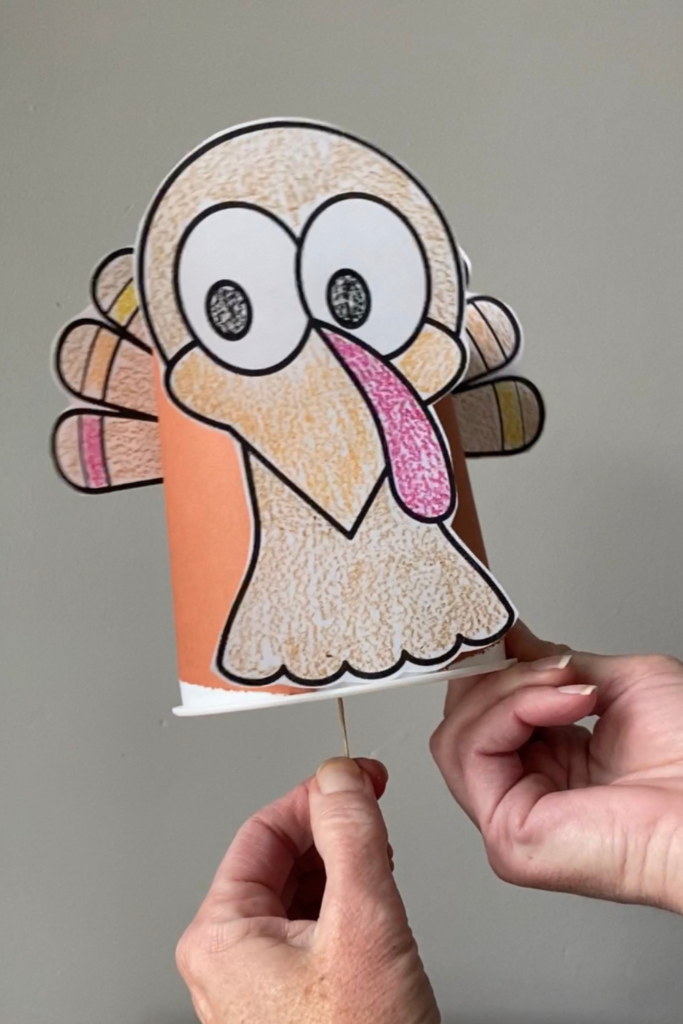
- Wet the tips of two fingers of one hand.
- Use your dry hand to hold the talking turkey cup.
- Take your wet fingers and slowly pull down on the dry string.
- You should hear your turkey “gobble”! It may take two or three tries to get the feel for the amount of pressure you need to squeeze on the string while sliding your fingers in a downward motion.
Don’t forget to download the FREE Thanksgiving Talking Turkey Printable by entering your email address below!
Science Video Tutorial of How to Make a Talking Turkey STEM Project
Here is a short Thanksgiving science video tutorial I made to walk you through the simple steps of building a talking turkey STEM project. While you’re there, be sure to like and subscribe to my YouTube channel to receive updates on my latest science projects and upcycled craft tutorials.
How to Sustainably Dispose of Your Talking Turkey STEM Project
Once the Thanksgiving holiday is over and your homemade talking turkey has entertained your learners, it’s time to deconstruct your creation. Here are some simple instructions to sustainably dispose or repurpose your science project.
- Remove the paper turkey head, tail feathers and construction paper from your cup and pull off any plastic tape that is attached to the papers. The construction paper and white paper can be cut up and placed in a compost bin or shredded to be reused as filler for a gift basket or shipping container.
- Remove the string and paperclip from the cup. Save the paperclip to be reused for organizing papers and the string for drying herbs or flowers.
- If you used a plastic cup, check the bottom of the cup to see if it has a recycling symbol. If it does, be sure that your local recycling center accepts that particular grade of plastic.
- If you used a paper cup, recycle it with your paper recycling.
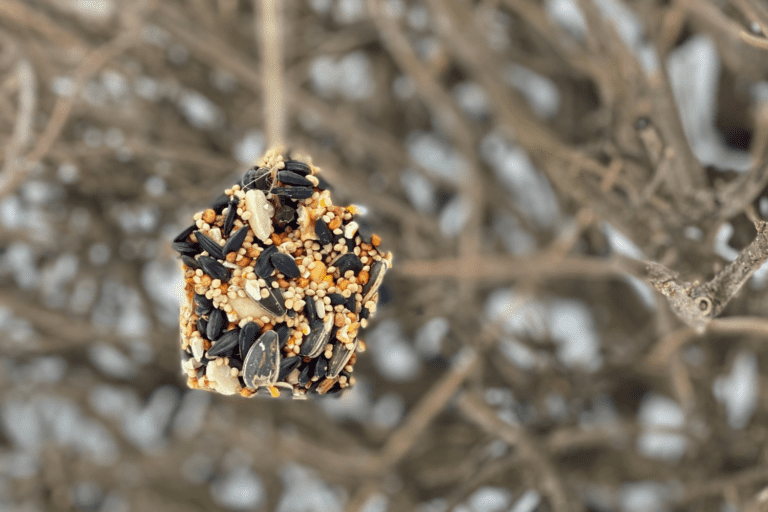
More Eco-Friendly Holiday STEM Projects and Crafts You’ll Love
If you liked this Thanksgiving STEM project, you may enjoy the following DIY holiday STEM projects and upcycled craft tutorials.
- How to Create Cardboard Tube and Star Ornaments
- Make a Recycled Paper Mâché Pumpkin from Trash
- Simple STEM Bake and Build Gingerbread House
HOW TO MAKE A TALKING TURKEY: A THANKSGIVING STEM PROJECT
Looking for a fun, free Thanksgiving STEM project that teaches kids the basics of sound waves? Check out my talking turkey STEM project that includes a free printable, guaranteed to cause your learners to gobble with delight!
Materials
- plastic cup, large yogurt container, or paper cup
- piece of string approximately 2 feet (60 cm) long
- paper clip
- box cutter or knife*
- brown construction paper
- tape
- my FREE turkey printable
- crayons/markers/colored pencils
- a small dish of water
- *adult assistance is needed
Instructions
- Place the cup upside down on a flat surface.
- Using a box cutter or knife* make a small hole in the center of the cup’s base.
- Cut a 2-foot long (60 cm) piece of string and push the string through the hole, leaving 4 inches (10 cm) of string sticking out of the base of the cup. You may need to use the end of the paperclip to help guide the string through the hole.
- Tie the paperclip to the short end of the string that is above the base of the cup. This will serve as the anchor for the string, ensuring that it won’t pull through the hole of the cup when you tug on the string to make the turkey “gobble”.
- Cut out a strip of brown construction paper and tape it around the circumference of your cup. Remember, the paper does not need to perfectly cover the cup, as you will be adding the turkey head and tail feathers to cover up any bare spots.
- Color and cut out my free turkey printable.
- Tape the head of the turkey to one side of the cup.
- Tape the tail feathers to the opposite side of the cup from the turkey head.
- The construction of your talking turkey is complete! Now it’s time to make your turkey talk.
- Wet the tips of two fingers of one hand.
- Use your dry hand to hold the talking turkey cup.
- Take your wet fingers and slowly pull down on the dry string.
- You should hear your turkey “gobble”! It may take two or three tries to get the feel for the amount of pressure you need to squeeze on the string while sliding your fingers in a downward motion.

2 Comments
Comments are closed.